Adding a space using Snowflake as a data warehouse and Amazon S3 storage service to run imports for integrations
In this article we are going to explain step by step how to add a new space that uses Snowflake as a warehouse and Amazon S3 to run imports for integrations.
Requirements
In order to be ready to create a Space we need the following (by the client):
For Amazon S3
Amazon S3 required credentials:
- Access Key ID
- Secret access key
- Bucket name
- Region
1- Create an account.
Creating an account: https://docs.snowflake.com/en/user-guide/data-load-s3-config-aws-iam-user.html
2- After creating an account add the s3:PutBucketCORS , s3:CreateBucket , s3:ListBucket ,s3:GetObject and s3:DeleteObject to the IAM policy
The IAM policy should look something like this:
{
    "Version": "2012-10-17",
    "Statement": [
        {
            "Sid": "VisualEditor0",
            "Effect": "Allow",
            "Action": [
                "s3:CreateBucket",
                "s3:ListBucket",
                "s3:PutBucketCORS",
                "s3:GetBucketLocation",
                "s3:DeleteBucket"
            ],
            "Resource": "arn:aws:s3:::*"
        },
        {
            "Sid": "VisualEditor1",
            "Effect": "Allow",
            "Action": "s3:ListAllMyBuckets",
            "Resource": "*"
        },
        {
            "Sid": "VisualEditor2",
            "Effect": "Allow",
            "Action": [
                "s3:PutObject",
                "s3:GetObject",
                "s3:DeleteObjectVersion",
                "s3:DeleteObject",
                "s3:GetObjectVersion"
            ],
            "Resource": "arn:aws:s3:::*/*"
        }
    ]
}
Note that this policy gives access to all buckets but since we are creating the bucket ourselves using a UUID as its name. We do not have the bucket name to limit the policies.
3- Get the Access Key & Secret Key https://docs.aws.amazon.com/powershell/latest/userguide/pstools-appendix-sign-up.html
- Access Key ID
- Secret access key
- Bucket name
For Snowflake
Snowflake required credentials:
- Account
- Database
- Password
- Schema
- User
- Warehouse
1- Create a new SCHEMA that will be the target Y42 is writing on (i.e. this will become your DWH -> We suggest a schema name like “Y42_DWH”)
2- Create a new USER / Role that has full read/write access on this new Schema and also the necessary GRANT on the resp. SF-Warehouse (currently “compute_wh” );
3- Provide the credentials for this user
Note: make sure we have the
CREATE SCHEMAprivilege for theY42_USER
After we make sure all the requirements are checked, we can proceed with the Snowflake + S3 space creation.
Steps to create SF+ S3 space in Y42
1- Click the Space button.
After clicking the space button you will be redirected to the space selection section.
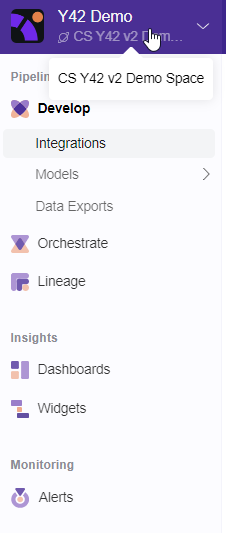
2- Click the + space button.
In the space selection section click add space so you start configuring the new space.

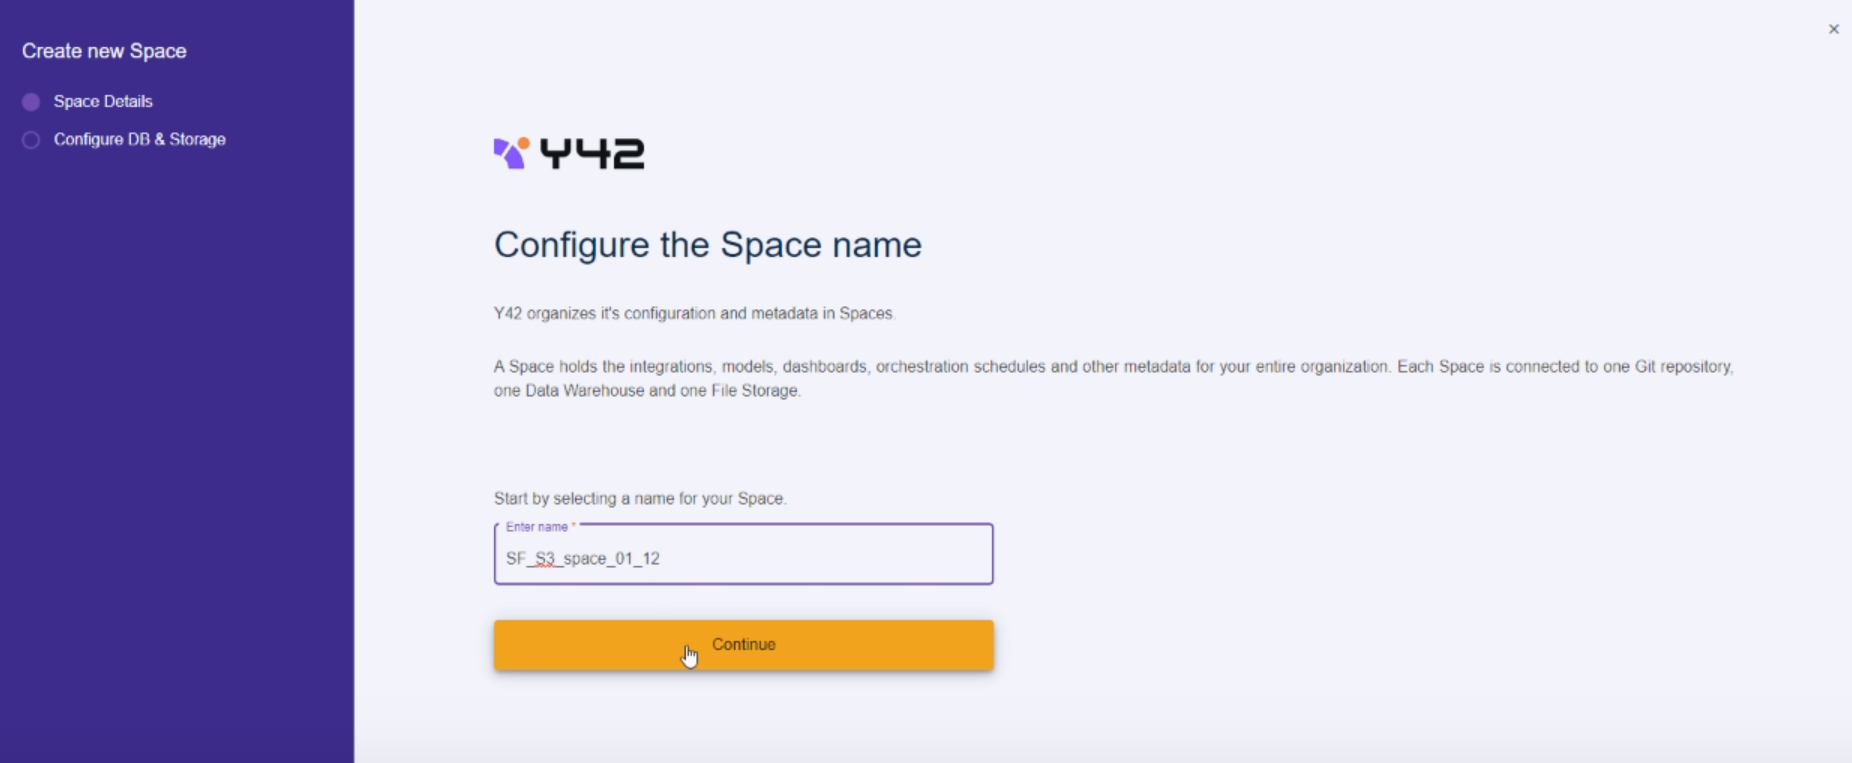
3- Write the Space name.
After writing the space name click continue.
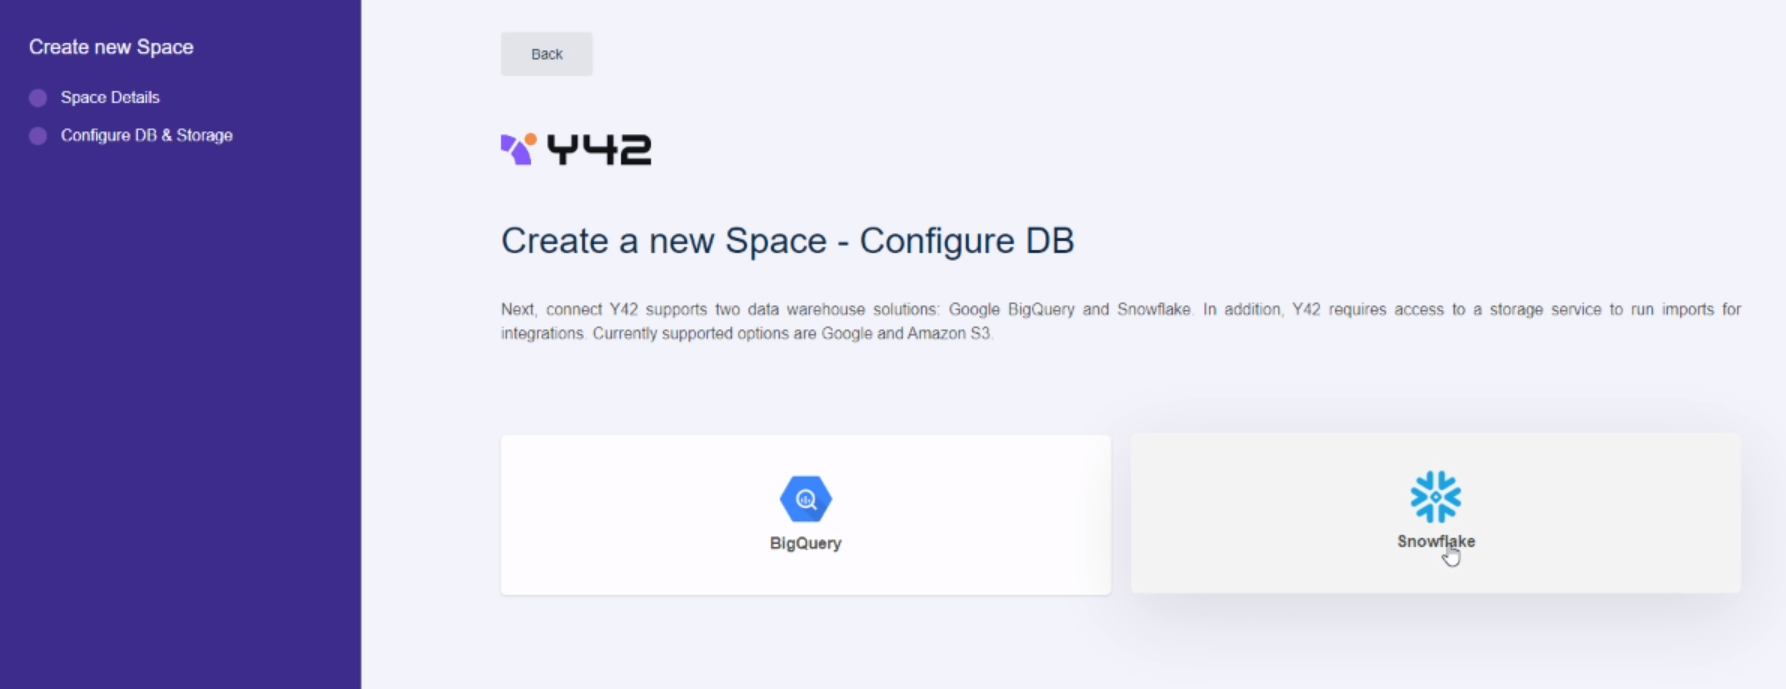
4- Select Snowflake as a Warehouse.
Y42 supports two data warehouse solutions: Google BigQuery and Snowflake. In addition, Y42 requires access to a storage service to run imports for integrations. Currently supported options are Azure Blob Storage and Amazon S3.
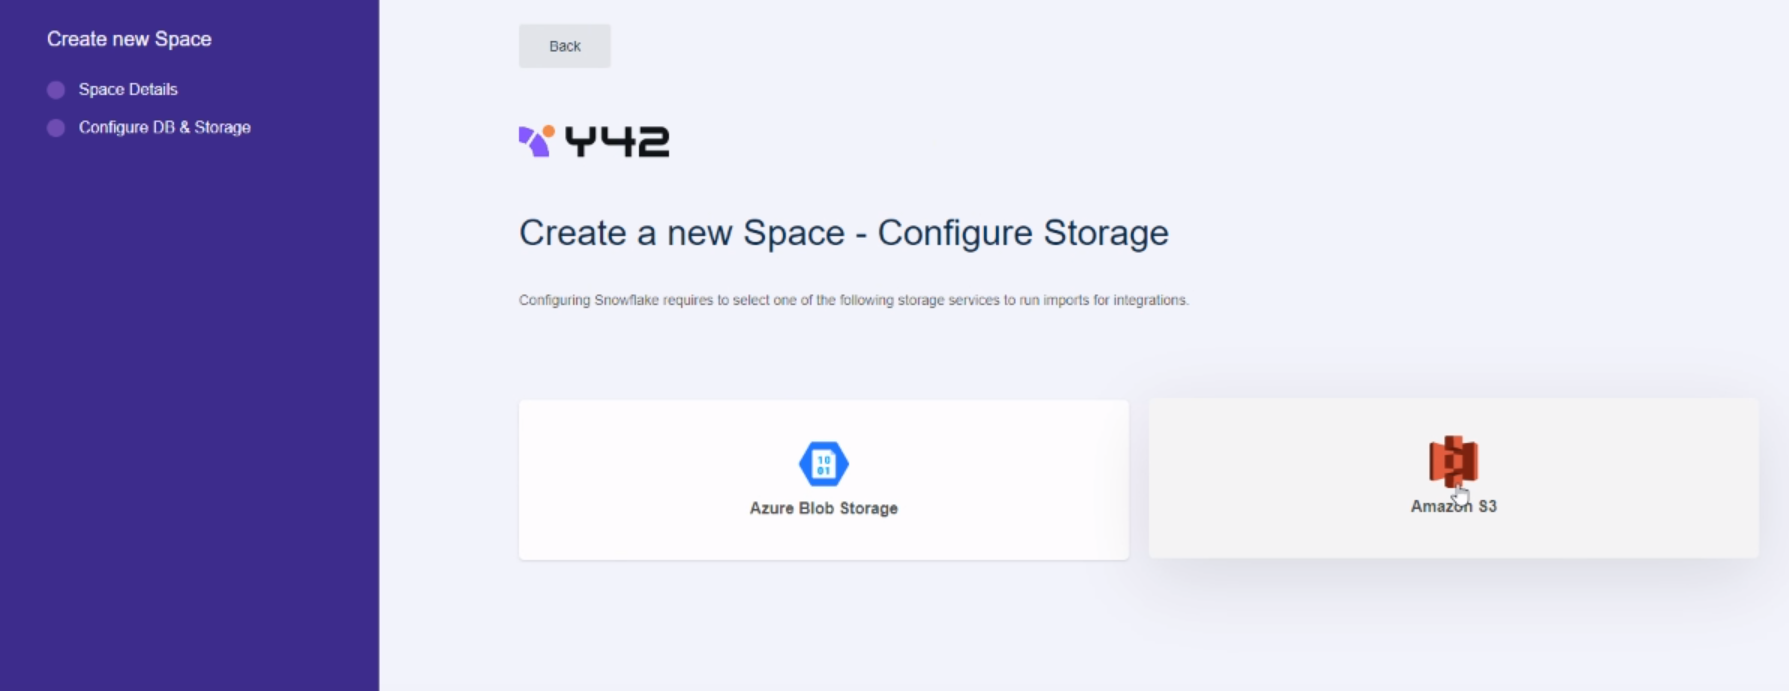
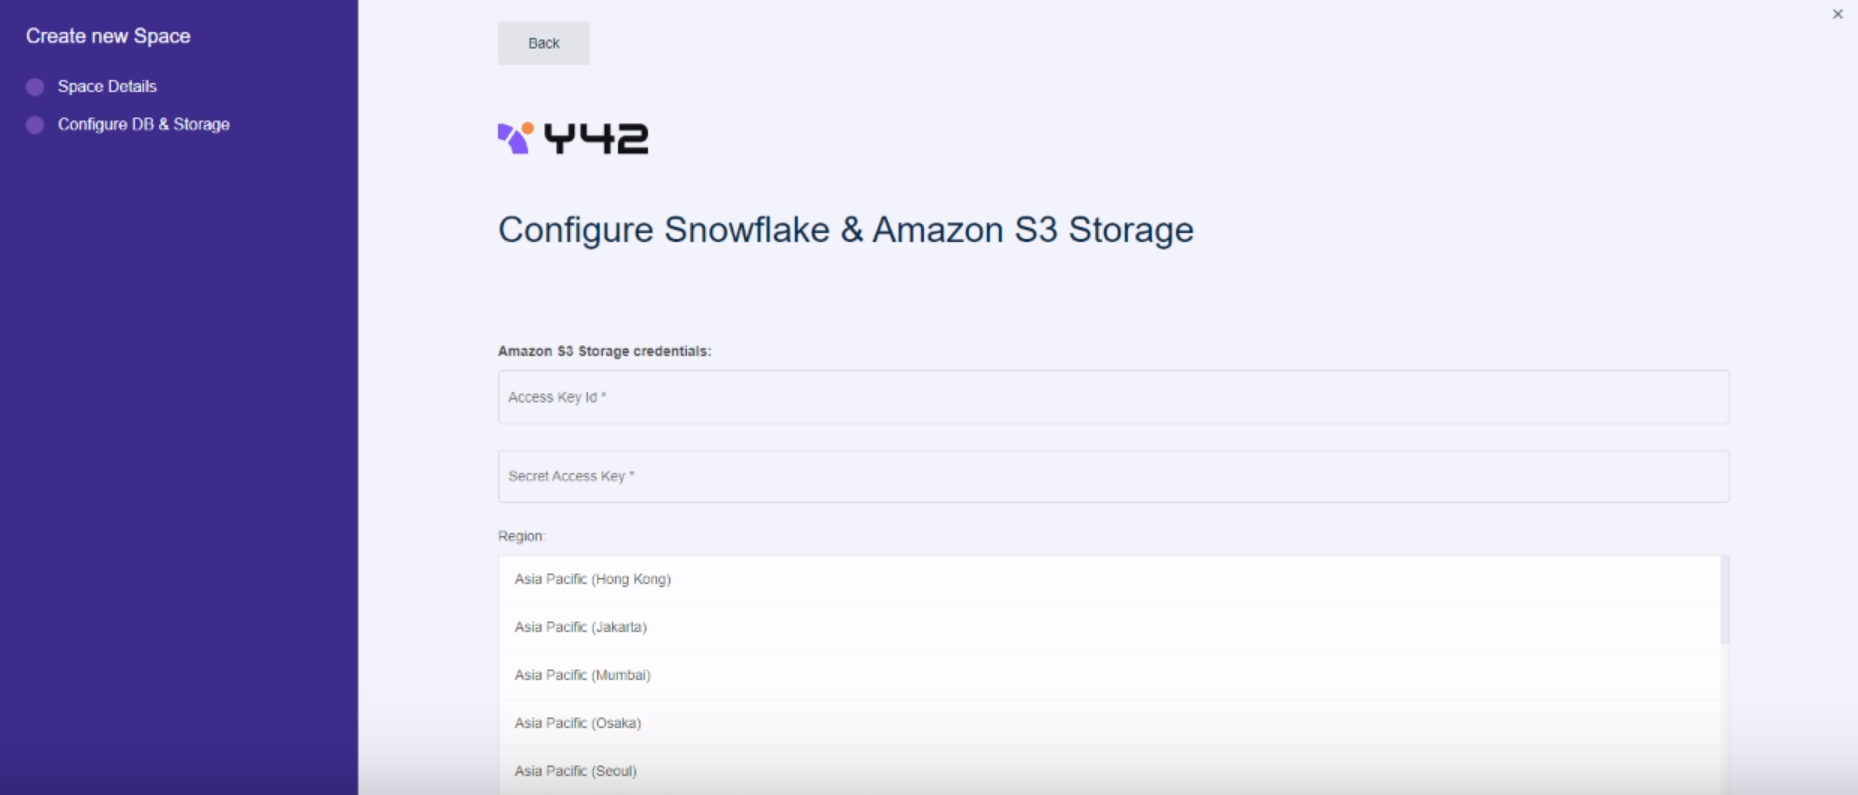
5- Select Amazon S3 to run your integrations import job.
6- Write the S3 Credentials.
You will need to provide:
- Access Key ID
- Secret Access Key
- Amazon Region
To get more information on how to get your Amazon S3 credentials, read this article.
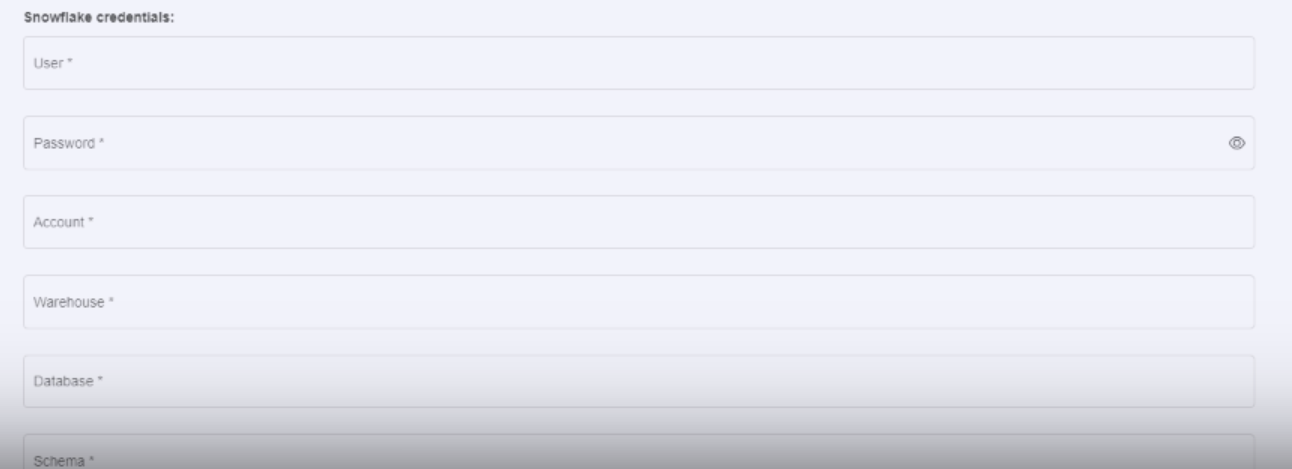
7- Write the Snowflake credentials.
You will need to provide:
- User → the username you use to login to your Snowflake account
- Password → the password you you use to login in your Snowflake account
- Account → here it goes the account name, which you can find in the URL of your Snowflake account. It is usually the part between "Https://" and ".snowflakecomputing.com"
Example: https://accountname.snowflakecomputing.com/.
- Warehouse → It is the Warehouse name you are using to store the data
- Database → Here goes the Database you will store the data
- Schema → Here goes the Schema you will store the data
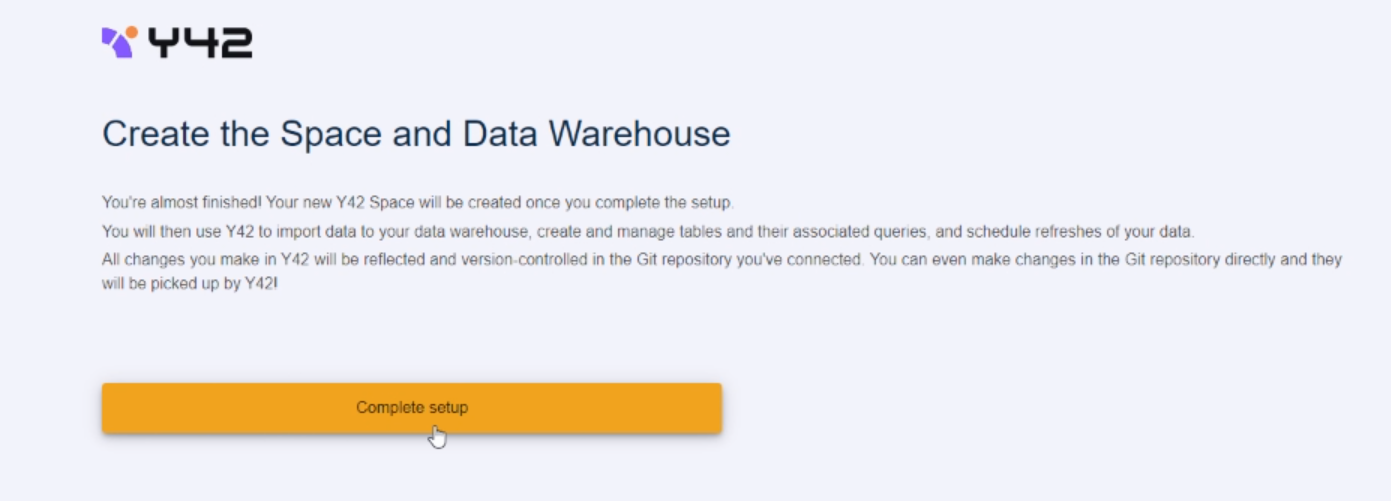
8- Complete Setup
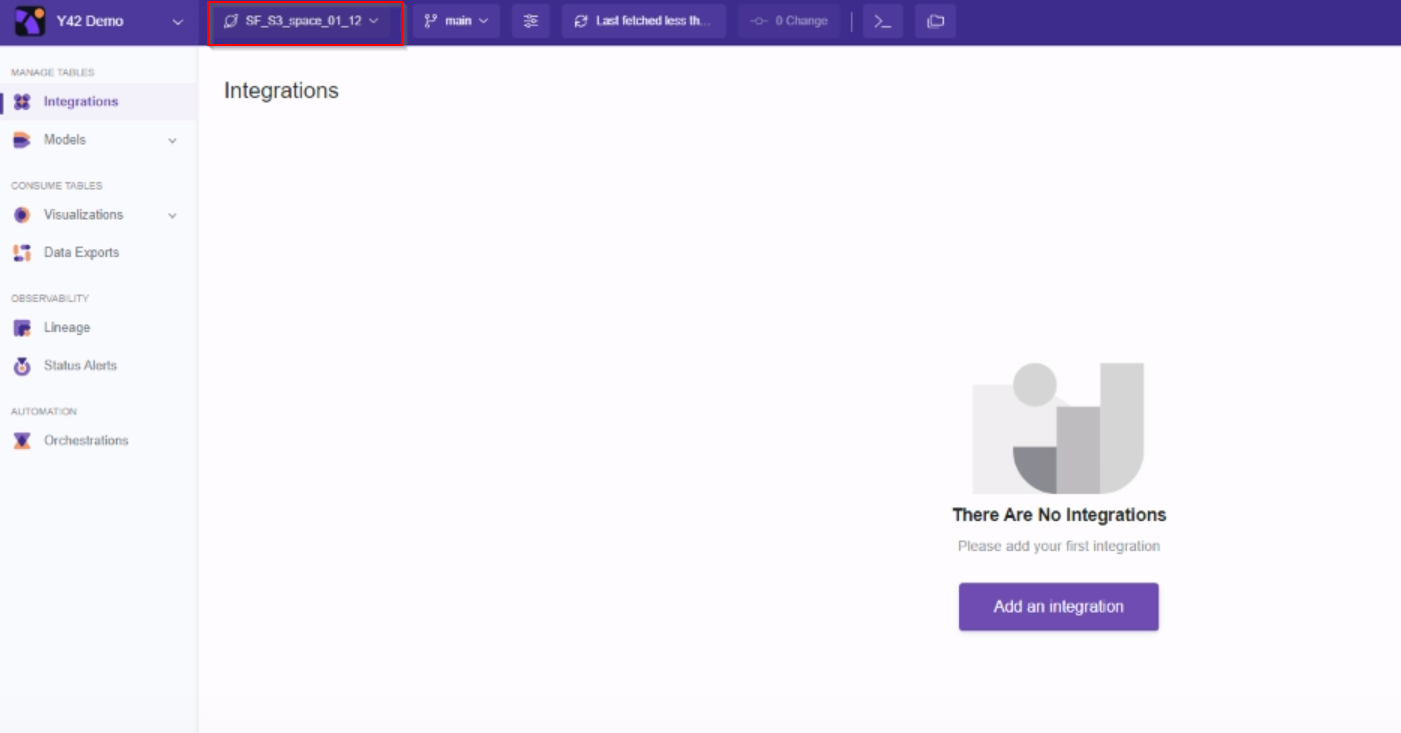
9- Access the Space
Now you are all set to start importing your integrations, and use all powerful features Y42 offers.
Updated over 3 years ago