Setting Up SSO with Okta
Start the set-up in the Y42 app
To Set-up Single Sign on with Y42 using Okta as a SSO provider you need to have organization wide Admin Access. Without proper privileges you will not be able to finish these steps.
Begin your SSO set-up in the Y42 app.
1.
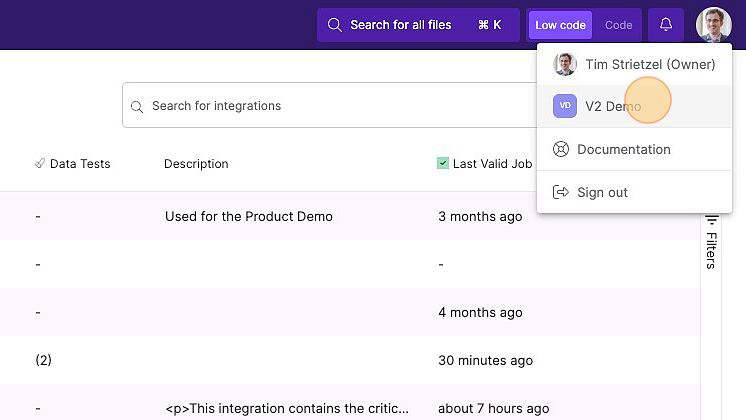
Open up your Y42 organization settings, by clicking on your profile menu and selecting your organization.
2.
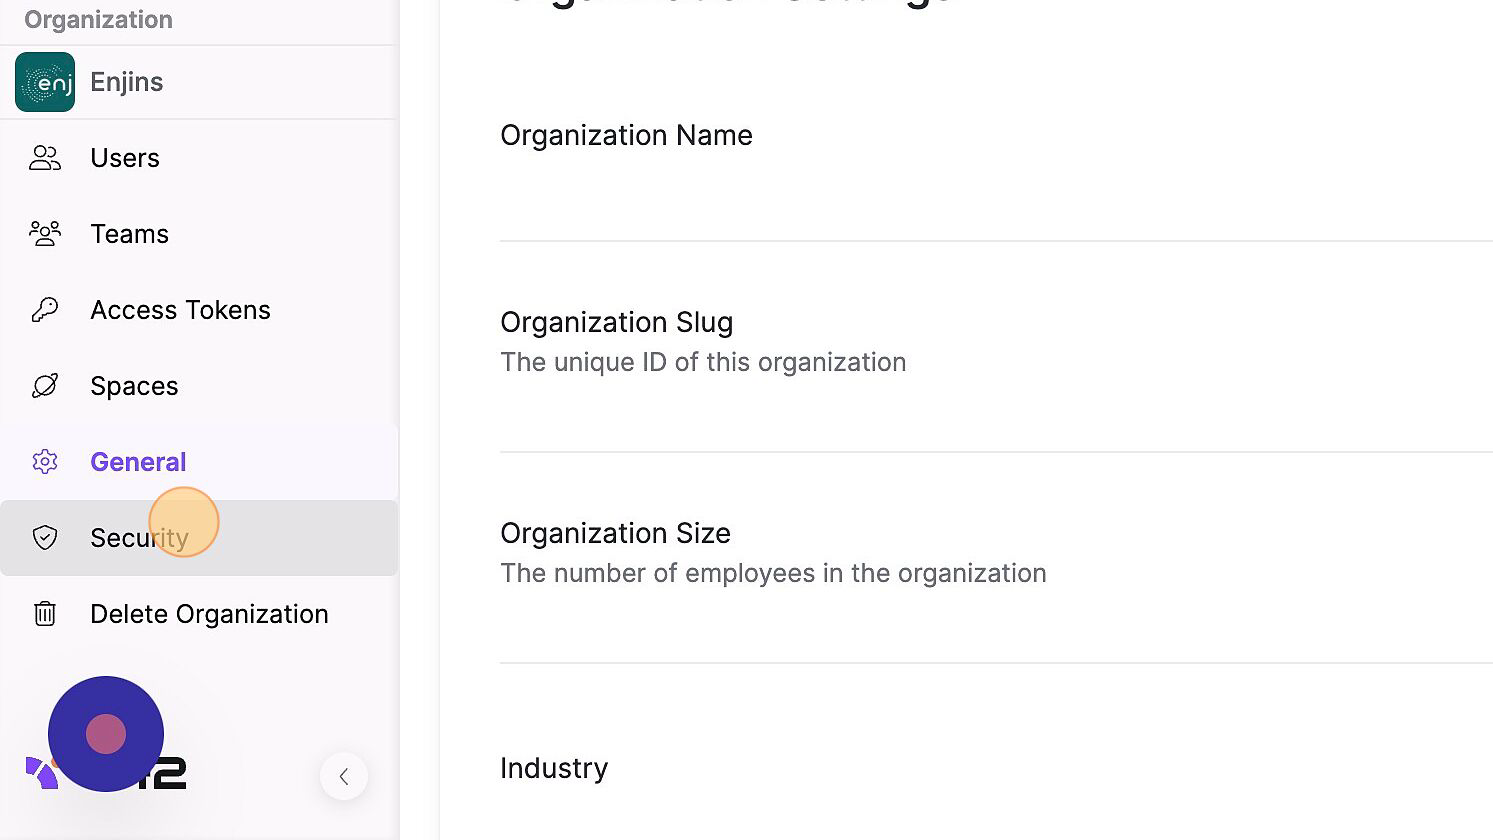
Click on the "Security" settings menu.
3.
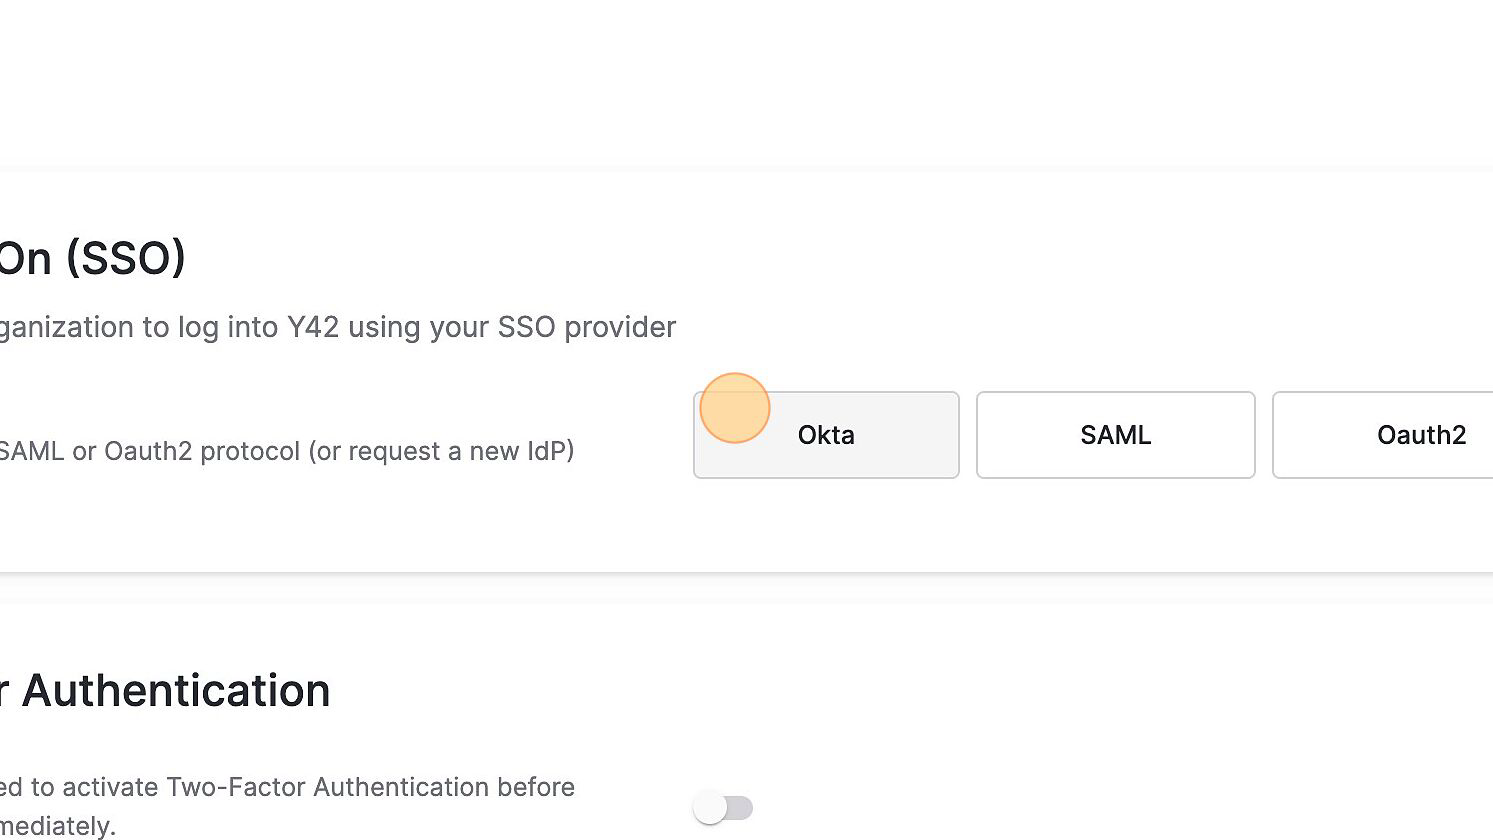
Select the "Okta" option.
4.
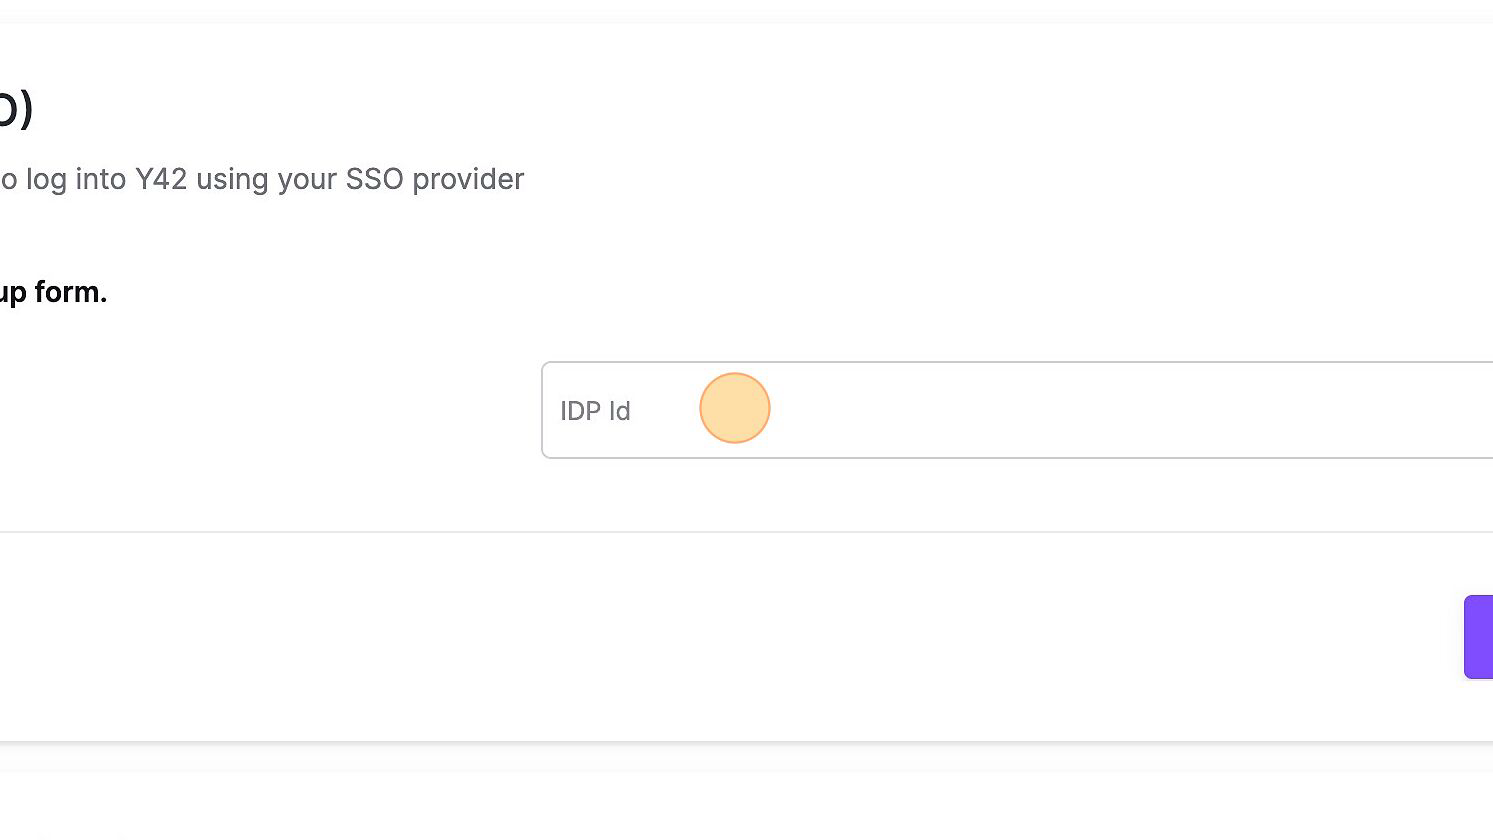
Copy the value presented in the IDP id field. You will need this to complete the set-up in the Okta app.
Continue the set-up in the Okta app.
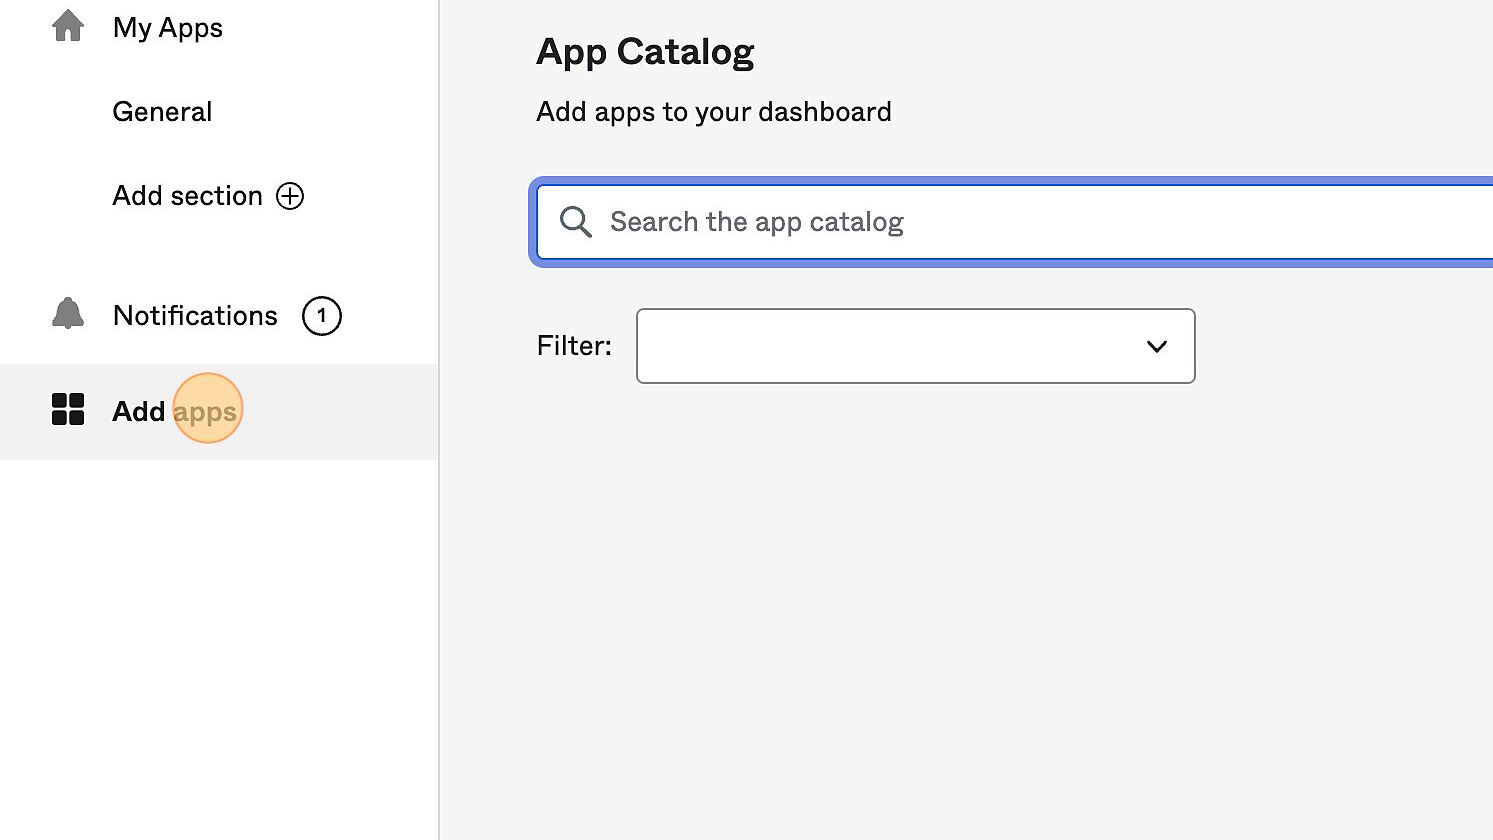
5.
In Okta, click the "Add apps" menu item and search for "Y42" in the Okta App Catalog. Select "Y42" in the search results and continue.
6.
When prompted, provide and paste the Y42 IDP id you just copied earlier in the Y42 organization SSO set-up interface.
Click "Next" to proceed.
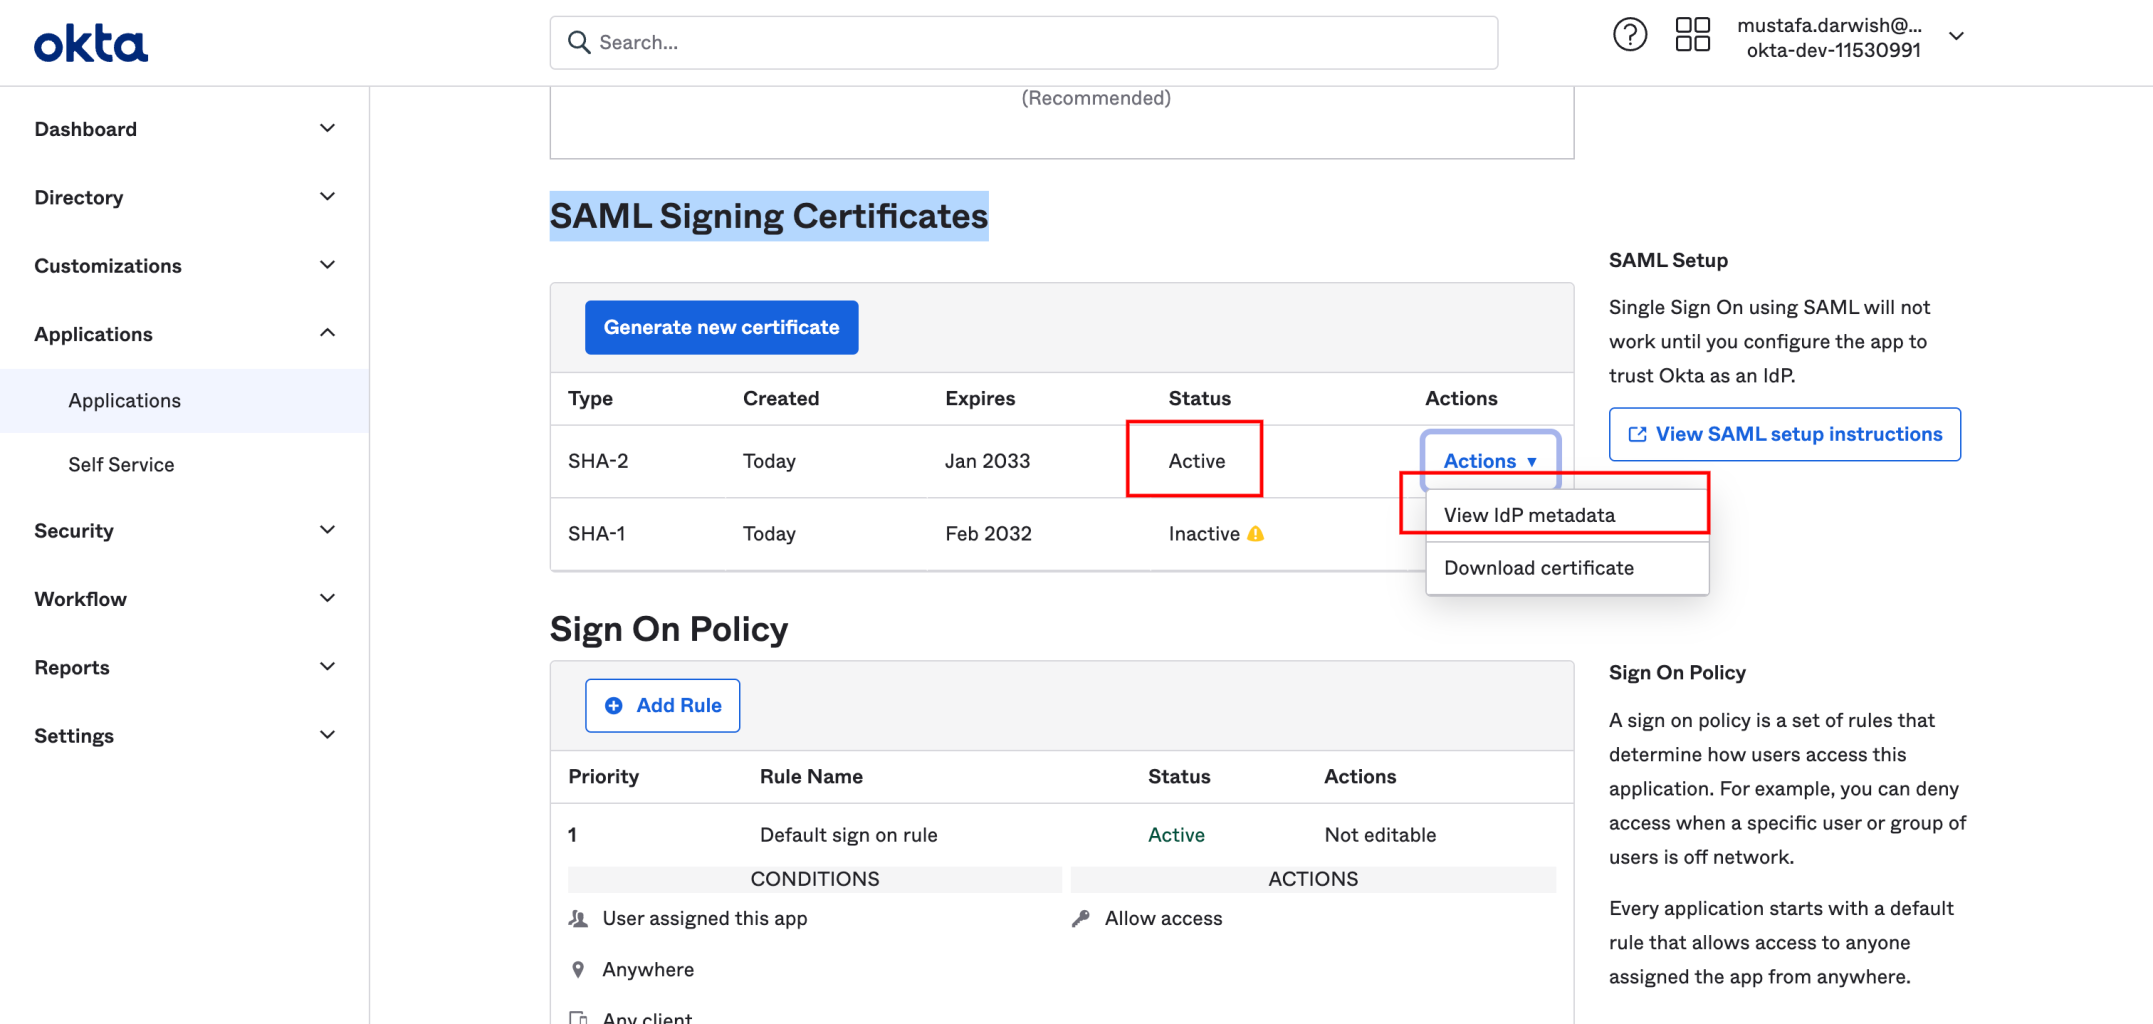
7.
In the "SAML Signing Certificate" at the Okta App config screen, open the "Actions" menu for the selection "SHA-2". In the Action menu, click on "View IDP Metadata". Copy the URL you see in the address bar. You will need to provide this URL to Y42.
Complete the Okta SSO set-up back at the Y42 app.
8.
At the Okta SSO config screen, paste the URL you just copied at the Okta App into the field "SSO Metadata URL"
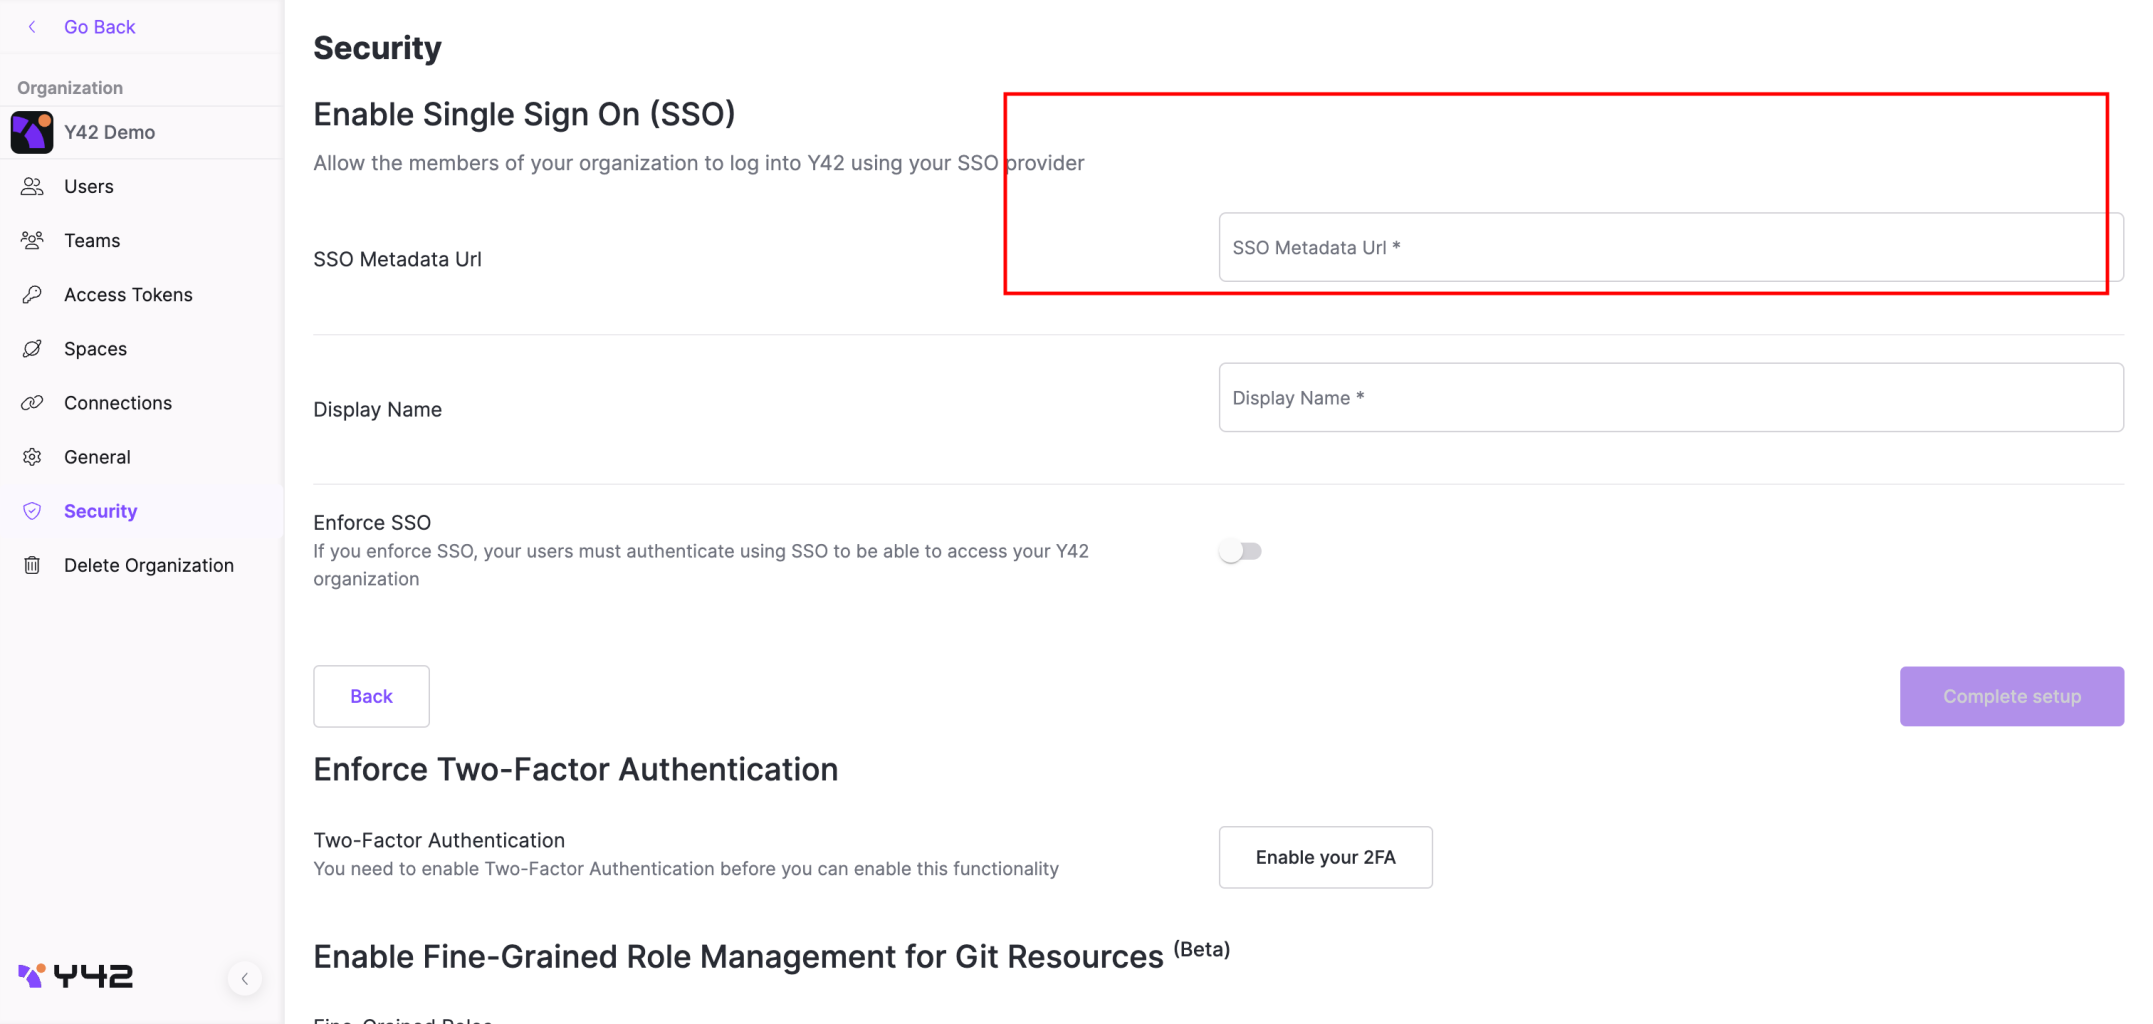
9.
Finally, provide a suitable Display name for this SSO method and click "Complete setup"
The set-up is complete
From now on, all your users (including yourself) need to be provisioned via Okta to be able to sign into Y42
Updated about 3 years ago