Integrations Overview
Once you enter the Integration module, you are redirected to the Integrations Overview Menu. In this section, you can view all the integrations that import to your destination, add new integrations, and see in-depth information about individual connectors.
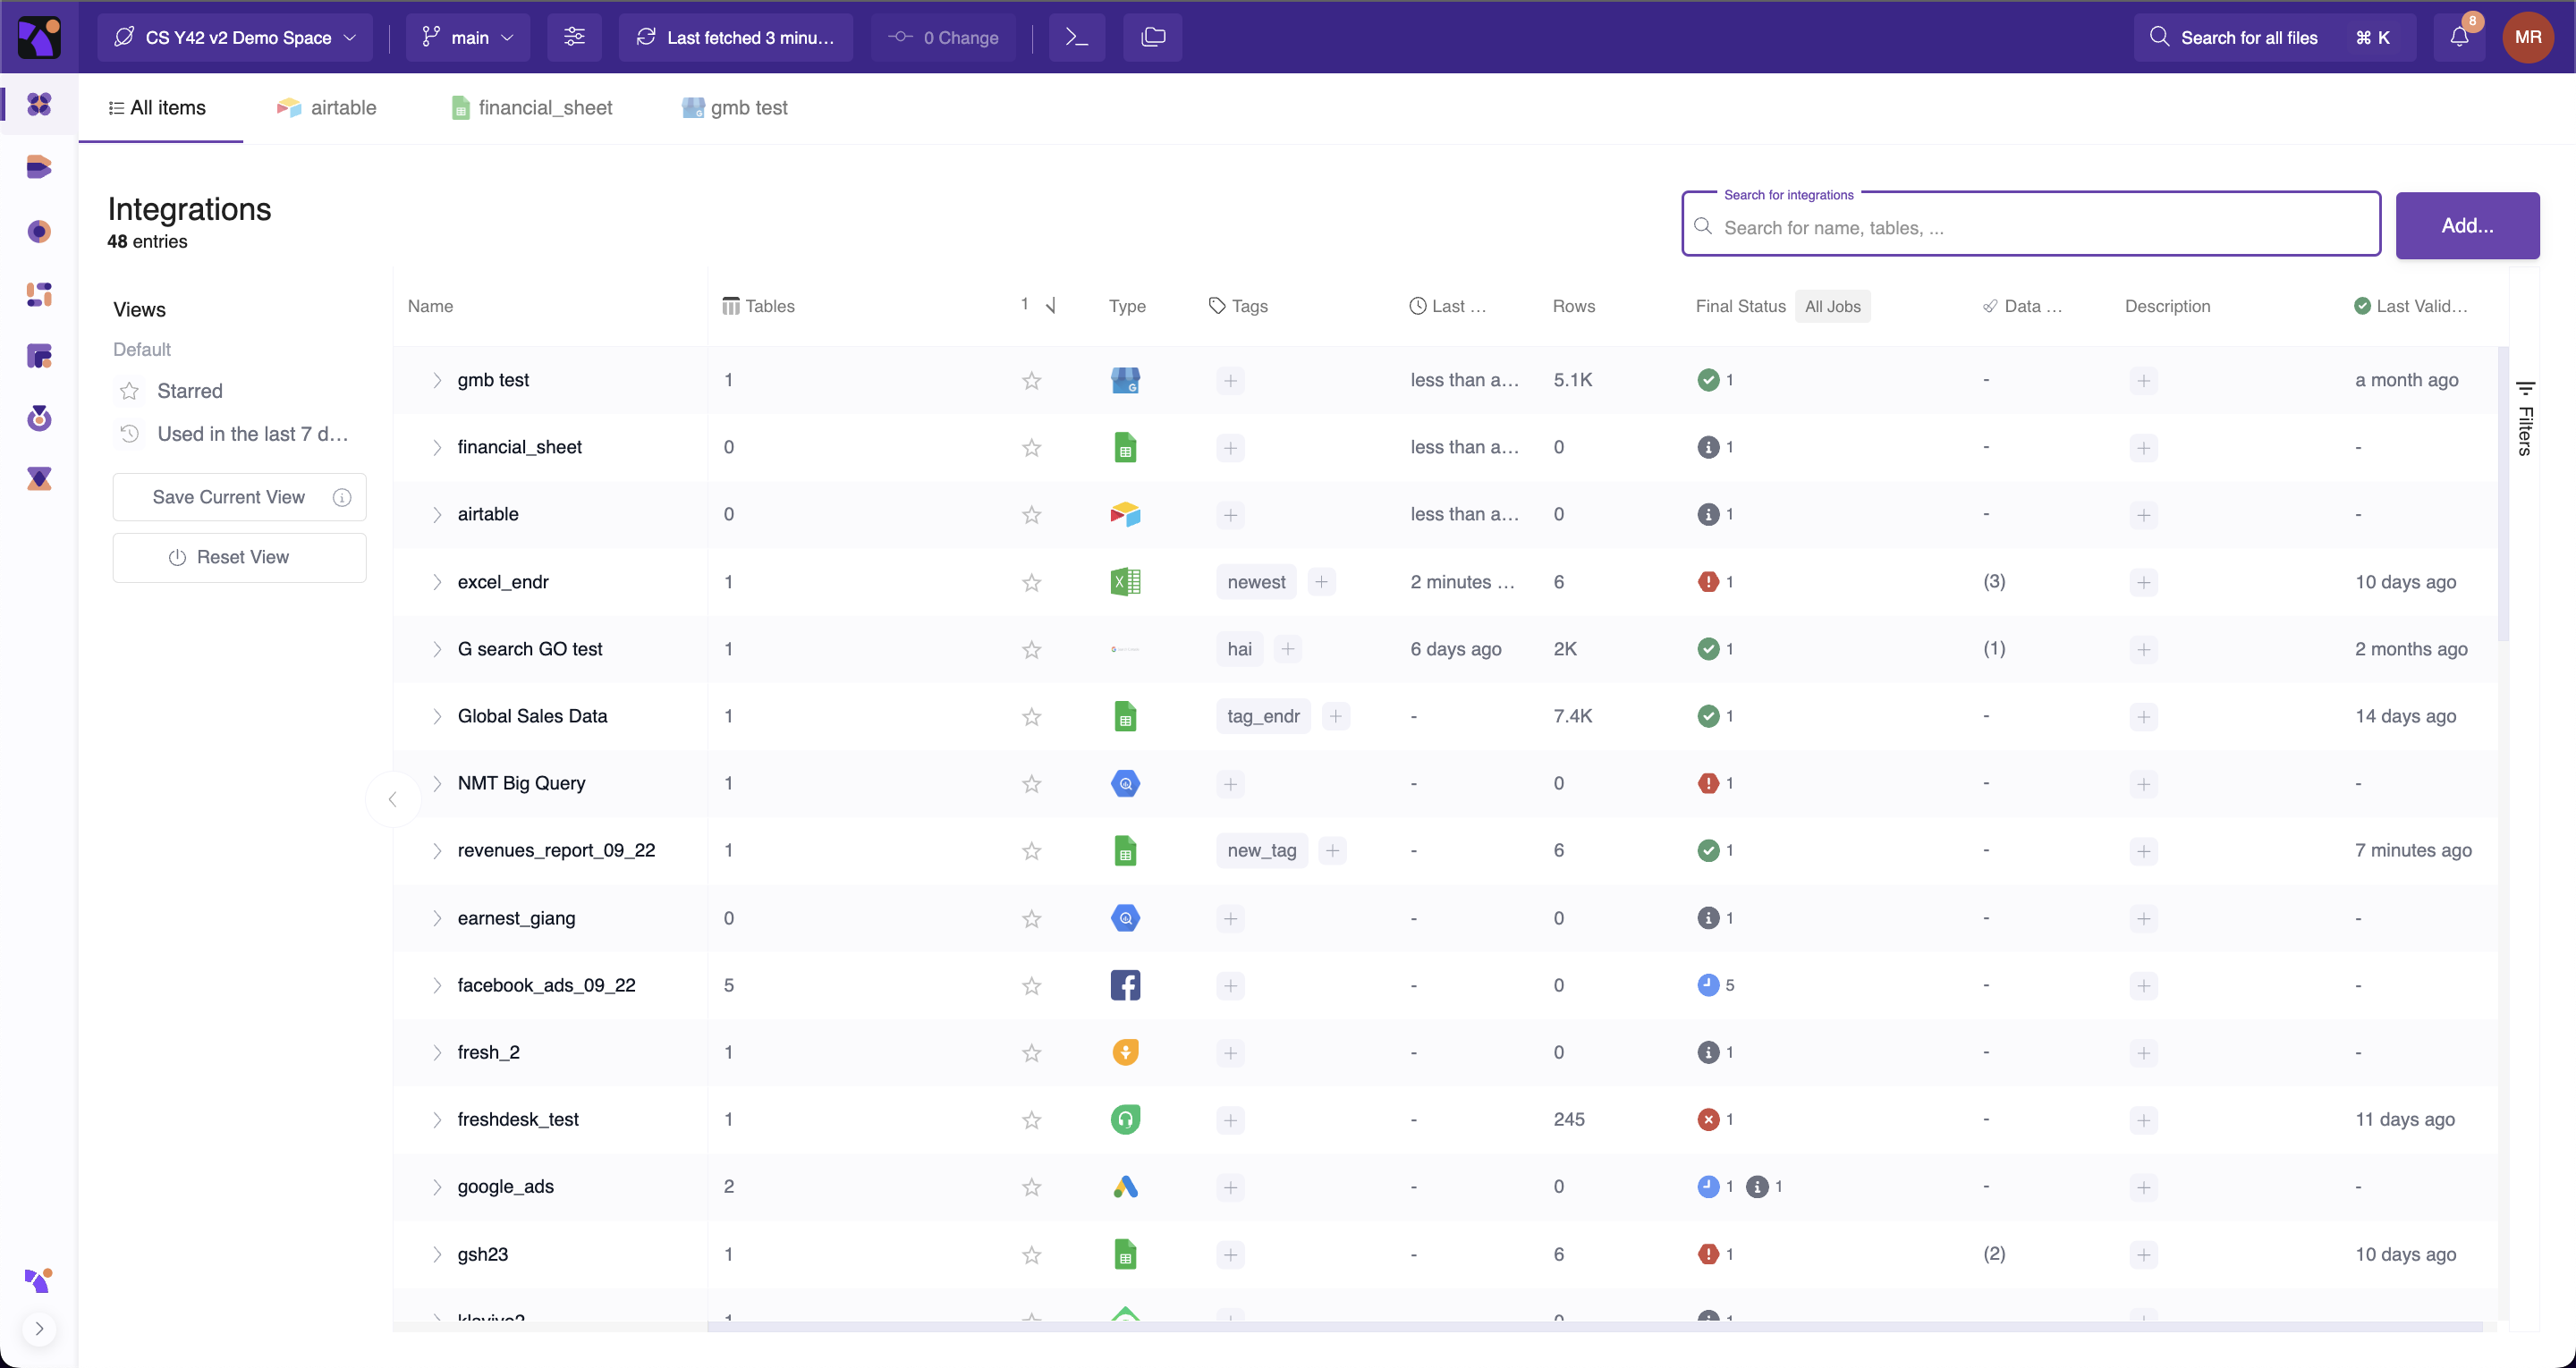
In this data table, you can find all the necessary information about each integration:
- Name of the Integration.
- Tables. Show how many tables the integration has imported.
- Starred. By clicking on it, you add this integration to your favourite list.
- Type. Show the application connected.
- Tags. Show tags. By clicking the + sign you can easily add new ones.
- Last used Shows the time this integration was last used.
- Rows. Shows how many rows the integration has in total.
- Final Job. Shows the end status of the Jobs result.
- Data Tests Shows how many data tests were applied to this integration.
- Description. Shows the description. By clicking the + sign you can easily add new ones.
- Last valid job Shows the time when the last valid job is executed. In other words, shows the last time your integration was updated.
Add New Integration
Y42 connectors range from different applications to specific databases.
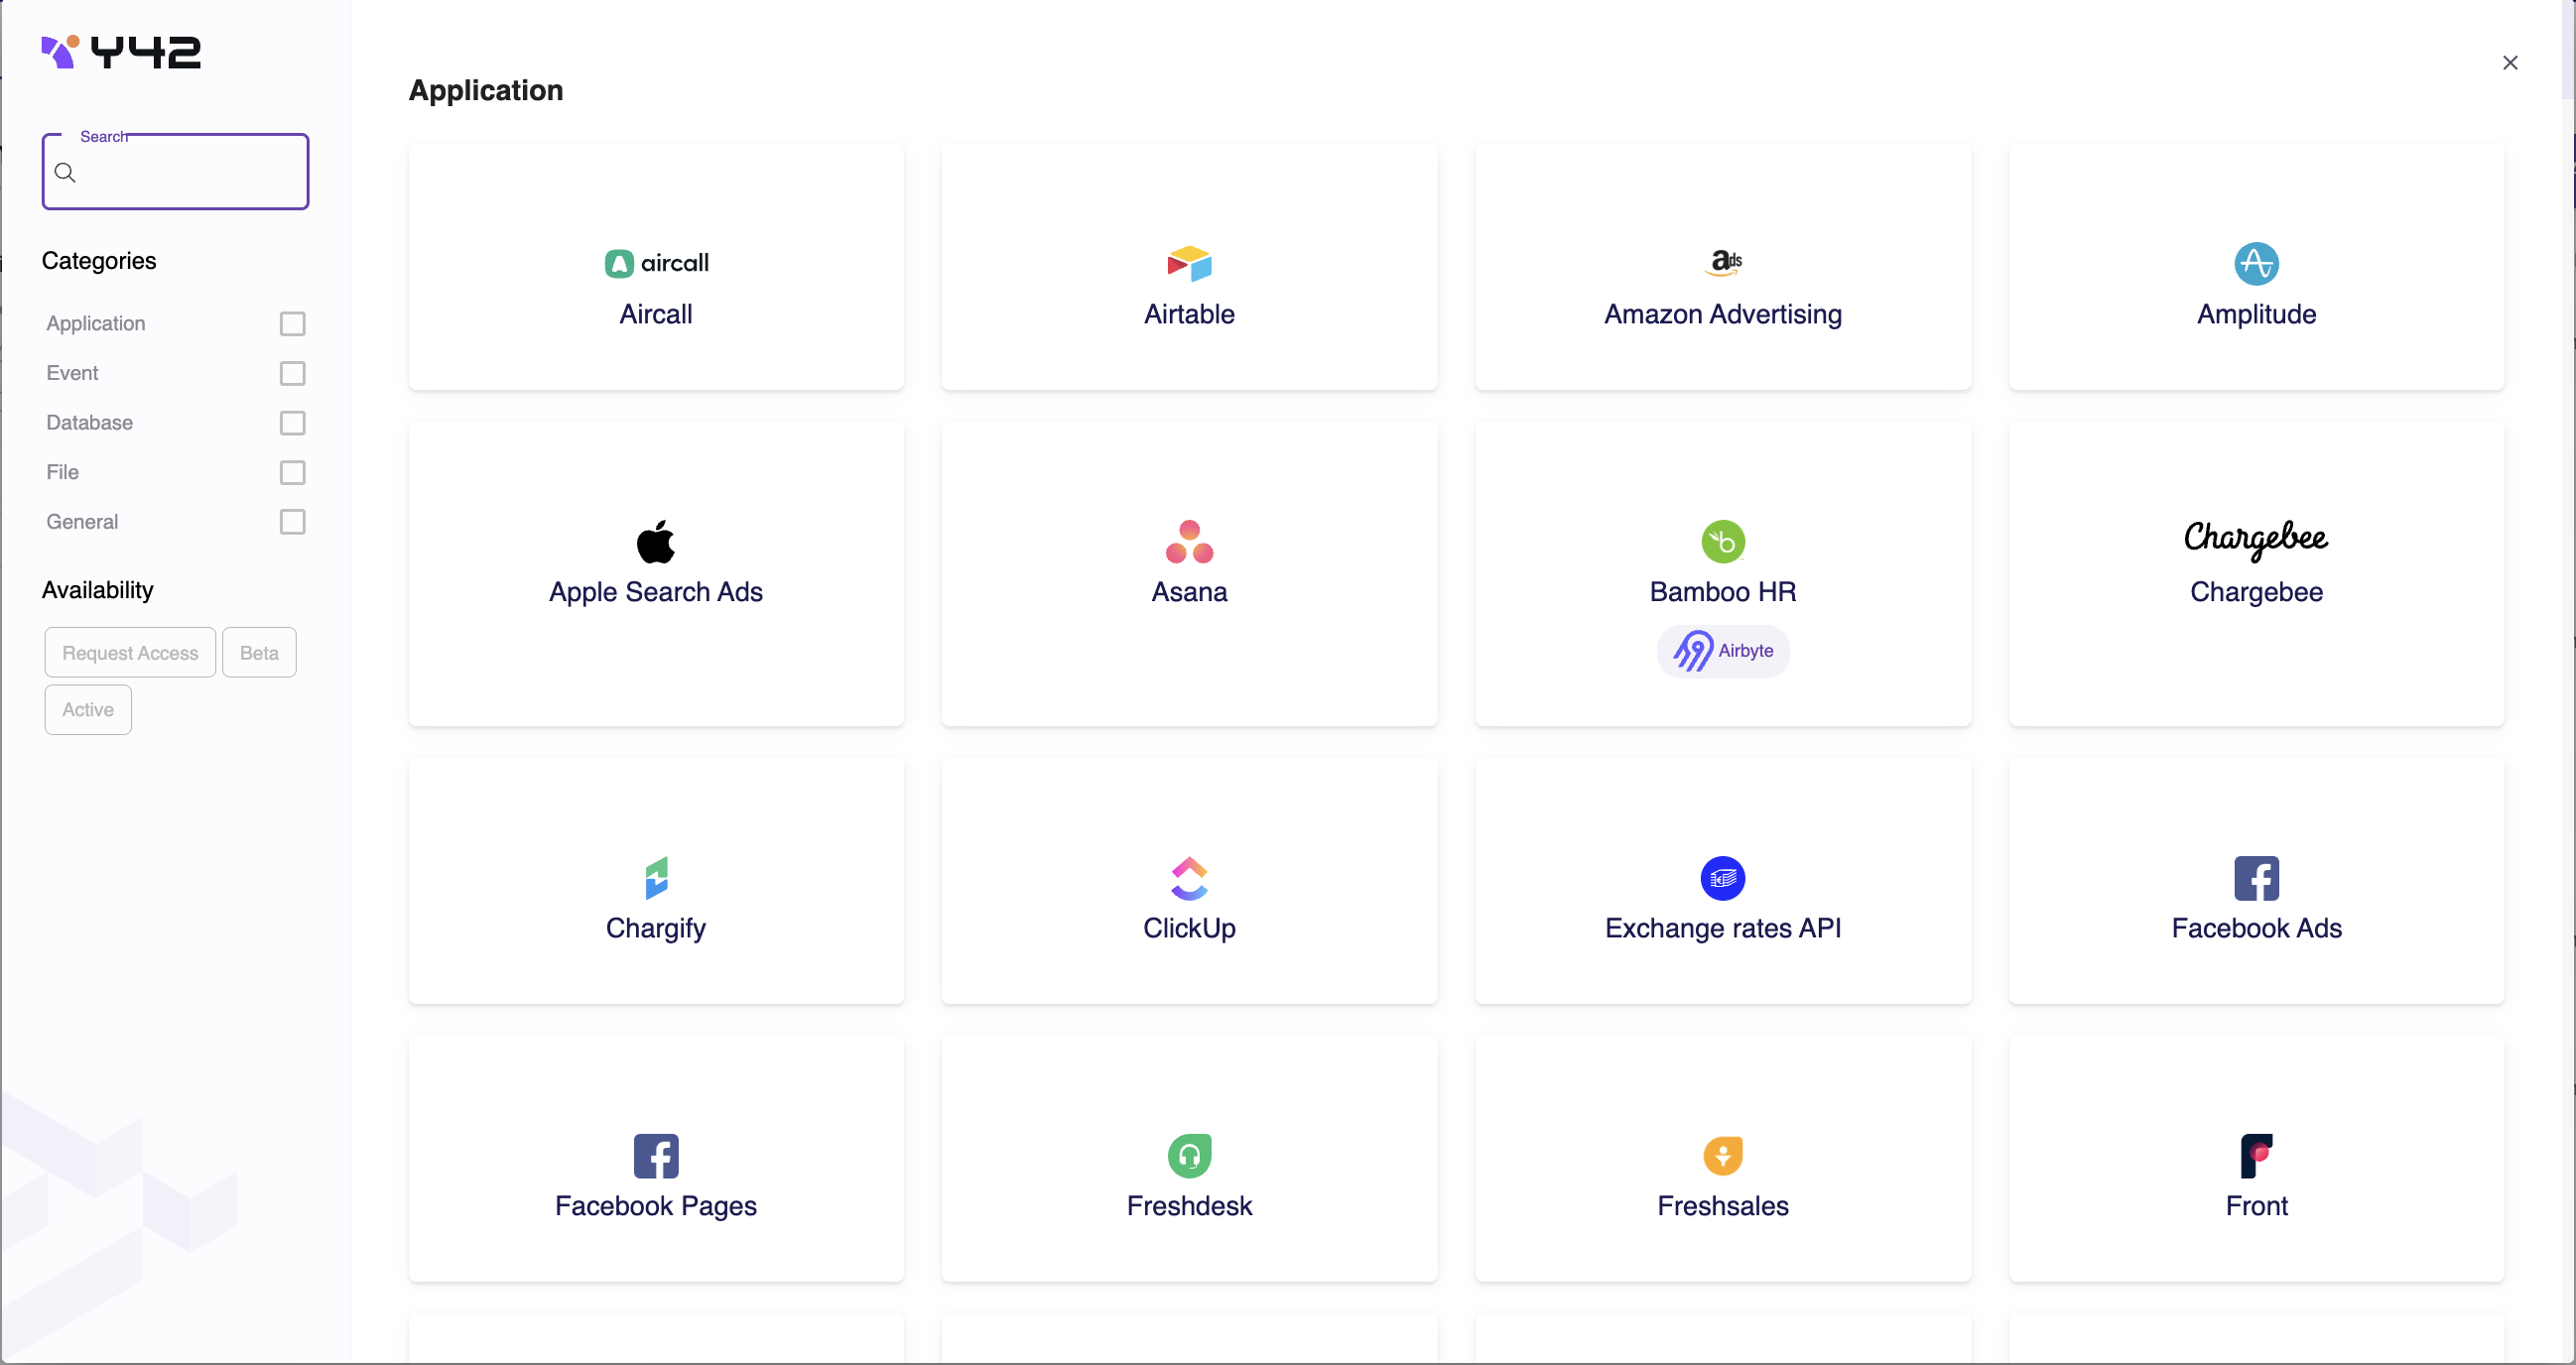
To add a new integration, follow the steps below:
- In the top right corner of your dashboard, click Add;
- Select your integrations from the portfolio. Use filters or search for a specific name;
- Give it a unique name, and an optional description and commit.
- Follow the authentication flow, and use the guide embedded in the page for guidance.
- Select tables and columns you want to import and commit.