Sorting a table according to one column can be fundamental when trying to keep your table clear and structured. For example, it might be useful to sort your order table according to date. Doing so is very easy in Y42:
Note: In order to use the Model feature you already should have already imported data sources into Y42.
Adding the Sort Node to Your Data Model
- In the Model tab, click Add... Name your new data model and choose a privacy level.
- Create at least one input table by dragging and dropping the Input field into your data model structure. Choose a data table by clicking on it, then click Apply.
- Drag and drop a Sort node close to the Input field.
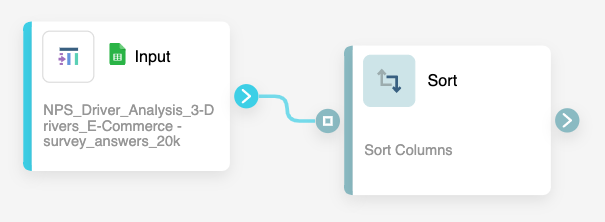
- They will automatically connect.
Setting Up Your Sort Node
- Click on the Sort node to apply the node settings.
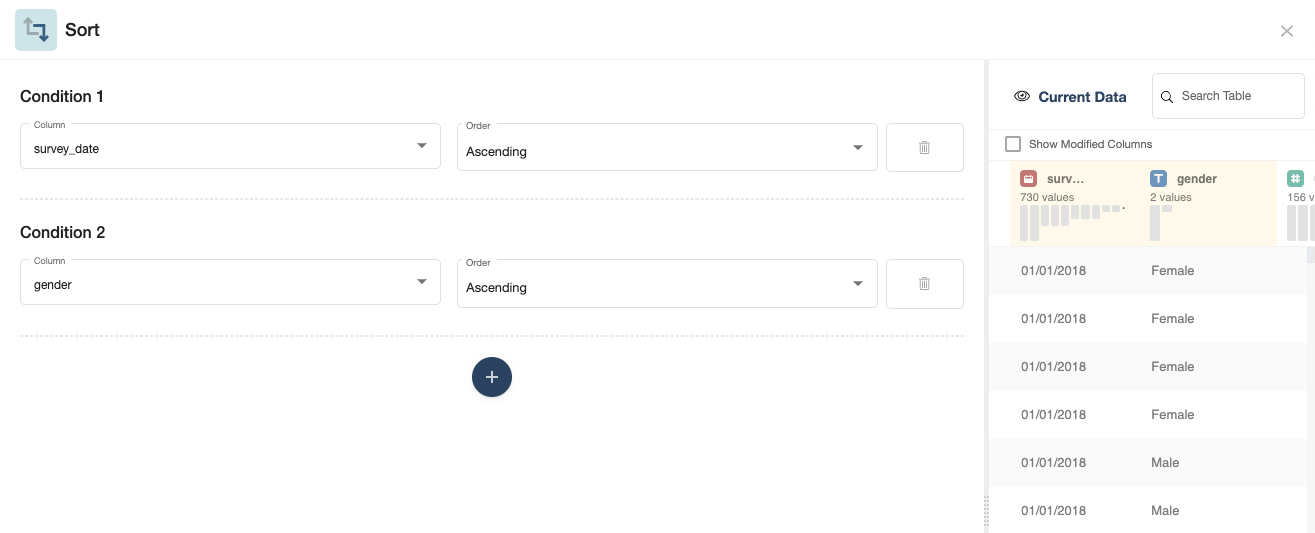
- Select a column you want to sort by in the Column box.
- Choose if you want to sort by this column in an ascending or descending manner.
- You can also add additional conditions. Your table will first be filtered by the first condition and then, when the filtered values are the same over multiple rows, by the second condition. In the example above, we filtered by date first, but as multiple surveys were held on the same day, we "sub-filtered" by gender.
- When you're done, you can check the transformation by clicking Output. If you're satisfied, click Save.
Once you're done sorting, you can either perform further transformations or, if you want to export the new data table, click Commit Model.