There are plenty of situations where the data in a column is nested into lots of text. The Text Extraction function allows you to extract parts of text before and/or after a character/word/index in a column by displaying them in a new column or overwriting an existing column. Here is how to do it in just a few clicks within the Text Extraction node:
Note: In order to use the Model feature you already should have already imported data sources into Y42.
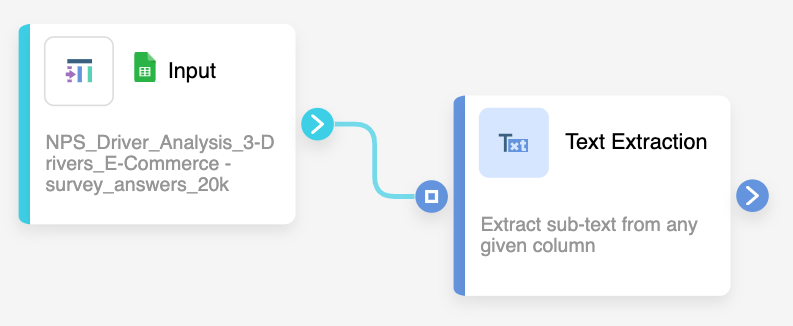
Adding the Text Extraction Node to Your Model
- In the Model tab, click Add... Name your new data model and choose a privacy level.
- Create at least one input table by dragging and dropping the Input field into your data model structure. Choose a data table by clicking on it, then click Save.
- Drag and drop a Text Extraction node close to the Input field. They will automatically connect.
Setting Up Your Text Extraction Node
- Click on the Text Extraction Node to apply the node settings.

- You can choose to create a new column by typing it into the Column name box or overwrite an existing column by selecting it from the menu.
- In the Source Column menu, select the column(s) you want to extract text from.
- Then, choose the value type to extract by. You can either extract by INDEX for extract by TEXT.
Tip: If you know exactly the position of the text section you want, then extracting by index might be the best choice. The characters of each cell are counted starting from 0 which represents the first character. If you don't know the exact position, but know that the text you want to extract comes before or after a specific word or character, extract by text.
- In the Target Column box, choose if you want to extract the text BEFORE or AFTER your index/text. If your Value type is TEXT, you will also need to specify if you want the returned value to be based on the FIRST or LAST character typed into the text box below.
- Finally, type a Value or a Text before/after which you want to extract in the respective box.
- You can perform multiple extractions in one node by clicking the blue + button.
- When you're done, you can check the transformation by clicking Current Data. If you're satisfied, click Save.
Once you're done with text extractions, you can either perform further transformations or, if you want to export the new data table, click Commit Model.