The Bin Node returns a binary representation of a number, as a string value, based on boolean conditions. This can be very useful for grouping rows based on the values of a column. For instance, it could allow you to group a table with orders based on their order value (e.g.: bin 1 = all orders with values above $50, bin 2 = all orders with values below $50).
Note: In order to use the Model feature you already should have already imported data sources into Y42.
Adding the Bin Node to Your Data Model
- In the Model tab, click Add... Name your new data model and choose a privacy level.
- Create at least one input table by dragging and dropping the Input field into your data model structure. Choose a data table by clicking on it, then click Save.
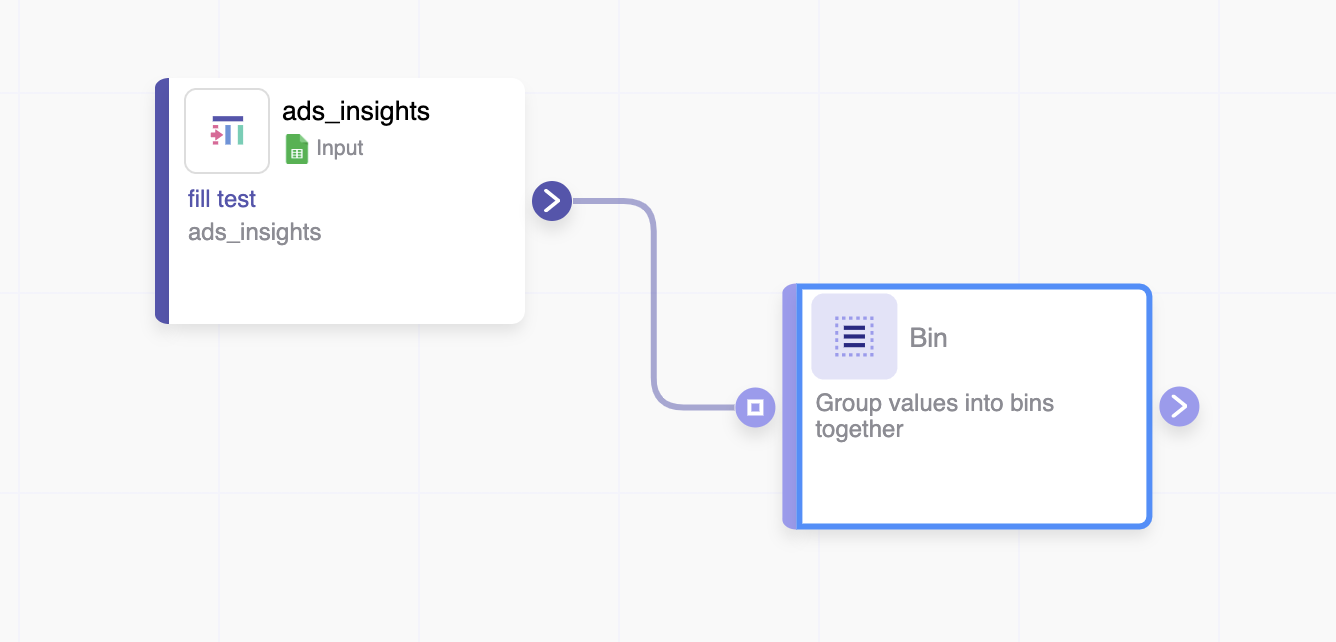
- Drag and drop a Bin node close to the Input field.
Setting Up Your Bin Node
- Click on the Bin node to apply the node settings.
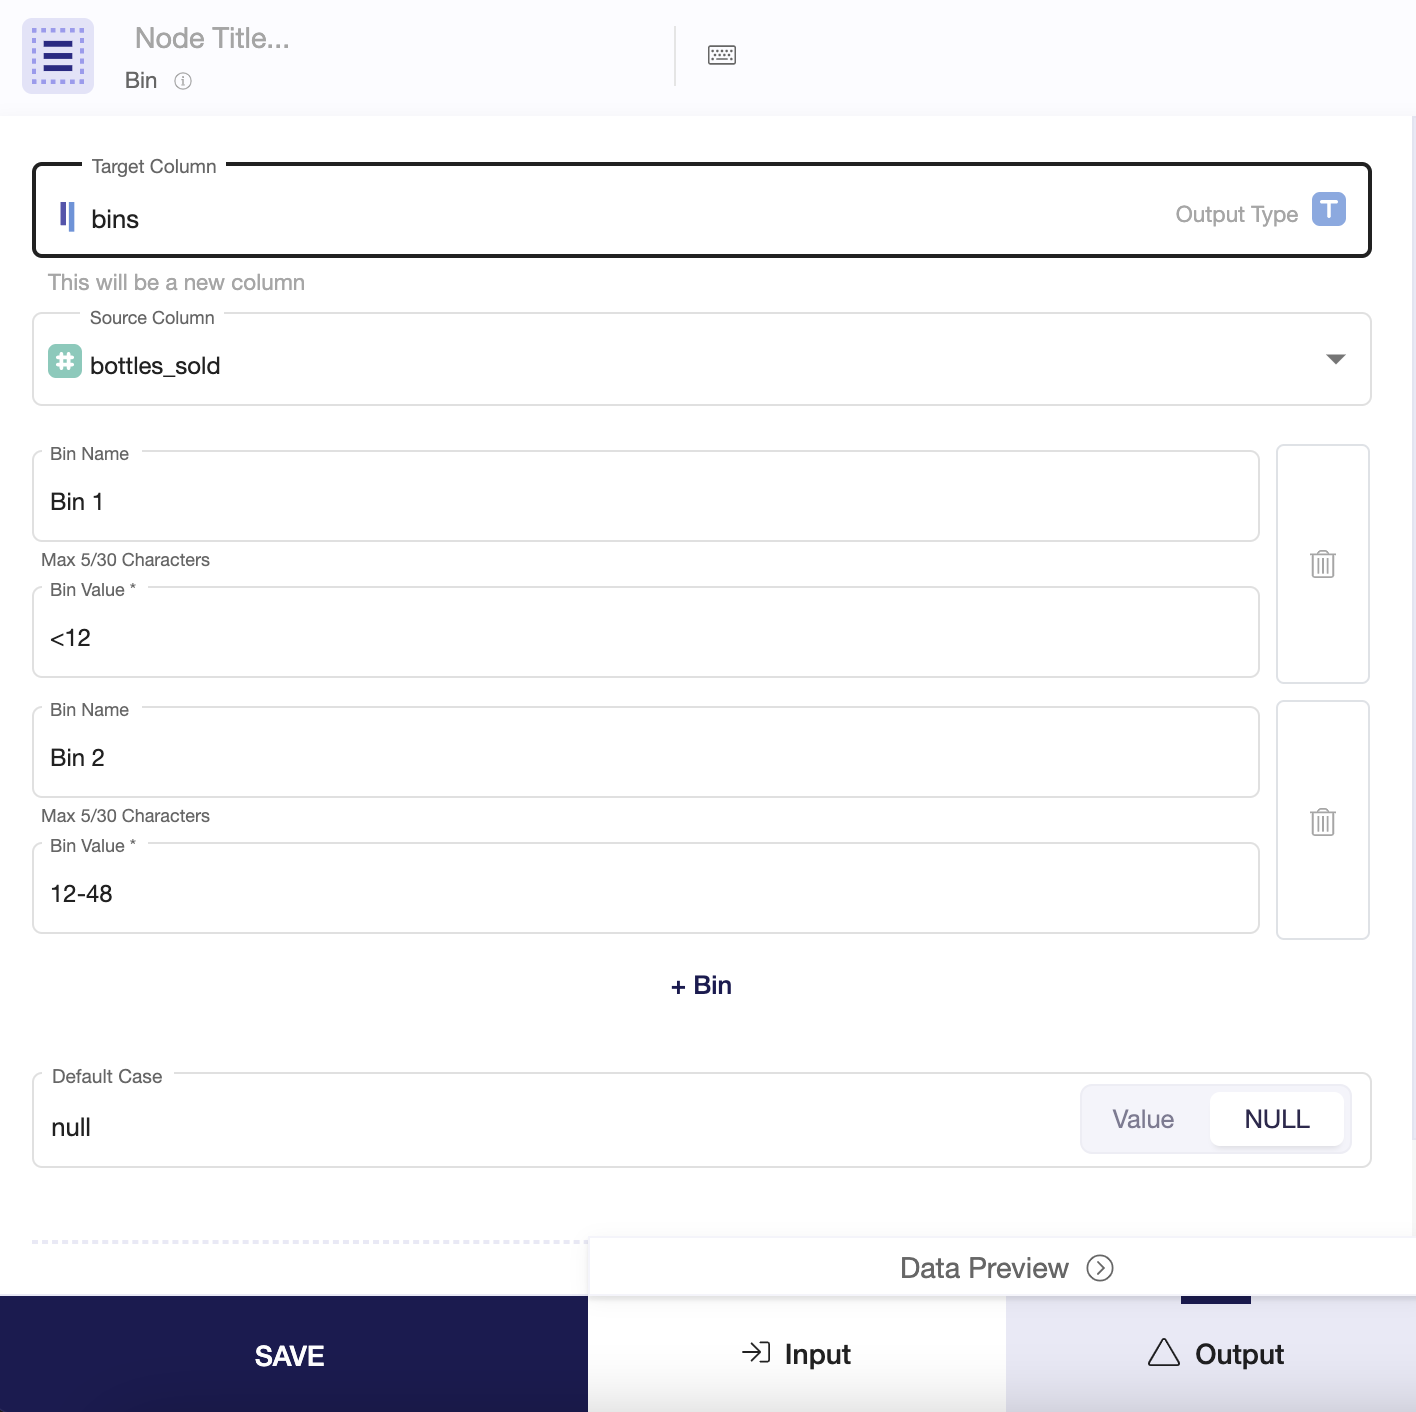
- You can choose to create a new column by typing it into the Target Column box or overwrite an existing column by selecting it from the menu.
- Then, choose the column you want to use the values for grouping into bins in the Source Column menu.
- On Bin Name, give the name you'd like to give to that bin group. On Bin Value, select the condition that needs to be met so the rows fall into that specific bin.
- Click on + Bin to add another bin, if needed.
- On Default Case, you have the option to select what happens to the values that do not fall into any of the Bin Value conditions - return them as NULL or another text value.
- When you're done, you can check the transformation by clicking Output. If you're satisfied, click Save.
Once you're done aggregating columns within your model, you can either perform further transformations or, if you want to export the new data table, click Commit Model.