What is SQL Model?
SQL Model is an advanced way that allows users who know the basics of SQL to apply direct queries to the selected data stack, like they would do in their Database in order to transform and retrieve (and save) the desired output table.
SQL Model uses all the SQL Big query functions and the same syntax, when the warehouse is in Big Query.
SQL Model uses all the Snowflake query functions and the same syntax, when the warehouse is in Snowflake.
Note: In order for the SQL models that use Snowflake as a warehouse to work, all the columns should be in double quotes!
Why Use SQL Model?
Basically everything a user can do with UI-Model through nodes an advanced user can do with SQL model in a faster way.
The way it works is that when the user created the query and commits the changes a new table/s is created on top of the one the user is working on. Later the user can change it or do whatever he/she wants.
Who Should Use SQL Model?
SQL users and data engineers should be comfortable using the SQL model. For everyone that does not feel comfortable with SQL we suggest using the UI-Model instead.
How to add a new SQL Model?
To start using immediately the SQL Model you should do the following:
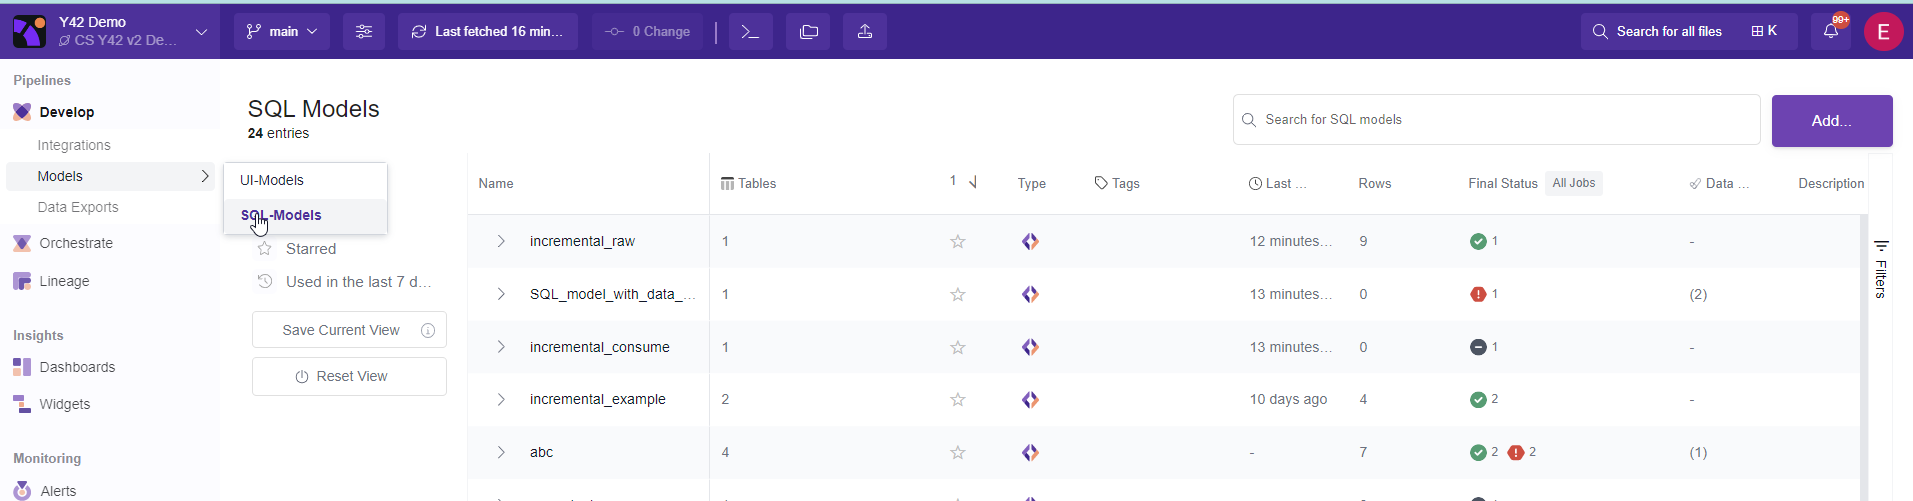
I. Visit the Model overview Menu and click the SQL-Models sub category.
Here all the SQL models appear.
II. Add a new model (or open an existing one if you want to do changes).
Click the Add… button.
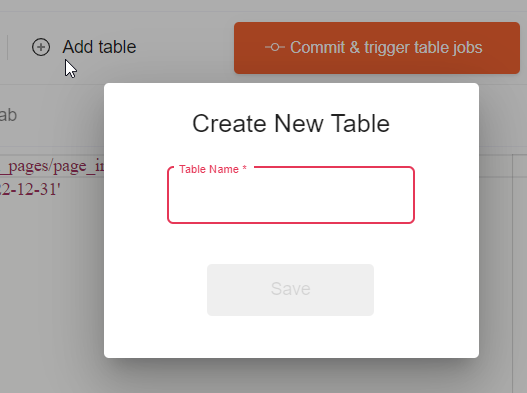
III. Enter the name of the new model and submit.

IV. Write the query.
Once you enter to the SQL Models product you get immediately introduced to the Model Definition, where you can start setting the necessary queries to transform the data. For more detailed information on the Model Definition Section read this article.
In order to write the query keep in mind the following notes:
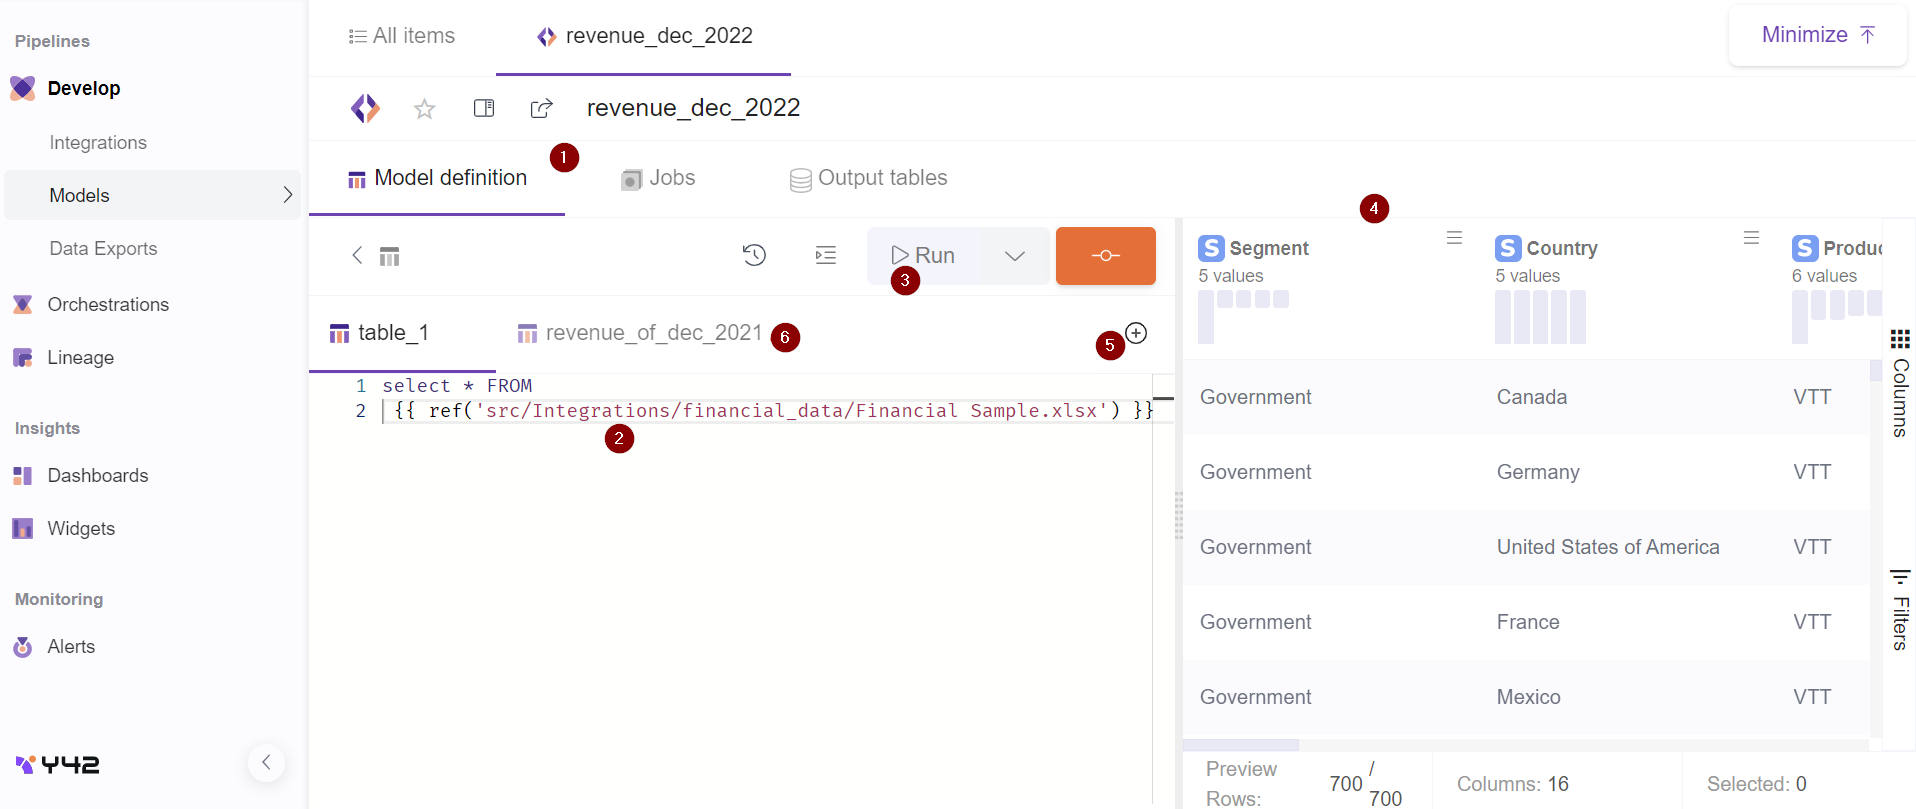
1- Model definition button. You need to be in the structure section in order to start working on the model.
2- Query box. Here you can set your query, here the transformation takes place.
SQL Model uses all the SQL Big query functions and the same syntax.
There is no limit of what SQL Model can do because it works on top of Google Big query and uses the same syntax as the Big query SQL uses.
Some tips on the syntax:
In order to select tables and columns you simply follow the logic of the query the tables and columns will be automatically suggested to you.
In every step of writing a query after any keyboard space typed, a suggestion window will open suggesting query syntax functions, tables and columns.
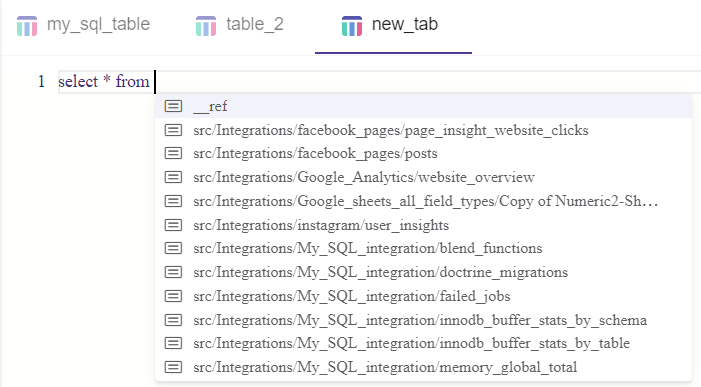
Tips for tables:
For example for Tables, after you type 'From' and Space it with automatically suggest the existing tables you have on the platform. There you may proceed by scrolling through the list or simply continue typing the name of the table you are interested and the suggestions of the tables will be automatically filtered.
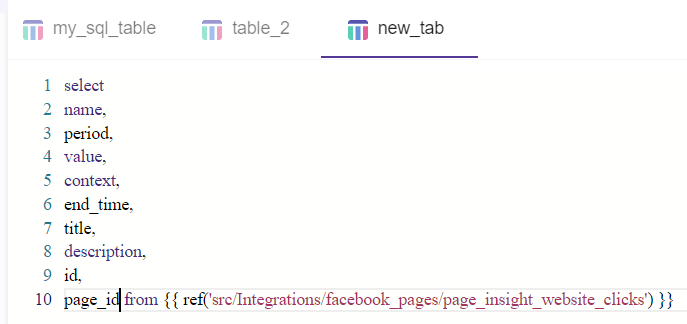
Tips for columns:
- After you type 'Where' statement + hit the space bar a suggestion will be made automatically showing all the columns belonging to that table.

-
After you select the table you might go back to the column selection in order to automatically display all the columns of that table. This is an efficient way to save time specially when there is a wide number of columns to be selected.
-
You can display the all columns by typing the shortcut __ (double underscores) then the All columns suggestion will automatically appear.
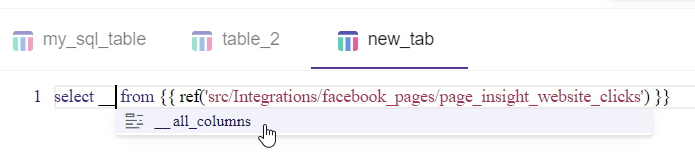
After clicking the option, all the columns will automatically appear, making it easy to keep only columns we need.
Important Note: Whenever doing changes to the columns via a function, make sure to add an Alias to it!
Example:
Select
  col1,
  col2,
  SUM(col3) as total
From table1
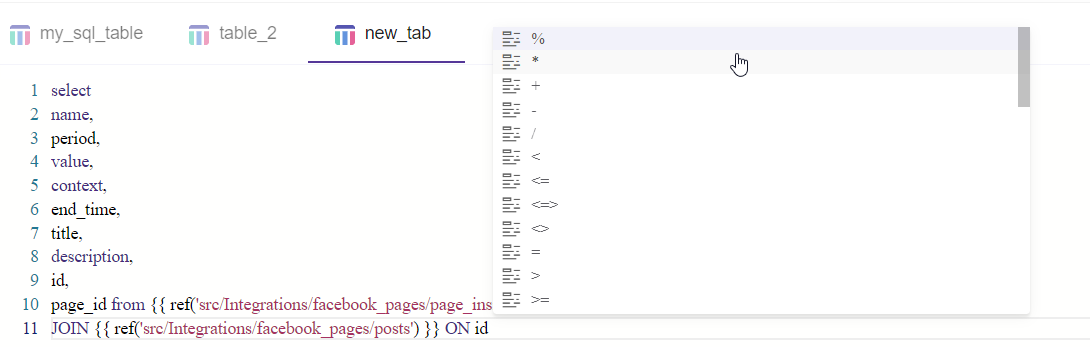
- Query syntax suggestions:
In every step of writing a query after any keyboard space typed, a suggestion window will open suggesting query syntax functions, tables and columns. The suggestions are automatically filtered based on the step of the query you are writing.

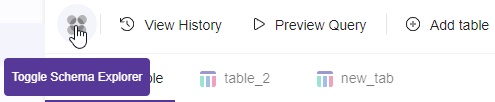
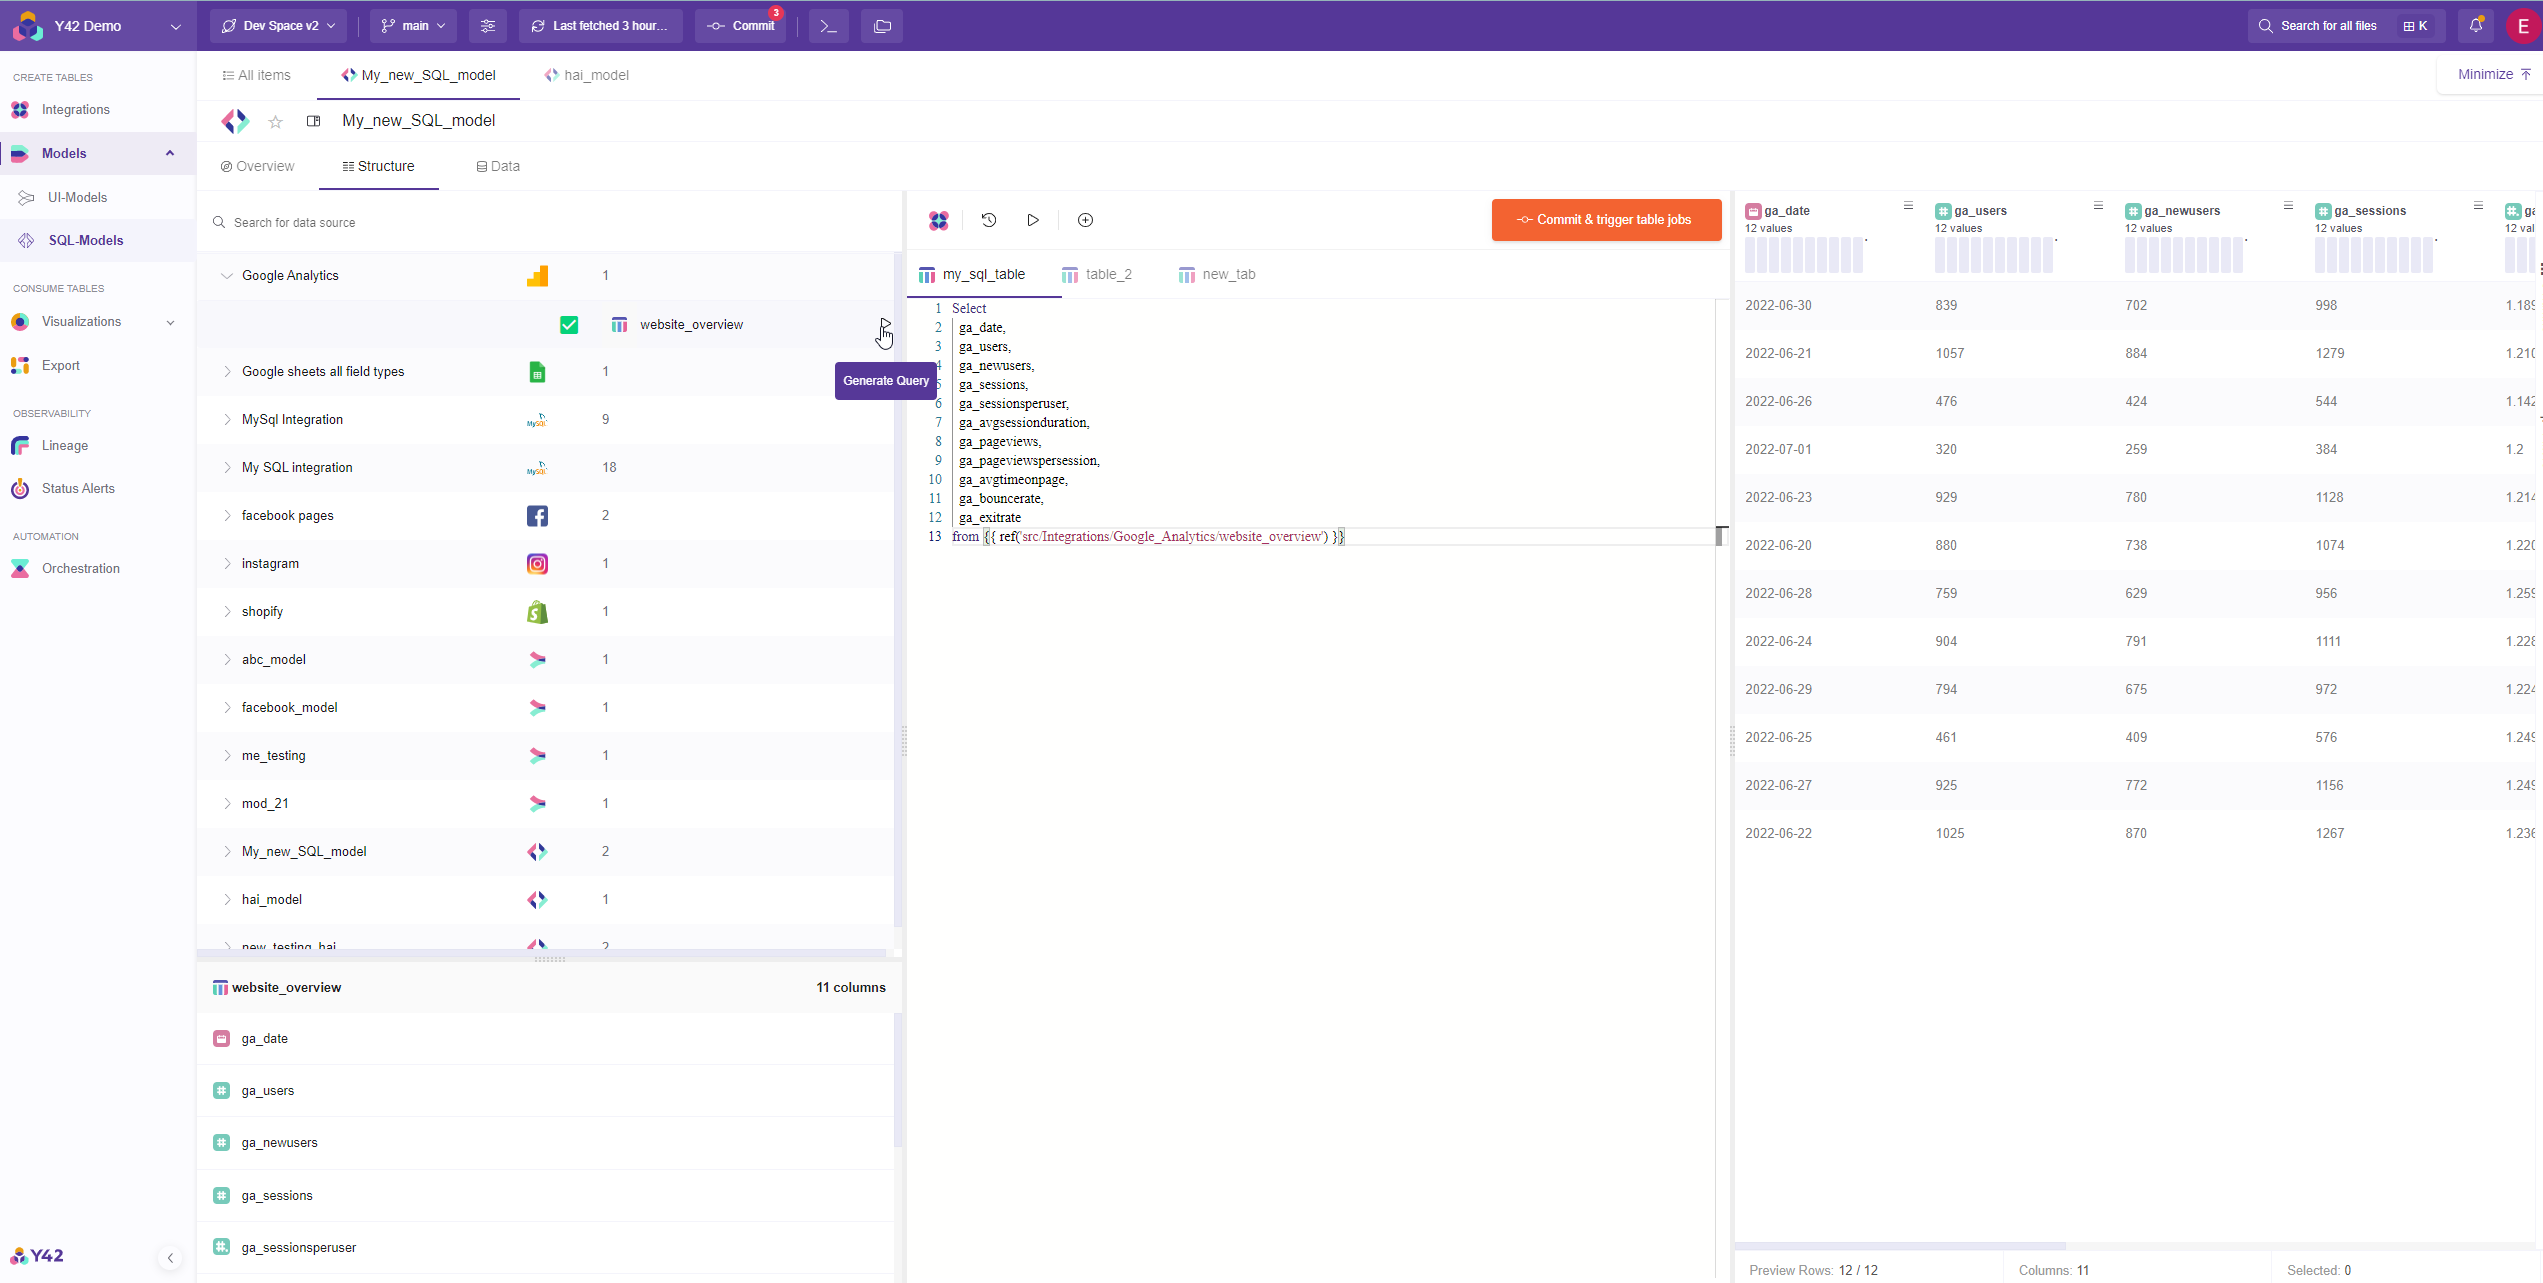
- Query Generator. By clicking the "Toggle Schema Explorer" button you can view all the table sources available for use. They appear like a tree, and by selecting the specific source table you can view all the table columns.
You can immediately generate a select statement with all the columns if you click the generate query button when you hover to a specific table. You can start working right away with just one click.
- Partial Preview. You have the option anytime to partially preview the query by simply selecting the query part you want to run.
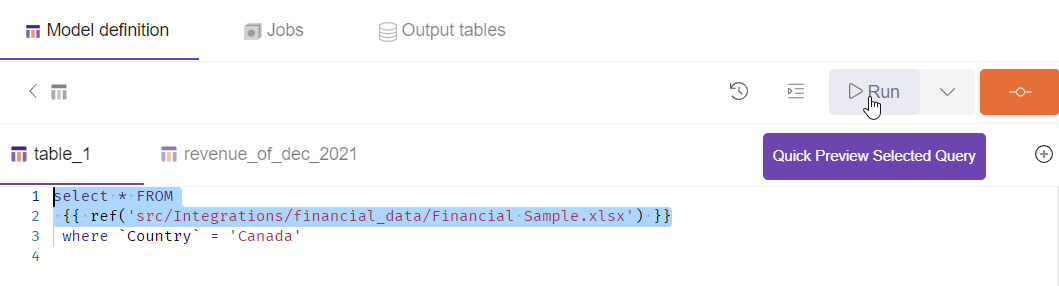
To partially preview simply select the part of the working query, in this moment the "Preview Selected Query" becomes active when clicking the "Run" button. Click the "Preview Selected Query" and the result of the selected query will appear in the right.
3- Run Query. After you created your SQL query click Run Query in order to see the result set table in the right.
4- Data Preview. After clicking "data preview", the results table will be displayed in the right part of the screen.

5- Add table. If you want to add new tables (transformations) on the same SQL model you can do so by clicking Add Table Button and then adding the new table name.
6- Tables Panel. Once you added the new table, it will appear next to the old one in the tables bar.
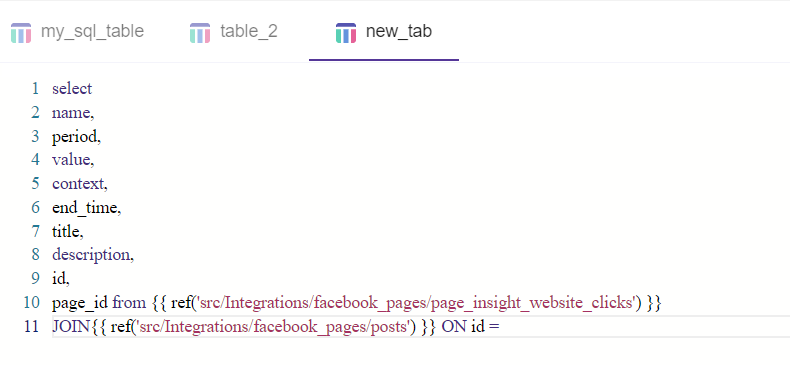
Here you have the possibility to do new transformations on the new table.
V- Commit and trigger table jobs. Once you made the changes you wanted to click commit in order to save your changes into the output data.
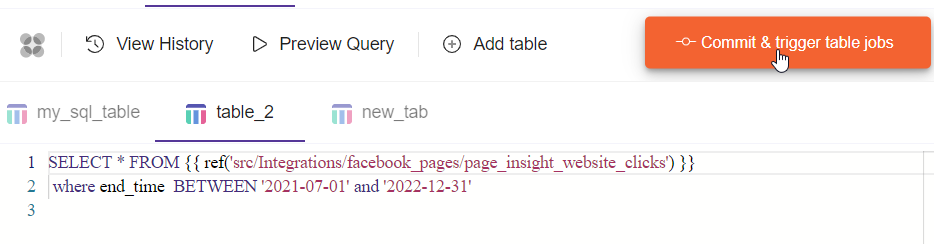
Note: After the data are committed the button will become non-clickable until new changes happen inside the board.
Important note: After this commit a new table is created. This table can be reused at any time by a new model, export, dashboard or orchestration.
Every time you need to update the new data table you need to either commit the SQl-Model or run an orchestration to trigger it in a scheduled manner.
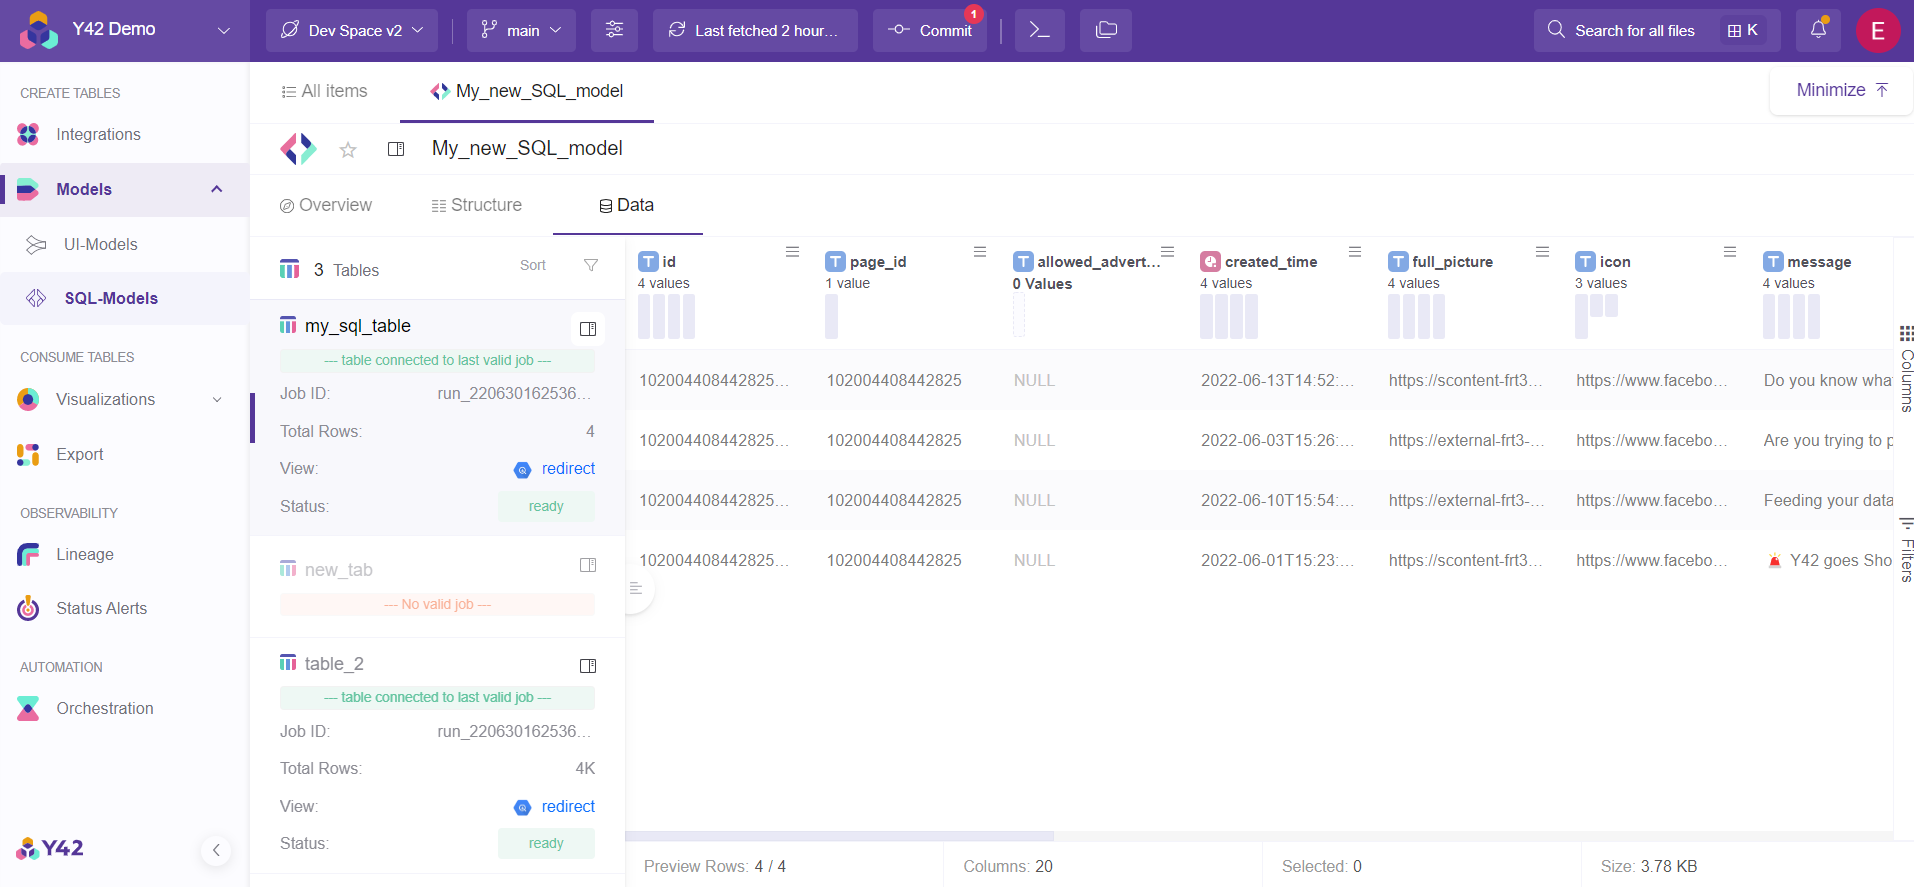
In order to view the new data table created you simply need to go to the data section.
A more detailed article on the data section can be found in this article.
Workflow of using SQL-Model
Now that you know how to set a SQL Model, you should keep in mind that in order to create or update a table you need to click "Commit and Trigger Jobs" so the new table can be reused at any time by a new model, export, dashboard or orchestration.
Every time you need to update the new data table you need to either commit the SQL-Model or run an orchestration to trigger it in a scheduled manner.
To sum up all the steps of creating a working SQL-Model you should: