Data Exports is a powerful tool that Y42 offers to export your data in a moment in time. What it does is very straight forward, it exports your tables (Integrations or models) into an external storage like Google Sheets, CSV, Google BigQuery, Excel, ODS, etc.
Why use them?
Lets suppose you use an external storage of data like BigQuery (or Google Sheets) which you want to always populate with fresh data that is transformed by a modeling layer.
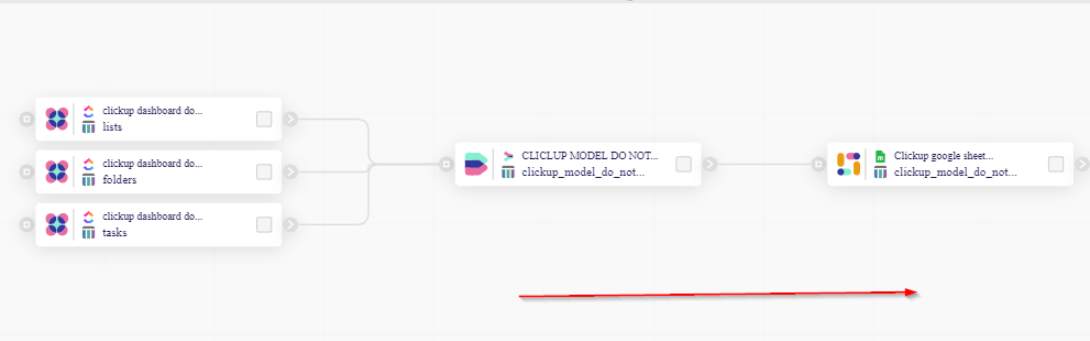
To do this you might need to build a similar flow (1,2,3 in the image below) using an Orchestration :

1- Integrations. You get data from anywhere imported in your integrations.
2- Model. The data you get from the Integrations in step 1 are manipulated in your Modeling layer which creates a whole new table with all your tailored reports inside.
3- Export. The data you created in Modeling now are exported into Google Sheets (or Google BigQuery, CSV …etc)
As you probably noticed in step 3, you need to create an automation in order to export the dataset output of the model.
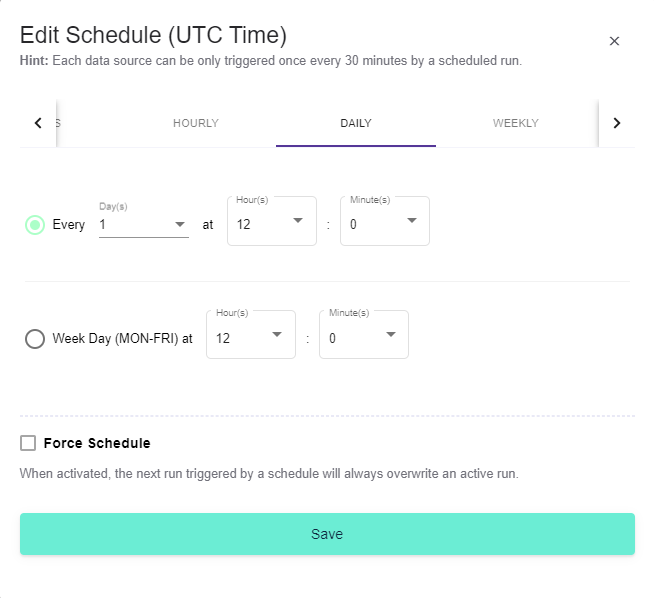
Note: If you do not use the Orchestration you would have to go to each integration table in step 1 and trigger them manually in order to import the new data, next you would have to go to model, trigger it manually to generate the new table and next to the export and trigger it manually also. With Orchestration all you need to do is set up the schema like in the image above and set up the time schedule when the orchestration should run and now you have an automated flow of data that never stops and does not need you anymore.
Who should use them?
Export should be used only for integrations and models whose data are needed to be exported to Google Sheets, CSV, Google BigQuery, Excel, ODS, etc.
If your data changes, like for example your integration might be connected to PayPal, and you always make new sales, which means new rows will be added in your integrations, and on top of that you run your analytics using probably a model who's data you need to export to an external storage like Google Sheets. This might be a good example of a business need that data exports solves.
If your data set does change constantly then adding an Orchestration will be needed to make this data export process automatic.
How to use them?
To start using immediately the Data Exports you should do the following:
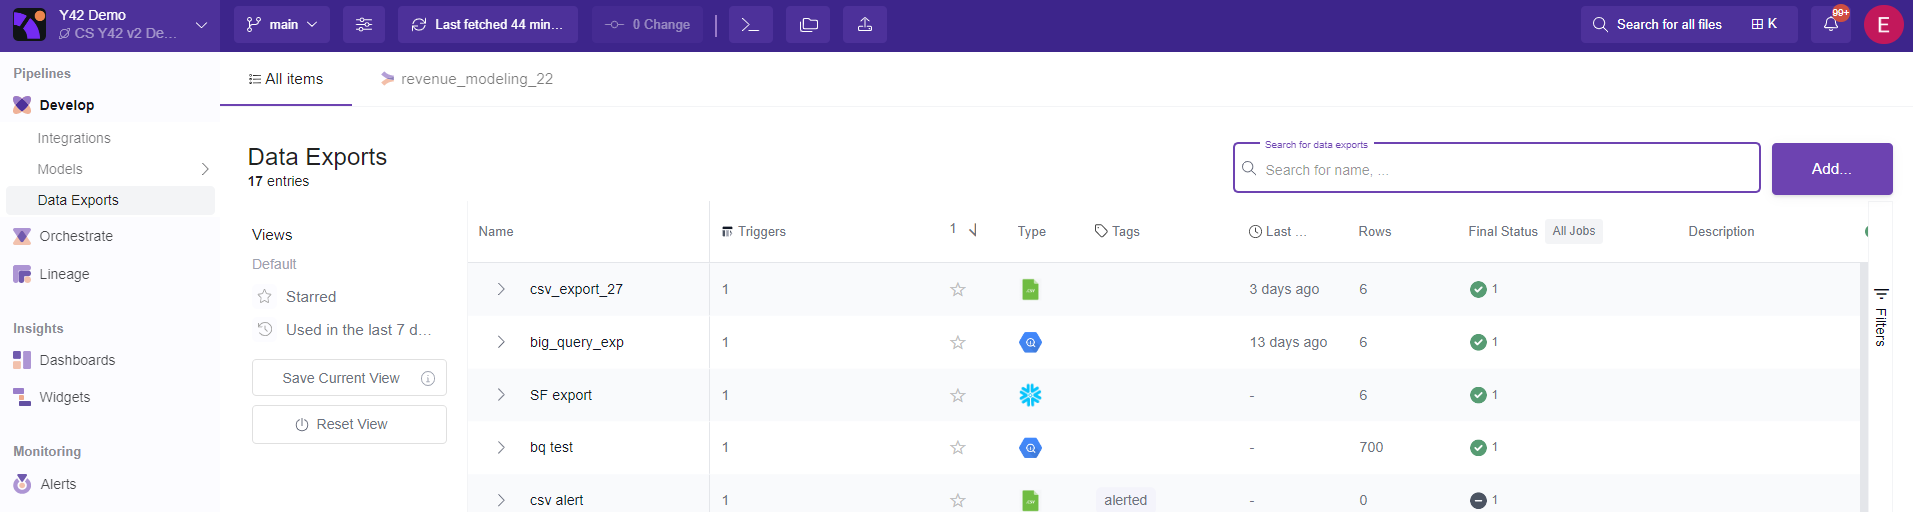
I. Visit the Data Exports overview Menu.
Here all the Data Exports appear. Look at this article to better discover all the Export Overview Menu functionalities.
II. Add an Export (or open an existing one if you want to do changes).
Click the Add… button.
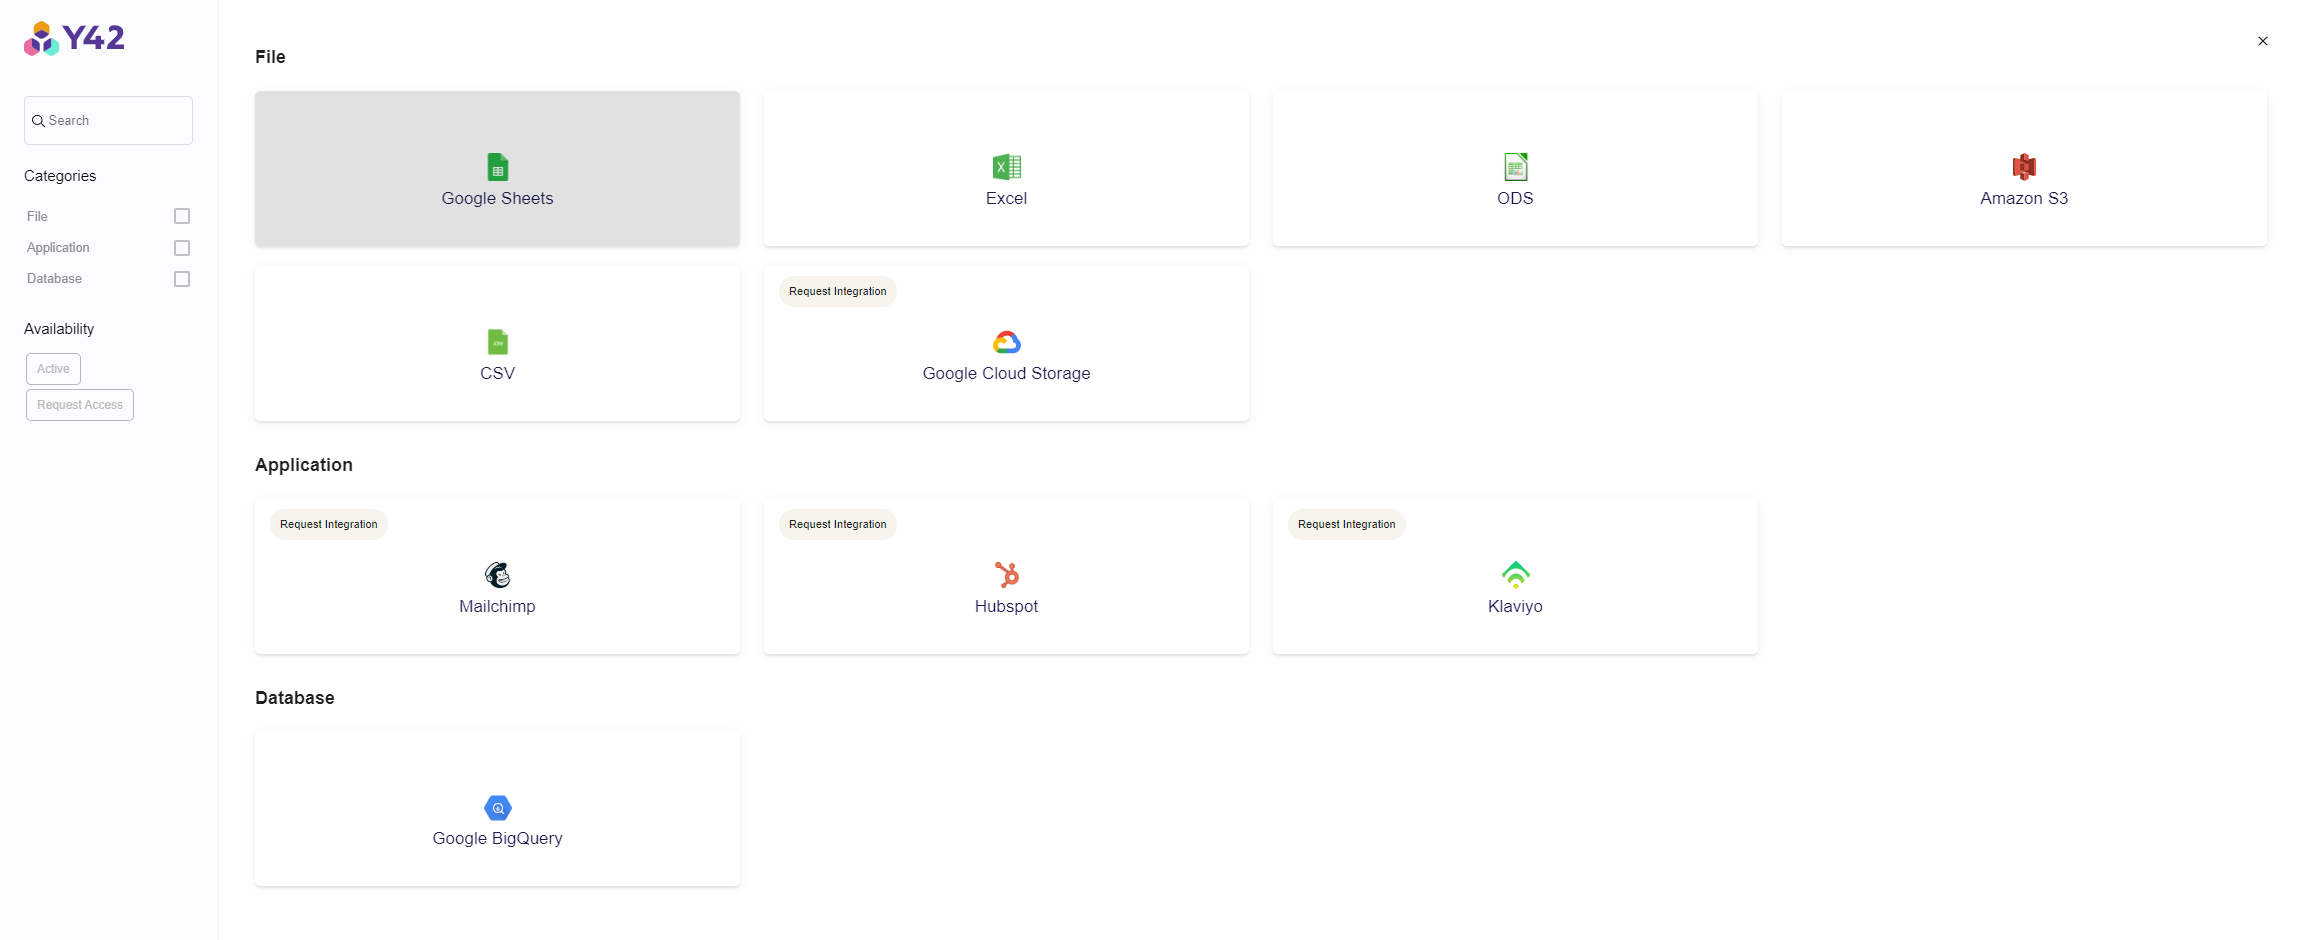
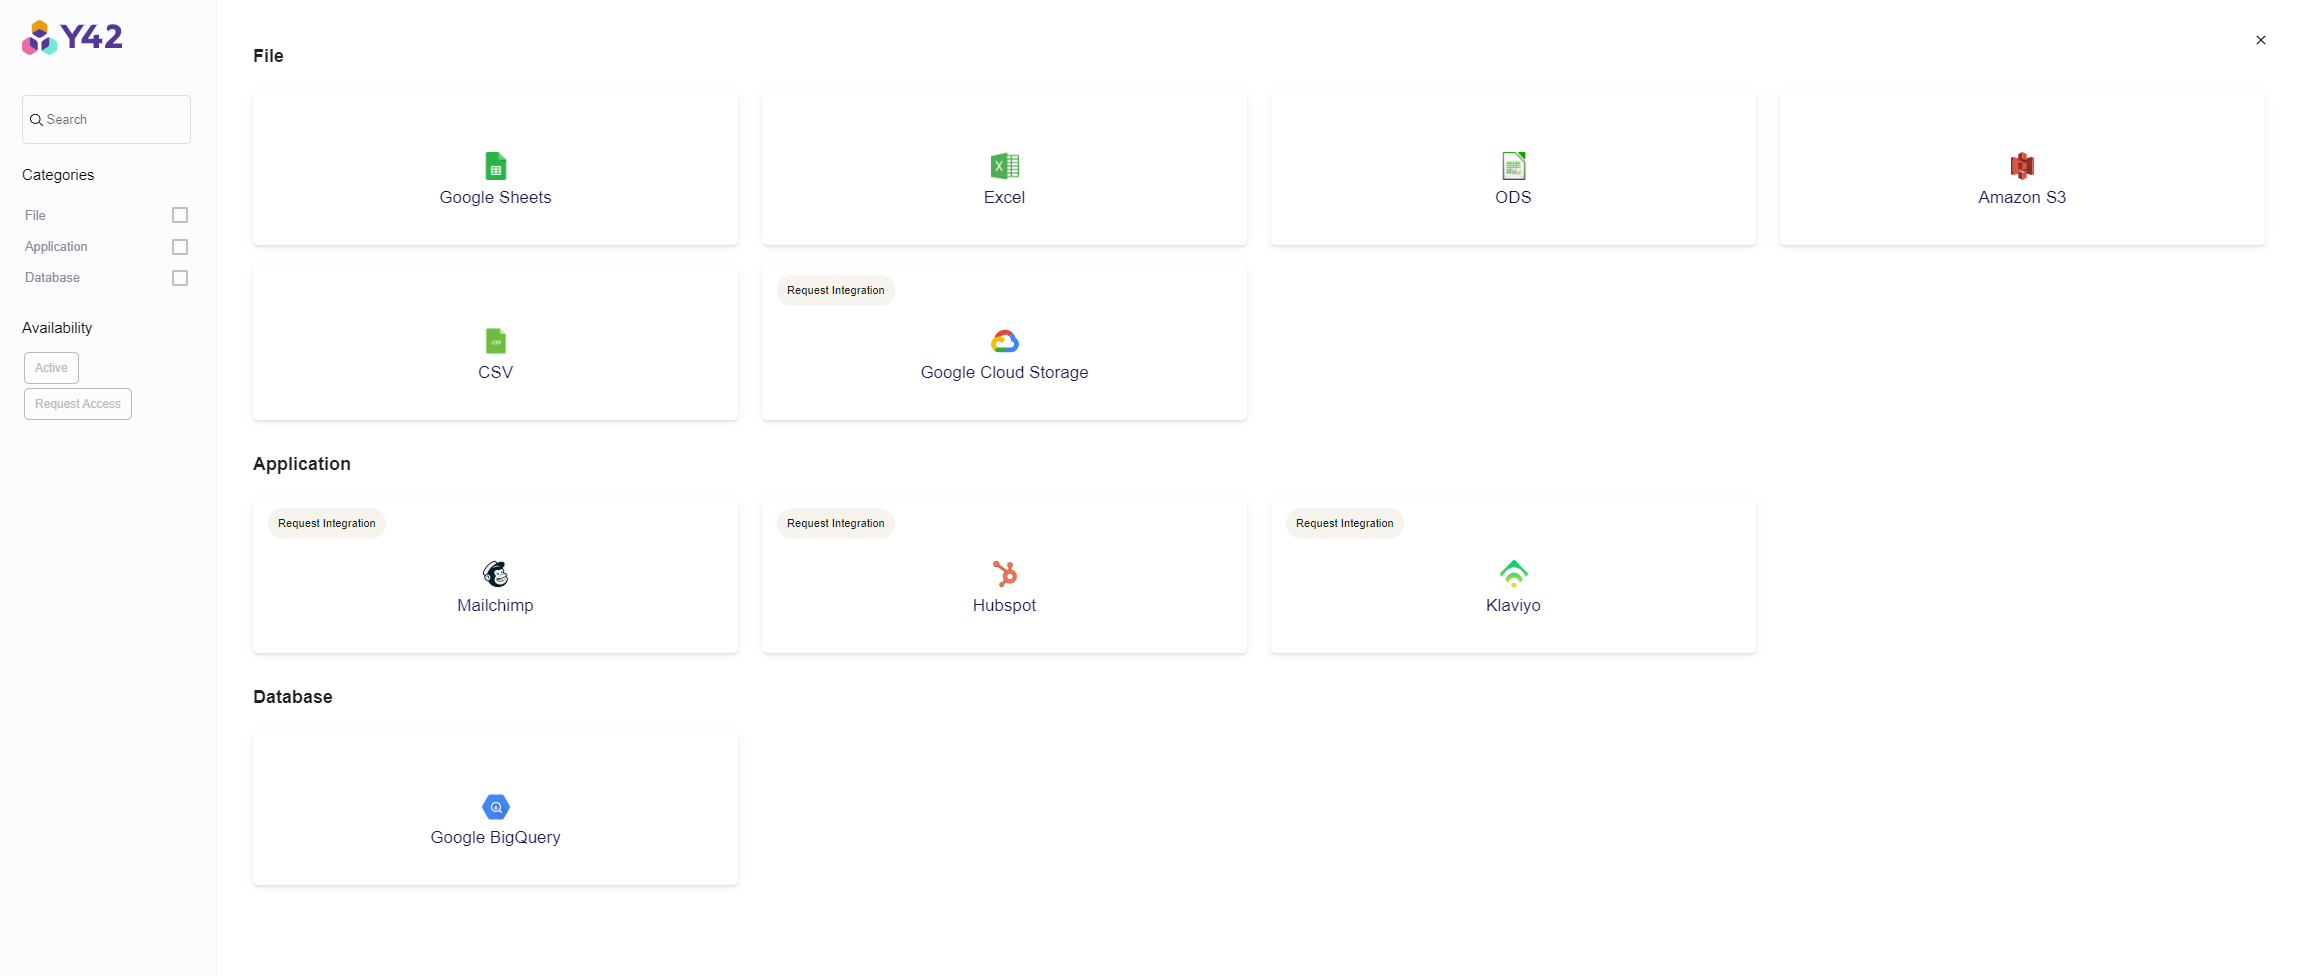
III. Select the Data Export storage type.
IV. Enter the name of the new export and submit.
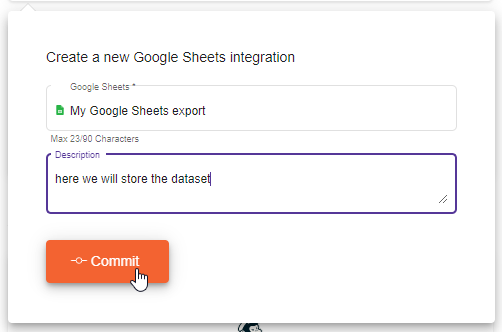
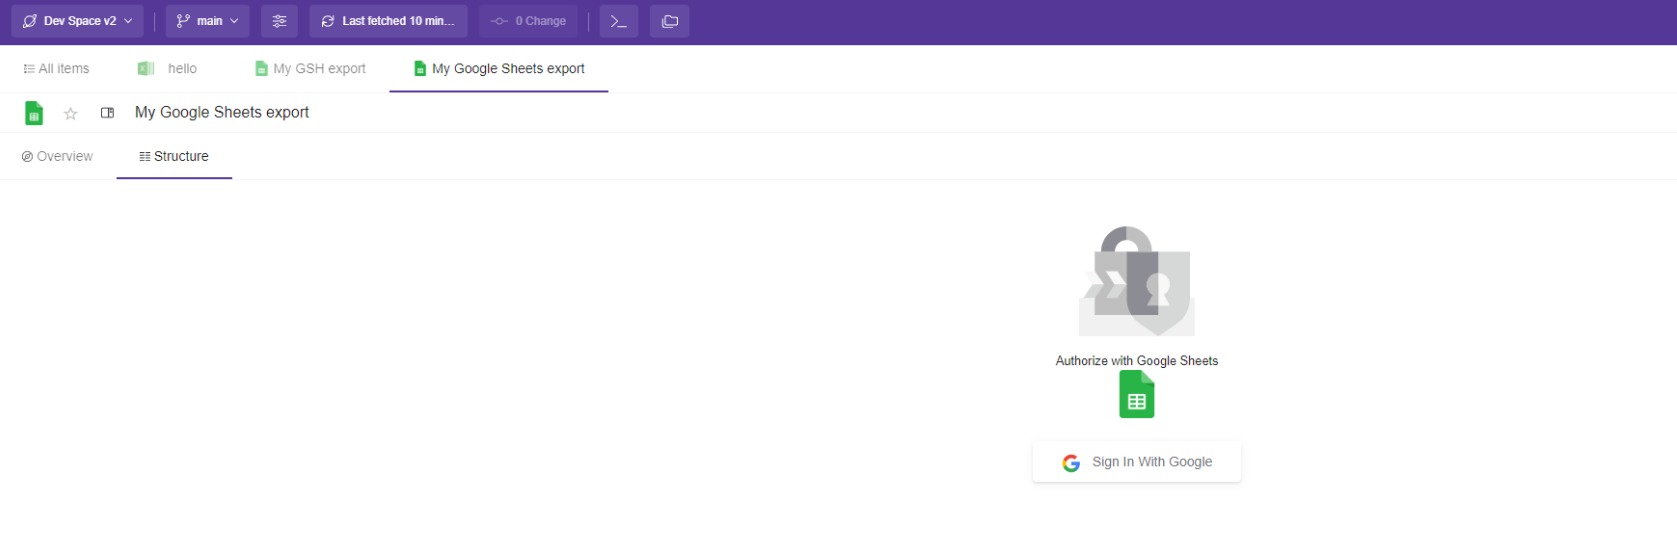
V. Authenticate if needed (Depends on the type of Data Storage selected).
Now you are inside your newly created data export, by default you enter into the Trigger Set-up of the Export.
Depending on the type of data storage it might ask to authenticate. For data storage like "Excel" or "CSV" there is no need to authenticate.
VI. Create a trigger.
In order to Create a trigger you need to first select the data table you want to export (Integration, UI-Model or SQL-Model) and next to select the export destination table.
Follow these steps as per the image counter:
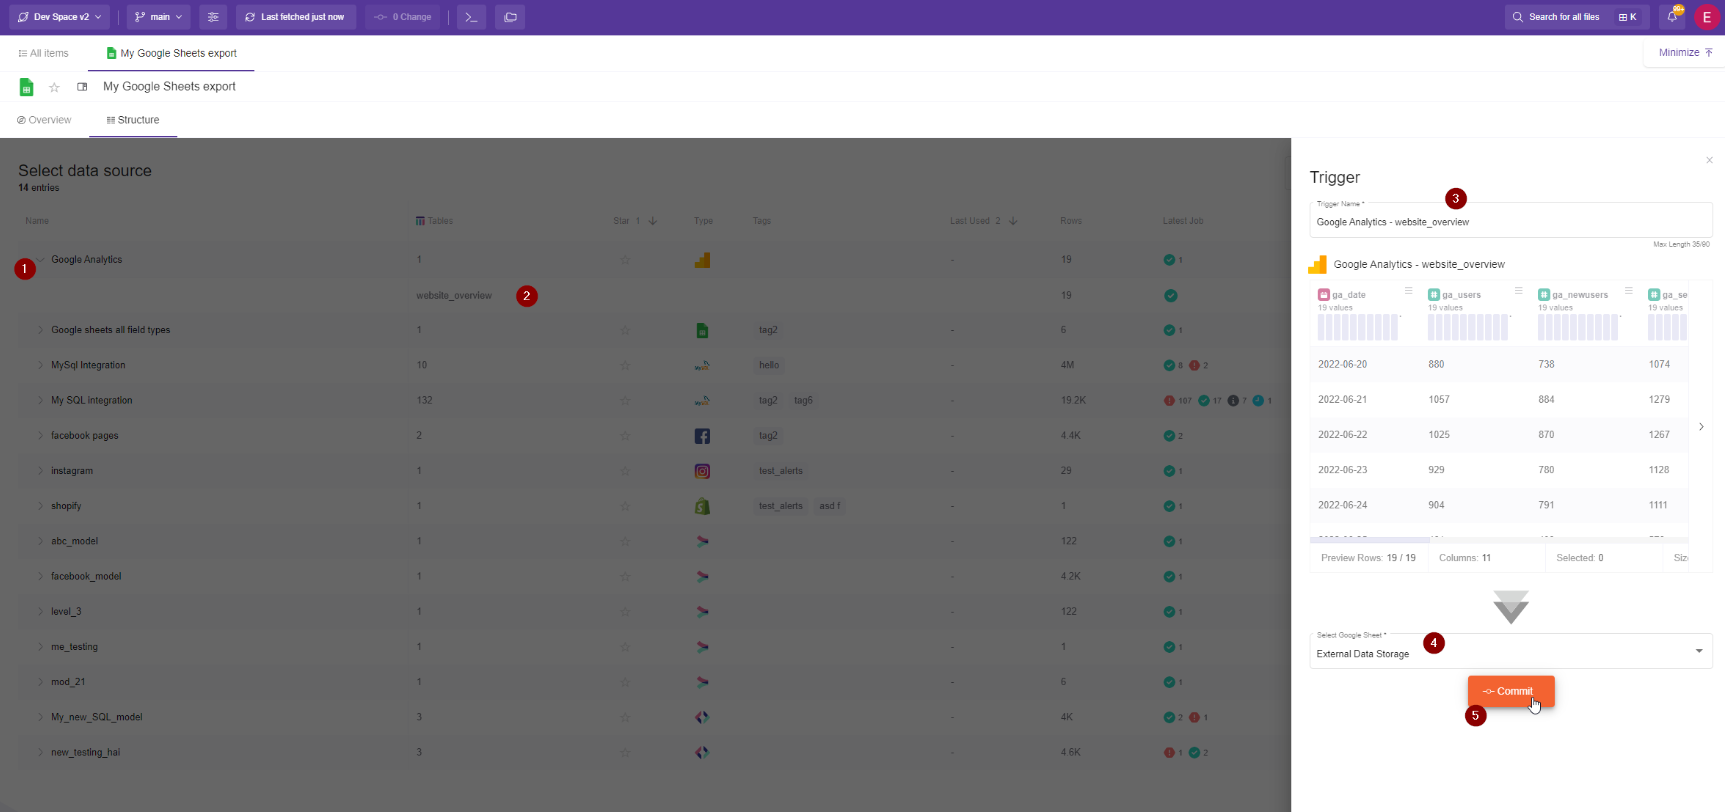
1- Expand the Integration, Sql Model or UI-Model that you want to export.
2- Select the table/s to export in the Canvas.
3- Change the trigger name (If needed). It will be auto-populated by default
4- Select the destination table (Here the data will be exported).
5- Commit
VII- Manually trigger a full export
Now that the trigger is ready you can manually trigger it.
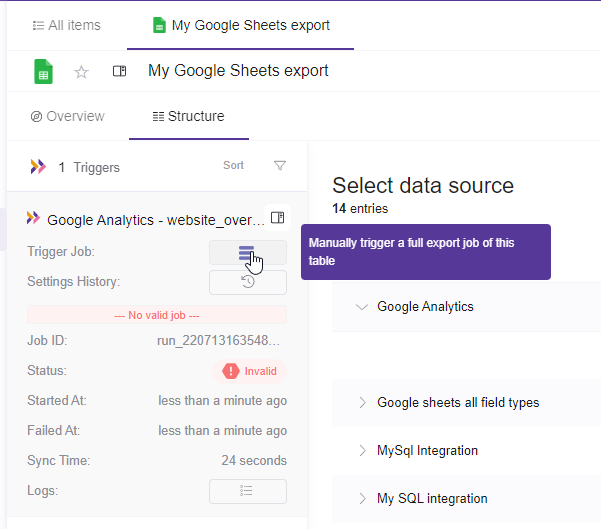
VIII- View the exported data into the destination file/table.
Once the status is ready you can view the data exported in the destination file/table.
IX- Use an Orchestration (Optional).
You can do this process automatic by using this Export and the Integrations or Model tables it consumes in an orchestration, making the whole process automatic.
You can learn more in this by viewing the article on how to set up an Orchestration.
Workflow of using Data Exports
Now that you know how to set a data export, you should keep in mind that you need to have have a necessity to export the data in order for this tool to be helpful.
To sum up all the steps of creating a working data exports you should:
1- Add an Export
2- Select the Data Export storage type.
3- Enter the name of the new export and submit.
4- Authenticate if needed (depends on the selected data storage type).
5- Create a trigger.
(In this step you select the existing Integration/Model that you want to export and also you select the destination table/file where these data will be exported.)