As the name implies, a Date Manipulation Node allows you to modify the dates in your datasources, by adding or subtracting to their hours, days, months or years. Though simple in concept, this function can be quite handy to many users; for example, you can choose for 5 days to be added to all the dates of a column, and have the results displayed on a new column immediately. Here’s a guide on how to add and set up a Date Manipulation Node:
Note: In order to use the Model feature you already should have already imported data sources into y42.
Adding the Date Manipulation Node to your Model
- Select Model on the right of your window and click Add Model. Name your new Model and choose a privacy level.
- Create at least one input table by dragging & dropping the Input field into your data model structure. Choose a data table by clicking on it, then click Save.
- Drag & drop a Date Manipulation node close to the Input field.
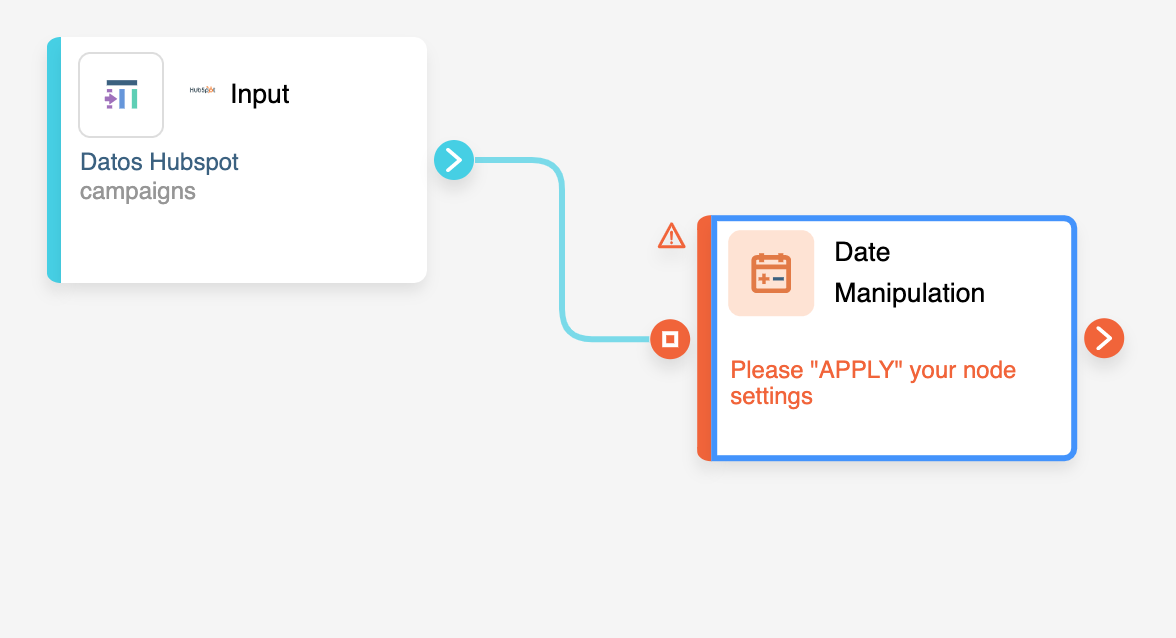
Setting Up your Date Manipulation Node
- Click on the Date Manipulation Node to apply the settings.
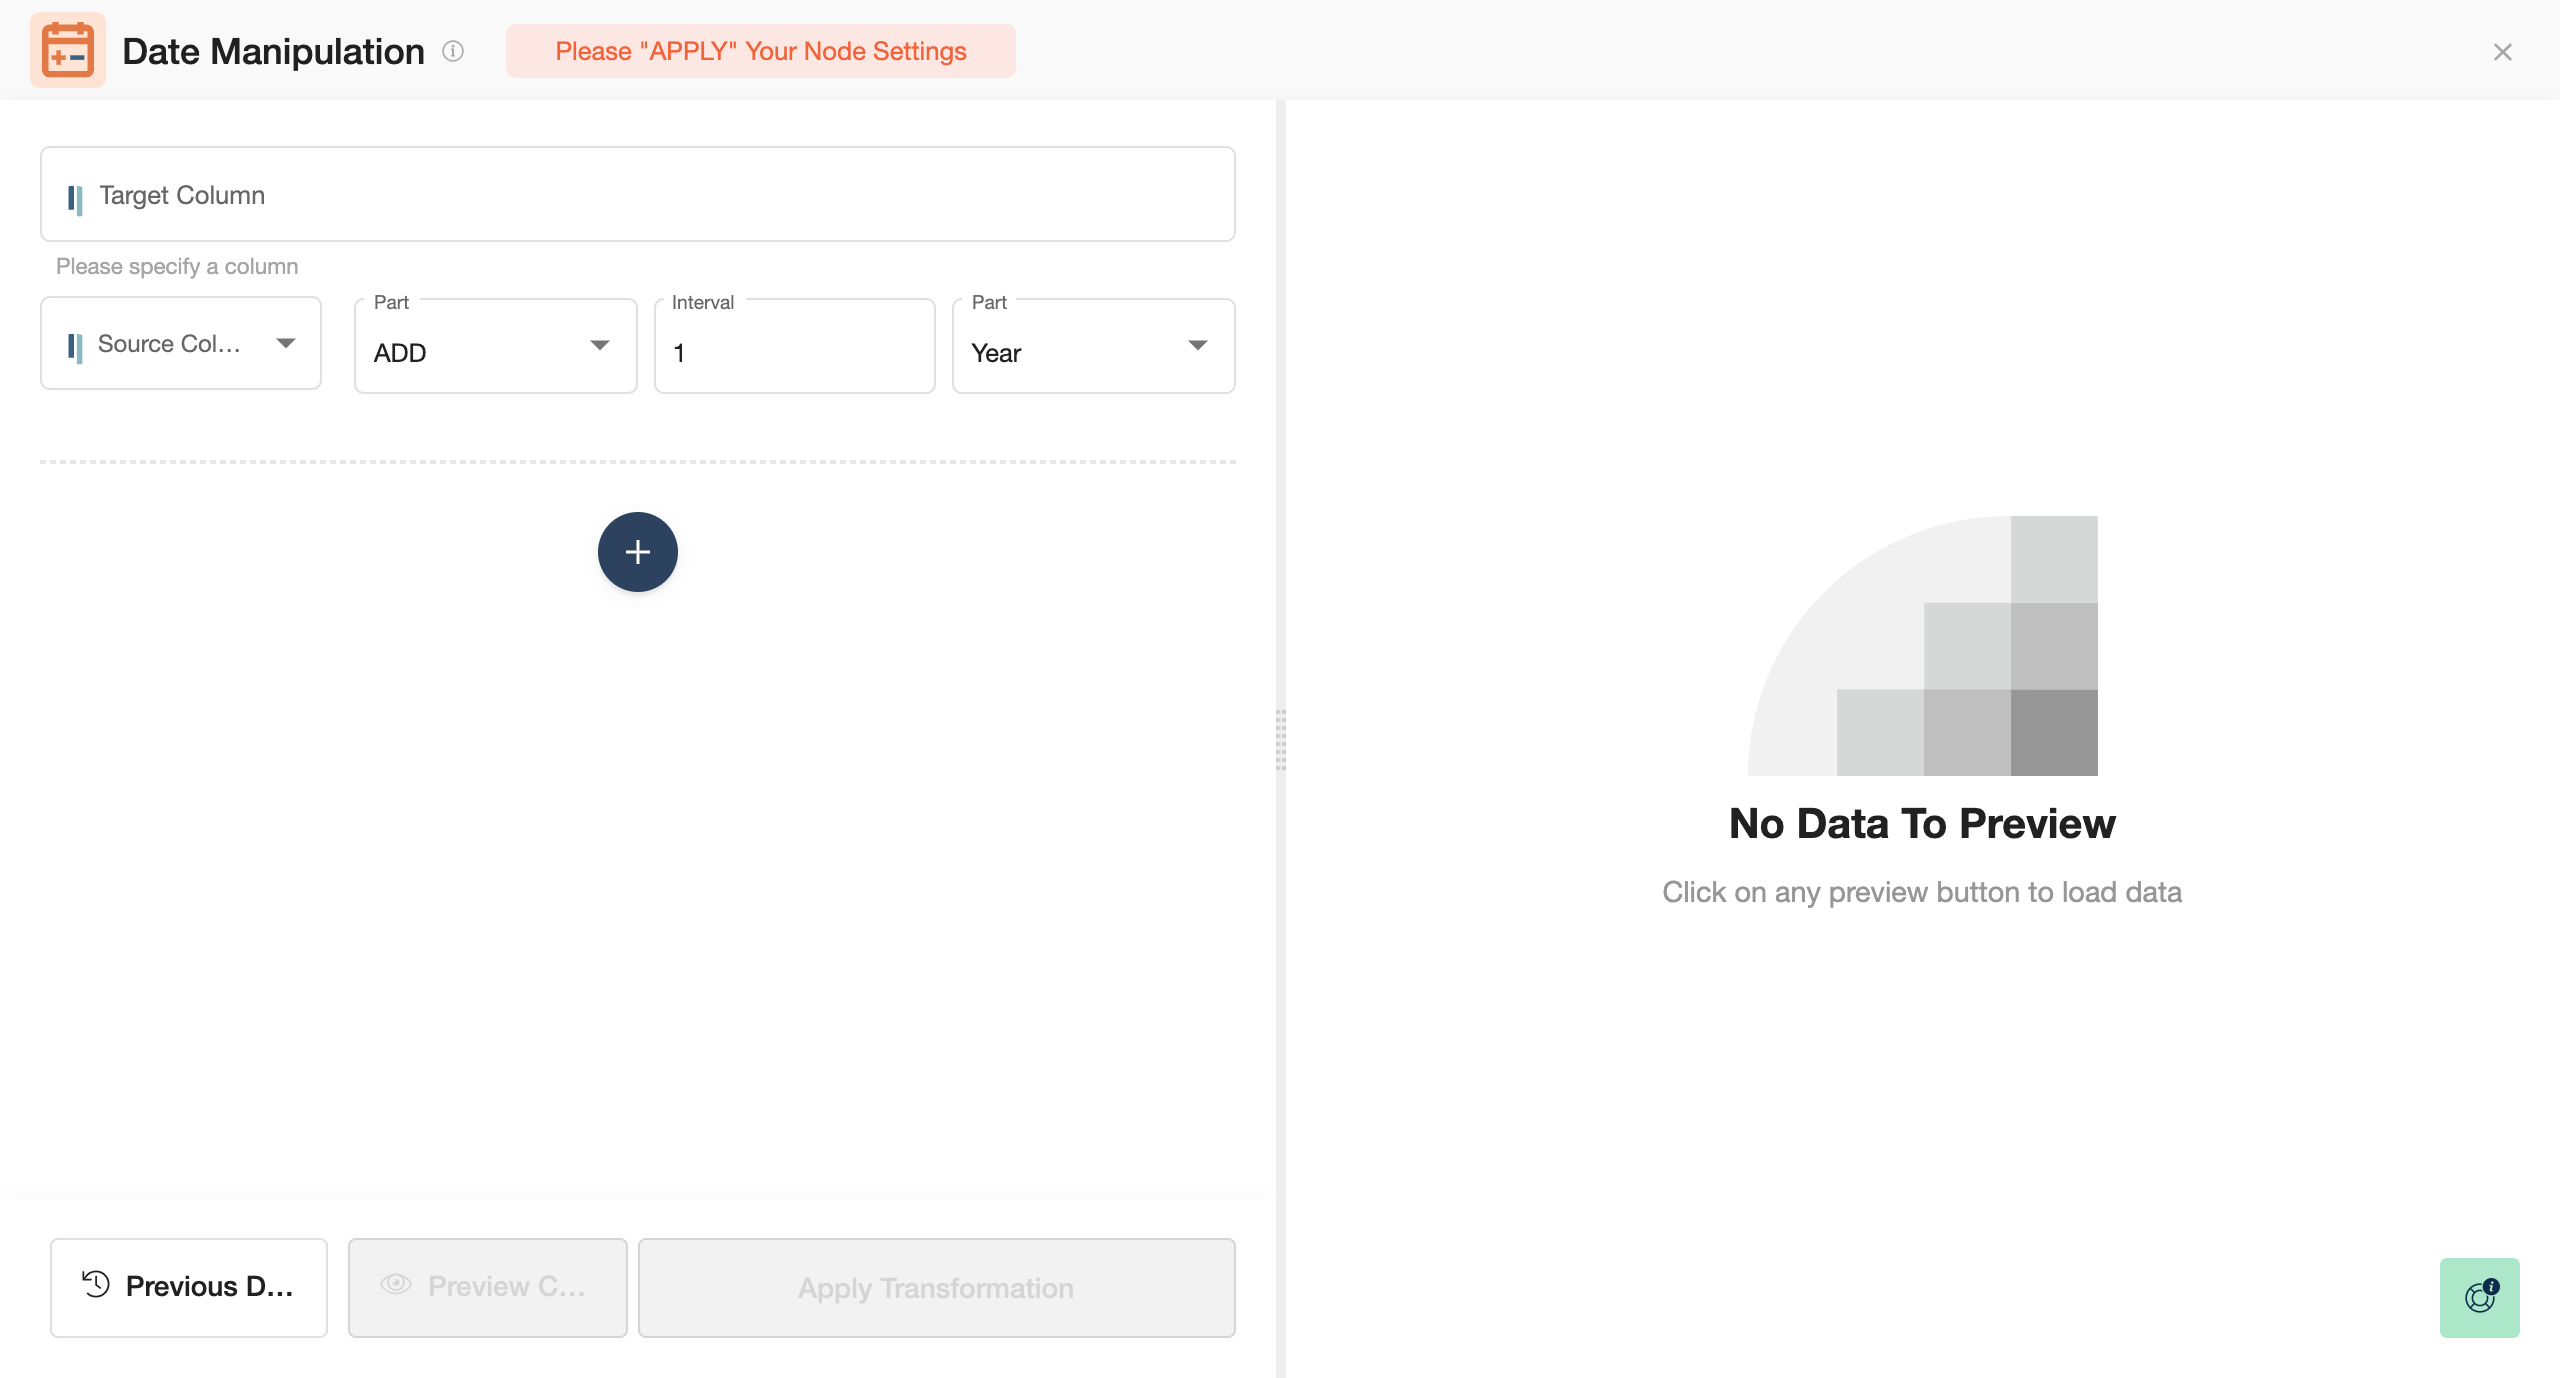
- Select the Target Column you wish to modify or write the name of a new column.
- Find the Source Column.
- Choose if you would like to ADD or SUB (Subtract) the date of this column,
- By what amount,
- And finally, if it will be an hour, day, month or year.
- You can easily add other columns you want to modify by clicking on Add Condition, the big + button below.
- When you are done, press Save.
Once you're done adding or subtracting your dates, you can either perform further transformations or, if you want to export the new data table, click Commit Model.