The Case Node is another one that allows more advanced functions and low code statements. With this node you can perform data transformation following a if/then logic. Similar to the CASE statement on SQL or IF/THEN in Excel, the Case node statement is followed by at least one pair of WHEN and THEN statements -- meaning, when this condition is true then apply the function. Similar to the Functions node, a documentation with all available functions is also provided.
Note: In order to use the Model feature you already should have already imported data sources into Y42.
Adding the Case Node to Your Data Model
- In the Model tab, click Add... Name your new data model and choose a privacy level.
- Create at least one input table by dragging and dropping the Input field into your data model structure. Choose a data table by clicking on it, then click Save.
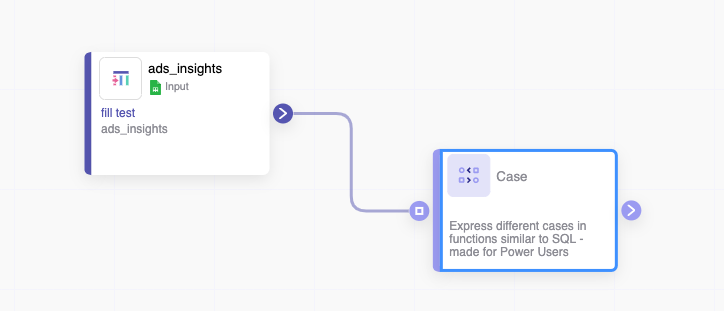
- Drag and drop a Case node close to the Input field.
Setting Up Your Case Node
- Click on the Case node to apply the node settings. On this node, besides of the interface for setting up your node, or creating your functions, you have access to the documentation for each available function on the right side.
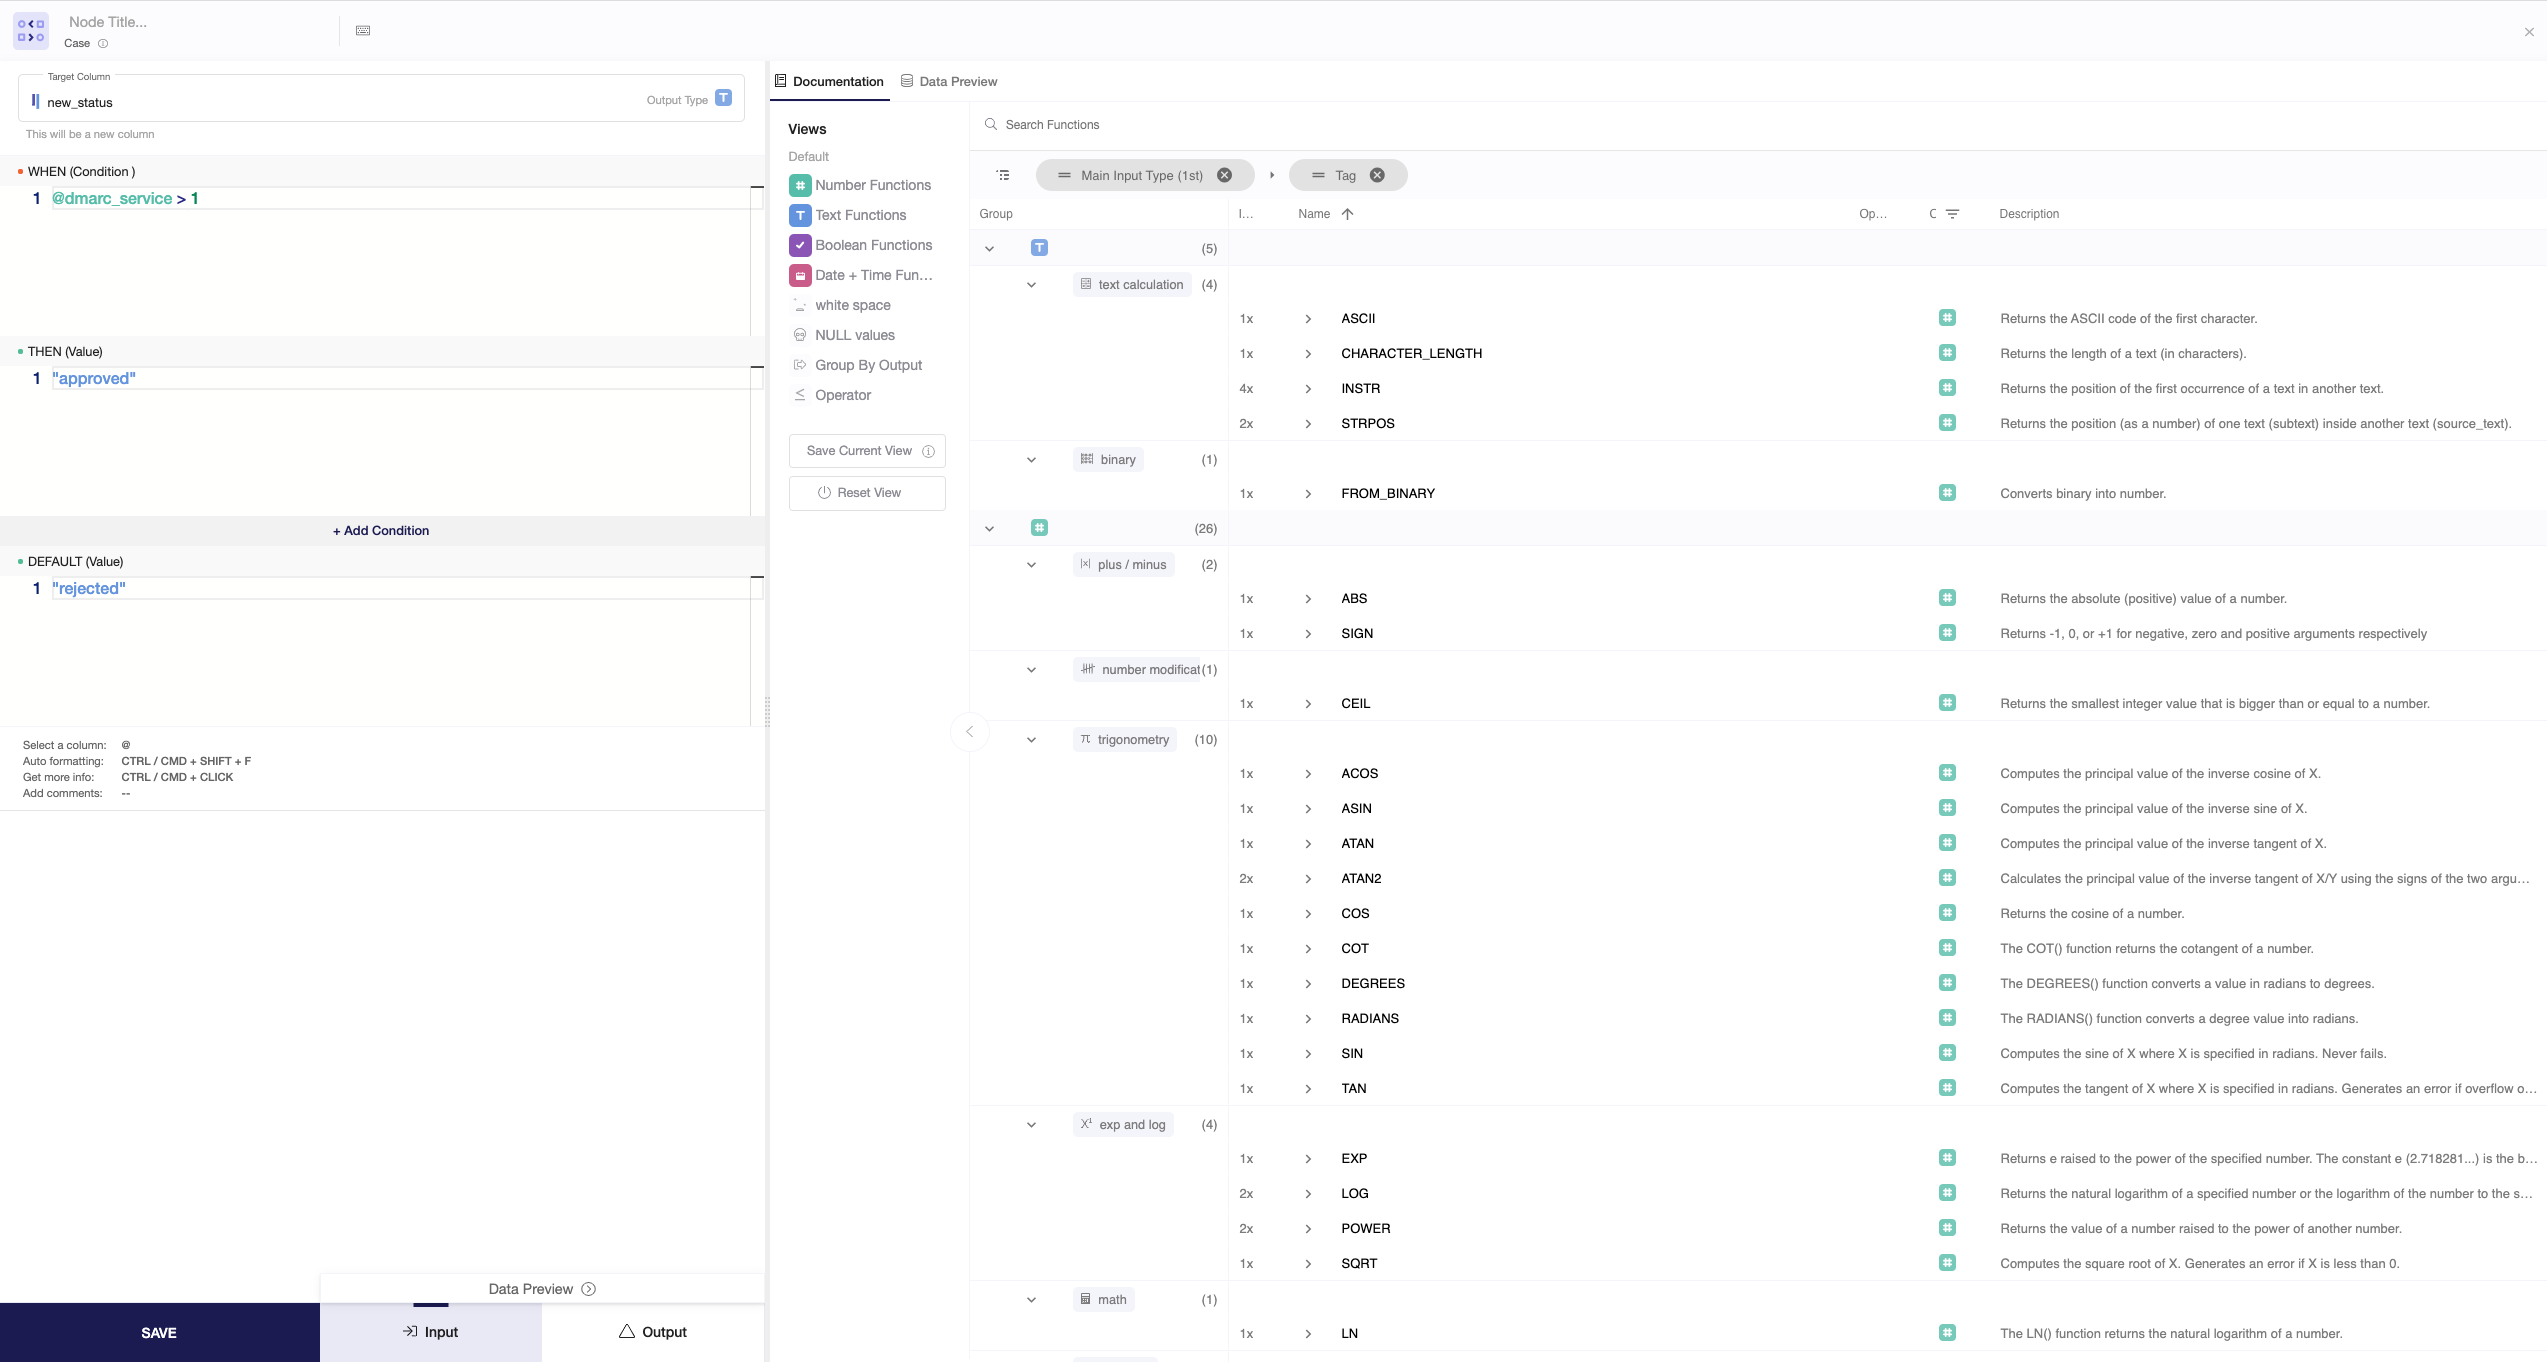
- You can choose to create a new column by typing it into the Target Column box or overwrite an existing column by selecting it from the menu.
- Choose the function or the combination of functions you want to apply in your data, and call columns by using the @ symbol.
- When you're done, you can check the transformation by clicking Output. If you're satisfied, click Save.
Once you're done extracting the minimum or maximum of your columns, you can either perform further transformations or, if you want to export the new data table, click Commit Model.