Ensuring that all rows in your table are unique is an important step in cleaning your data. The Remove Duplicates function offers the possibility to automatically remove all duplicated rows that match exactly in every column. Here is how to do it in just a few clicks within the Remove Duplicates node.
Note: In order to use the Model feature you already should have already imported data sources into Y42.
Adding the Remove Duplicates Node to Your Model
- In the Model tab, click Add... Name your new data model and choose a privacy level.
- Create at least one input table by dragging and dropping the Input field into your model structure. Choose a data table by clicking on it, then click Apply.
- Drag and drop a Remove Duplicates node close to the Input field.
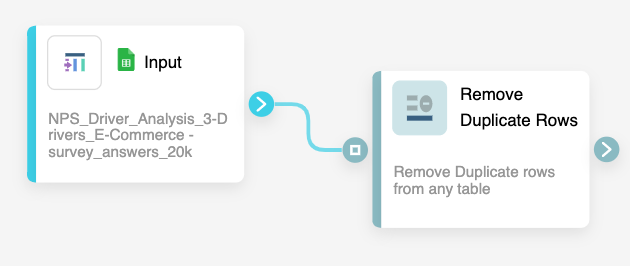
- They will automatically connect. Alternatively, you can connect them manually by dragging a line between the two nodes.
Setting Up Your Remove Duplicates Node
For this Node, you can choose between removing duplicates on selected columns or leave the node settings on default, and in this case all duplicated rows will be removed. You can check the transformation by clicking Output. If you're satisfied, click Save.
Once you're done with removing duplicates, you can either perform further transformations or, if you want to export the new data table, click Commit Model.