Once you enter to the Orchestrations product you get to see all the orchestrations that are created. There it is listed all the necessary information to immediately attest what you are going to do next.
Once you enter to a single orchestration, by default you are going to enter to the [Jobs section].
Since you are in this section, you probably already have knowledge on how to create a new orchestration.
You might need to jump to the Structure Section to start or continue working on the orchestration.
Let's now introduce this section by all its elements:
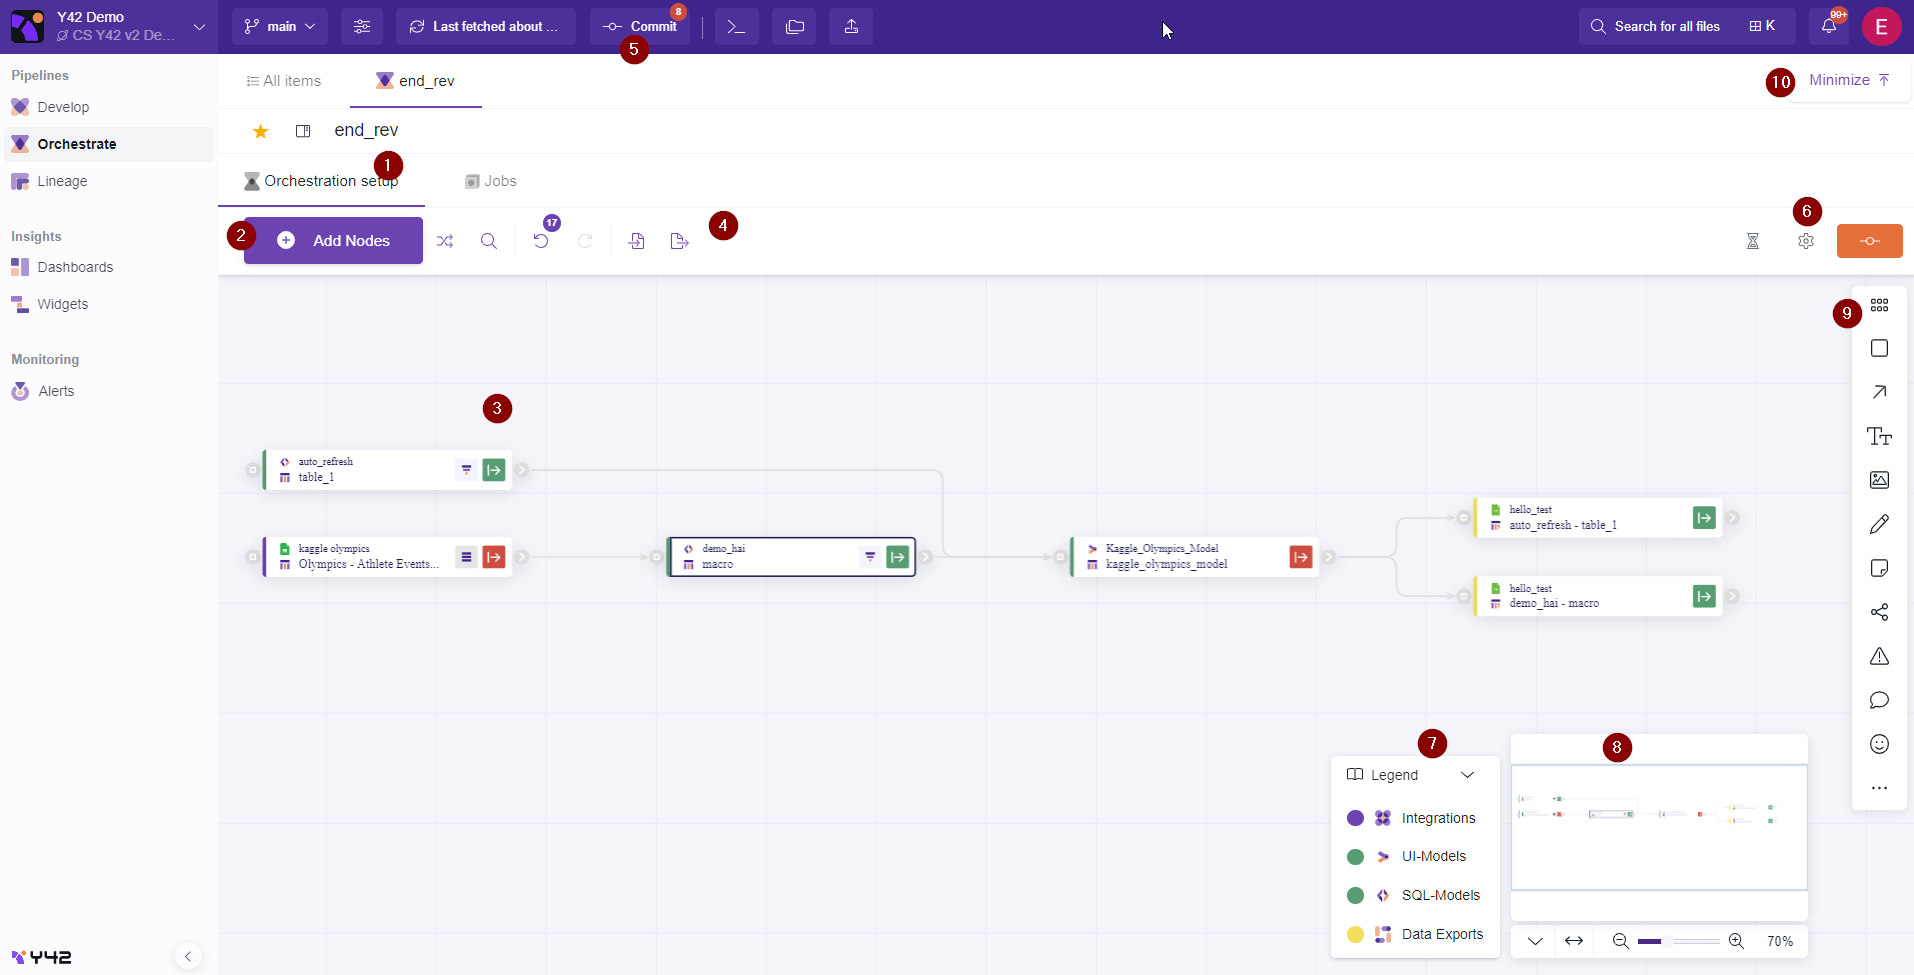
1- Orchestration Setup.
You need to click the structure button in order to start working on the orchestration.
2- Add Nodes to your Orchestration Button.
Click the button "Add Nodes to your Orchestration" in order to import the tables in the Canvas with or without the dependencies, based on the filter you have chosen.
After you click this button a popup appears, where you can select the sources you want to add to the Canvas.
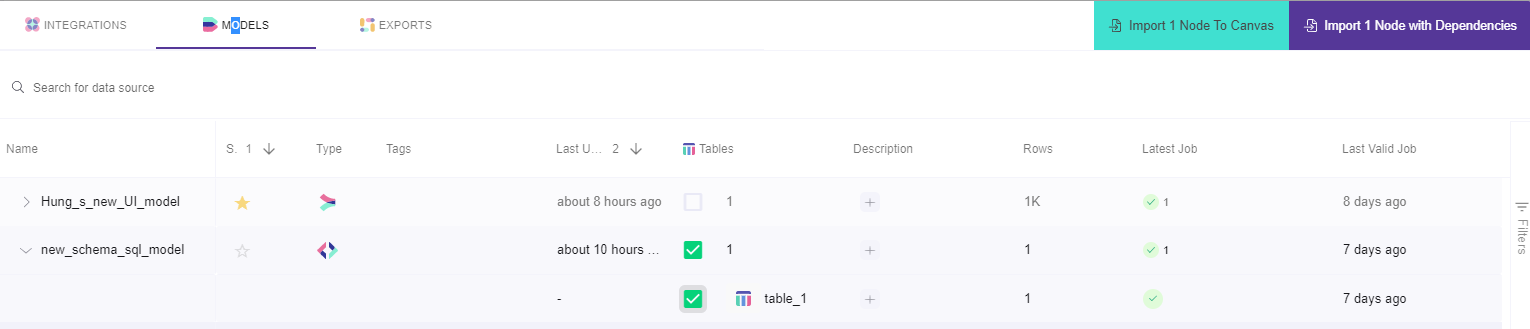
Here you can select the data Nodes by filtering based on the following logic:

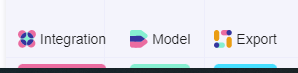
By clicking the buttons you filter by:
- Integrations - lists all Integrations
- Models - lists all models
- Exports - lists all exports
After you select the table/s to import in the Canvas you can Import to canvas by importing single node or node with dependencies.
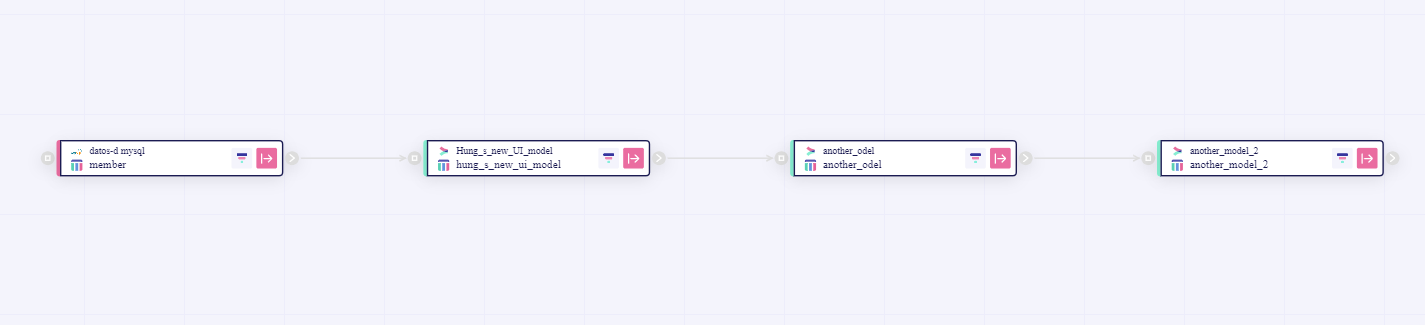
a) If you want to auto-generate based on dependencies click the import node with dependencies button:
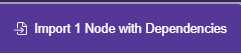
This will Auto Generate a Model or an Export into the canvas. For example: After you select an export it will also automatically select the integrations and/or models dependencies this automation is built on.
b) If you want to manually design the orchestration logic then click "Import 1 Node to Canvas"
This button will only generate the selected node into the Canvas, without its relational dependencies.
3- Working board.
In this board you set the logic of the orchestration.
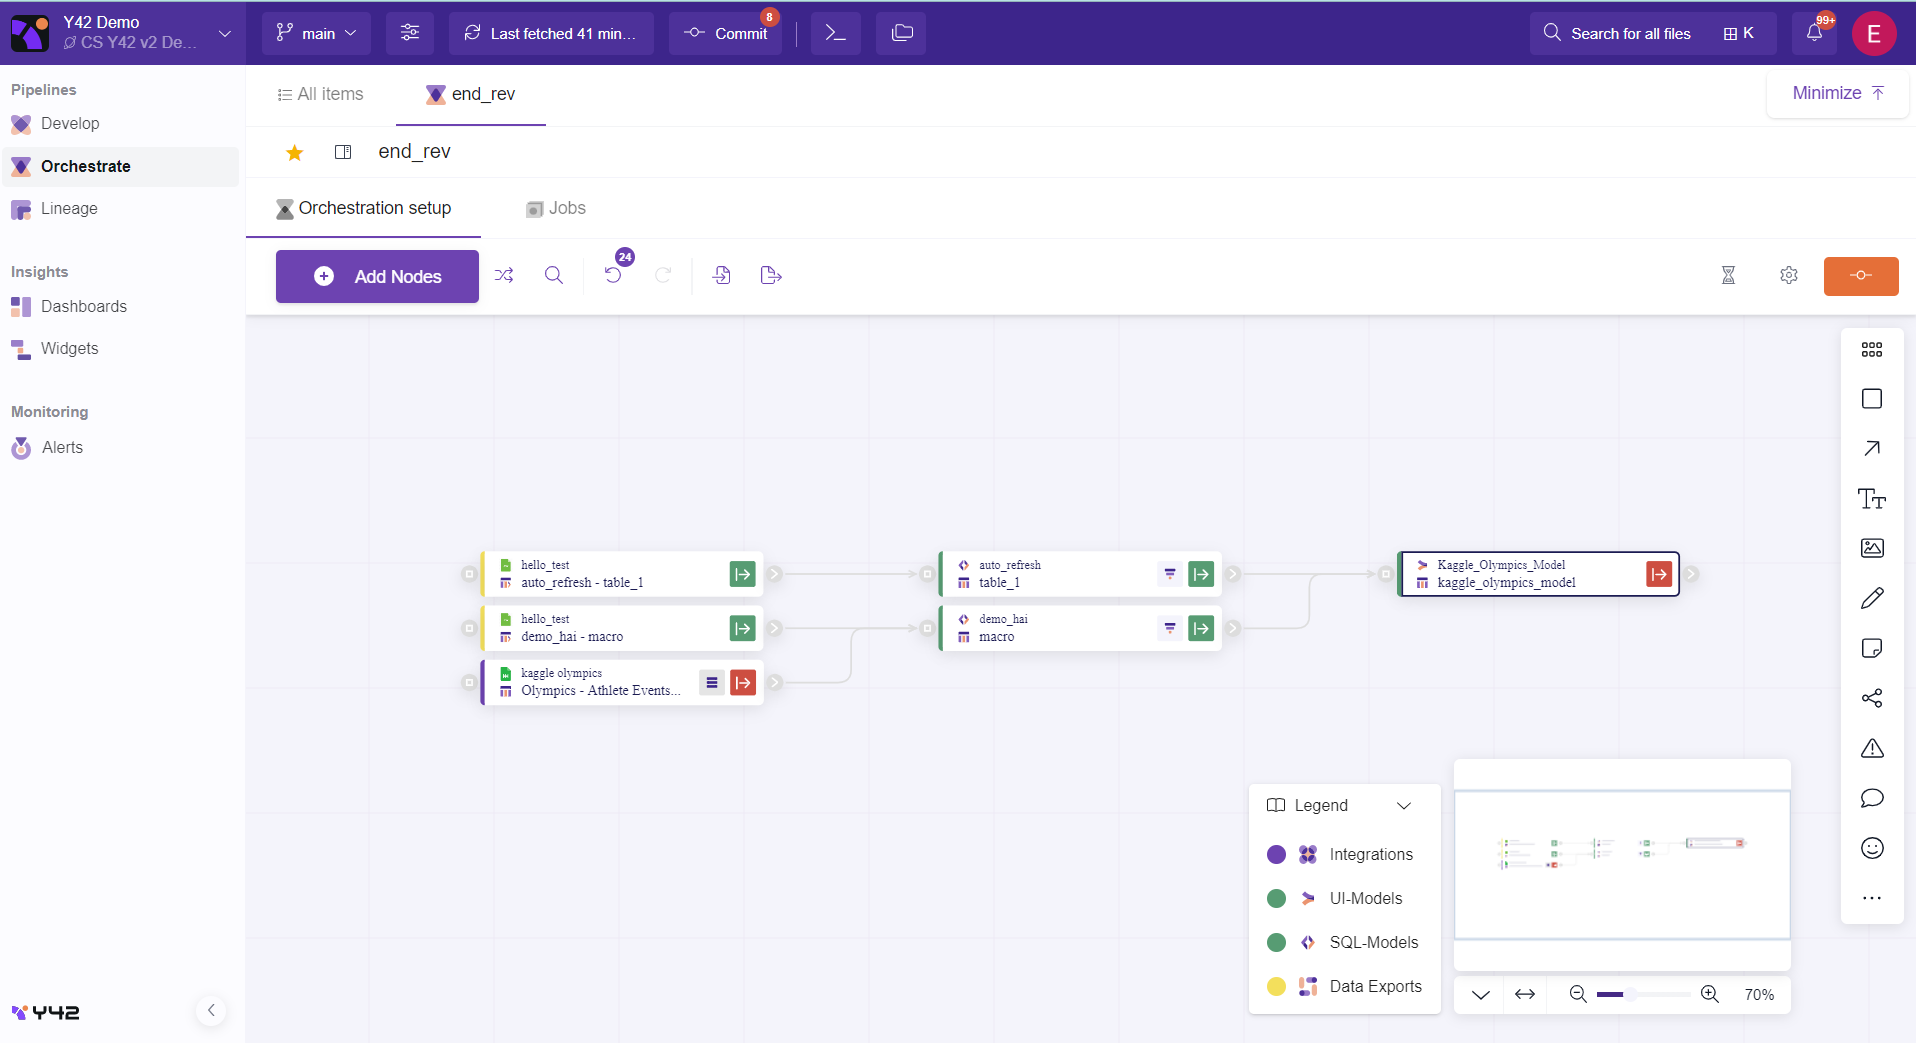
In case you wanted to do the logic yourself manually you can import to canvas any kind of tables which will appear as nodes and connect them manually with each other by drag and drop the end of one node with the beginning of the other.
You might also want to use Collaborative Tools to add notes, shapes, helper nodes etc.
Discover more on Collaborative tools in this article.
You might also filter the nodes based on their typology (Integration, Model, Export) in the bottom-left of the Canvas.
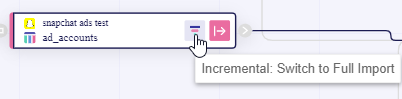
Important consideration: Incremental Vs Full Import switch.
For each node you can select if you want to do an incremental import or a full import.
In a nutshell the difference between an incremental and full import is that the incremental import is more fast and lightweight because it simply adds new rows to the table, whereas the full import imports the whole data table from the beginning.
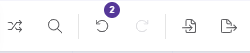
4- Board Panel.
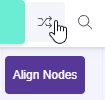
In this panel you might find useful tools like:
- Align nodes. When clicked this button will automatically align the nodes in an orderly fashion.
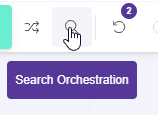
- Search dag. This button is useful when you have been working with a lot of nodes. It is used for searching for nodes that are already used into your board, making them easier to spot based on your searching criteria.
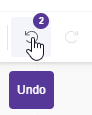
- Undo And Redo. Y42 keeps record of everything you do on the board. Undo and Redo make sure that you can jump back and forth in your actions.
- Import File DAG and Download file DAG.
- If you want to Download your version of the orchestration into your local computer, you can do it by clicking the Download file DAG. It will be in JSON format.
- If you want to import it later from your local computer, you can upload it via the button import File DAG.
5- Commit.
Once you made the changes you wanted to click commit in order to save your changes into the output data.
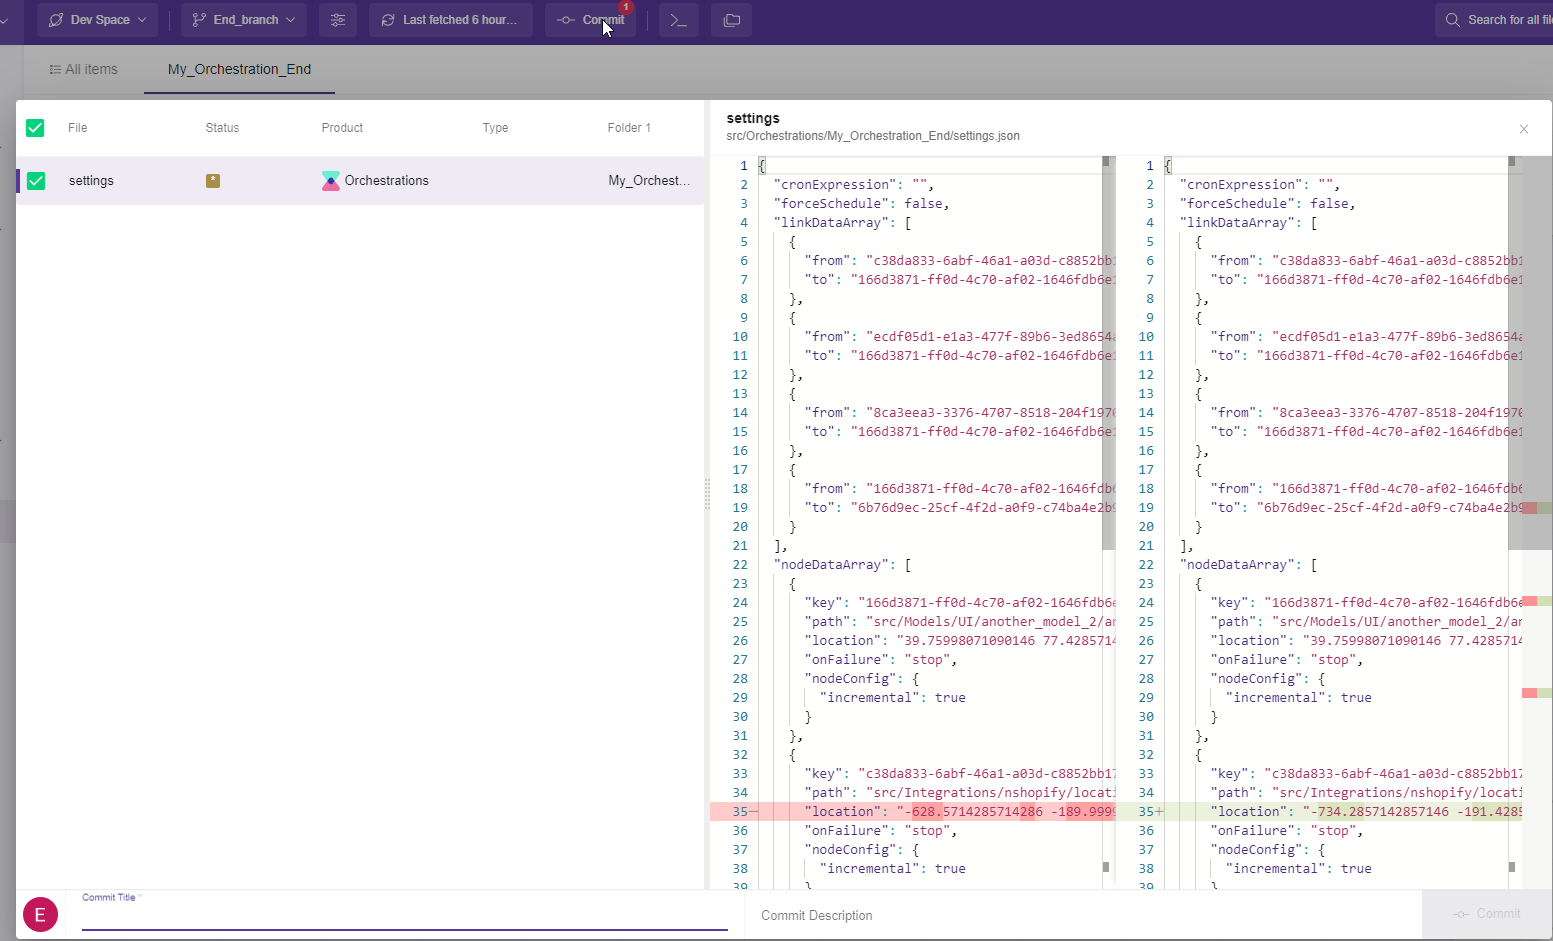
Note: After the data are committed the button will become non-clickable until new changes happen inside the board.
In order to commit you simply need to click the commit button and after that a window pops-out, the you need to add a commit title and optionally a description. Then again click commit.
6.1- Set the Schedule.
Schedule is the component that makes the flow recurrent.
You can set the schedule to run grammatically according to your needs: In Minutes, Hourly, Daily, Weekly, Monthly and Yearly bases.
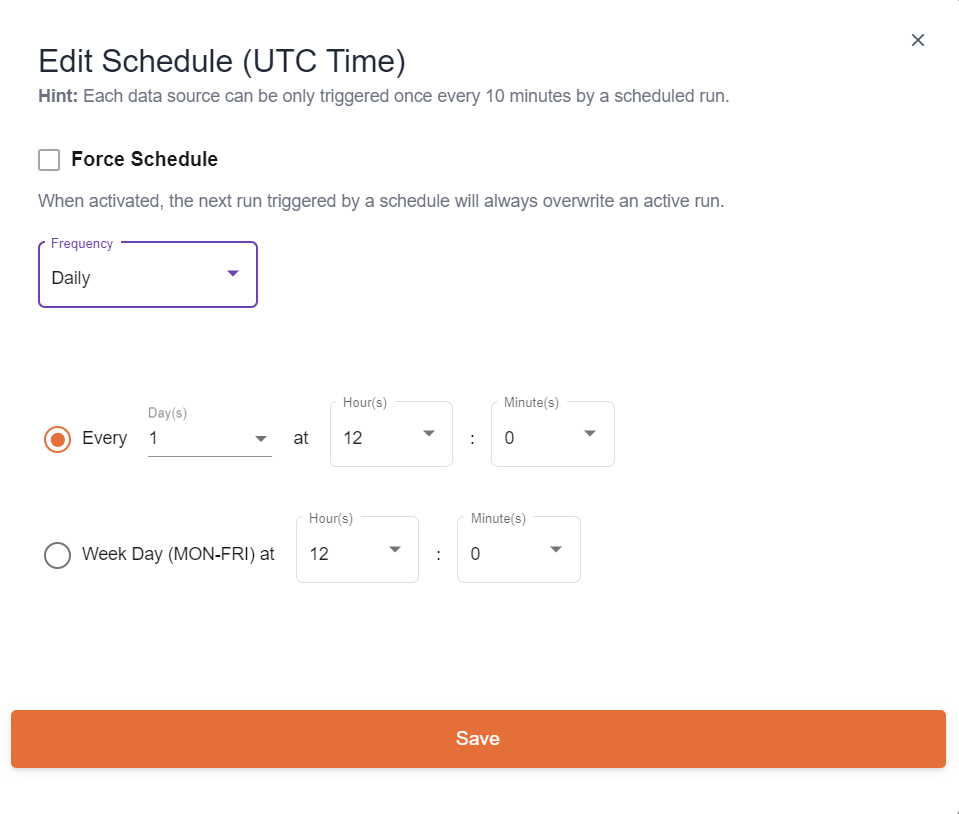
A job will be created in each run, which will have one of the 3 statuses (Success, Failure, Pending).
Note: If you want to force schedule you can do so by checking the Force Schedule checkbox, but here you need to be careful because the next scheduled run it will overwrite the job in progress in case it has not finished yet. If you leave this checkbox as by default not checked the next run will wait for the actual run to finish.
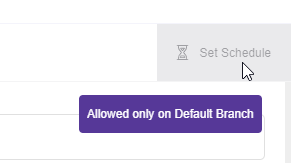
Note: In order to Set a schedule you need to be in the main branch.
6.2- Orchestration Run Configuration.
Additionally, you can add some rules for your orchestration runs with the "Run Config button".
With this command you can cancel an orchestration if it stays running more that a threshold time, or additionally add retries for failing nodes after X minutes.

7- Filter Nodes.
You might also filter the nodes based on their typology (Integration, Model, Export) in the bottom-left of the Canvas.
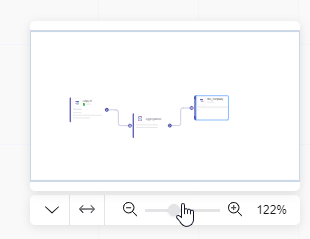
8- Zoom in Zoom out Map.
This map is useful to get an overview look of the board as well as zoom in and zoom out the working board.
9- Collaboration Tools.
This tools are used to make the collaboration as slick as possible for the team. Here you can add notes, group the nodes, insert shapes emojis, drawings etc. This article here goes in depth of the Collaboration tools capabilities.
10- Expand / Minimize Button.
This button helps in making the board higher by hiding the orchestration sections panel. Once you finish with the working board you might need to show the panel again so you jump to the other sections of the orchestration.
