When transforming your data, it is easy to quickly rename and delete columns from data tables. Renaming is especially useful when you're planning on combining your tables when Unionizing Multiple Tables or Joining Multiple Tables. Deleting columns you don't need will also help you keep your data clean, allowing for faster analyses. The Fields Node also allows you to add descriptions to your columns and to change the column type to text, number, or boolean if the default typology isn't what you need for analysis.
Note: In order to use the Model feature you already should have already imported data sources into the Y42.
Adding the Fields Node to Your Data Model
- In the Model tab, click Add... Name your new data model and choose a privacy level.
- Create at least one input table by dragging and dropping the Input field into your data model. Choose a data table by clicking on the Input node, then click Apply.
- Drag and drop a Fields node close to the Input field. The nodes will automatically connect. Alternatively, you can also connect them by manually creating a link between the two nodes:
Setting Up Your Fields Node
- Click on the Fields Node to apply the node settings.
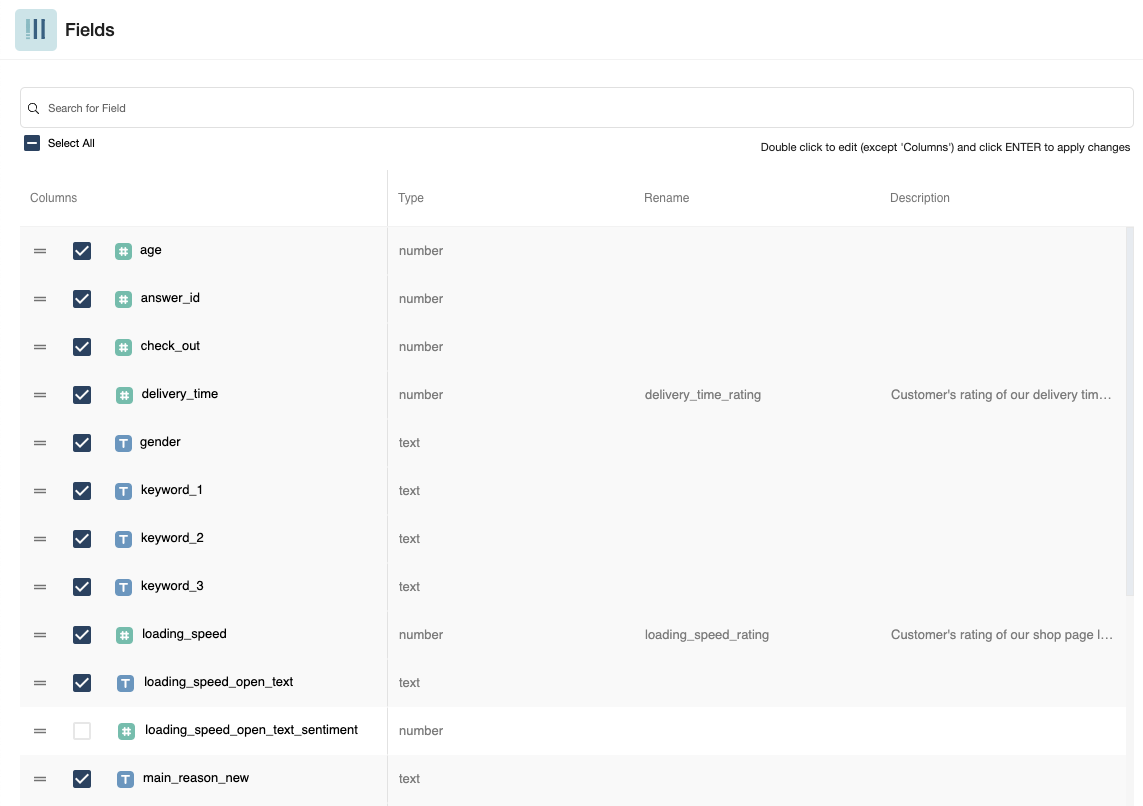
- To delete a column from your table, deselect it by clicking the checkbox.
- To change the column Type, double click the type and select a new one. Note that this transformation has impact on your analyses.
- Rename a column by double clicking into the field in the Changed ID column.
- Add a description to your column by double clicking into the field in the Display Name column. Descriptions are useful when working collaboratively.
- When you're done, click Save.
Once you're done transforming your columns with the Fields node, you can either perform further transformations or, if you want to export the new data table, click Commit Model.