Orchestration is a powerful tool that Y42 offers to keep your data fresh as a living organism. What it does is very straight forward, it automates the triggering process by following your logic sequence and your schedule. You just need to set it once and it will proceed infinitely.
Why use them?
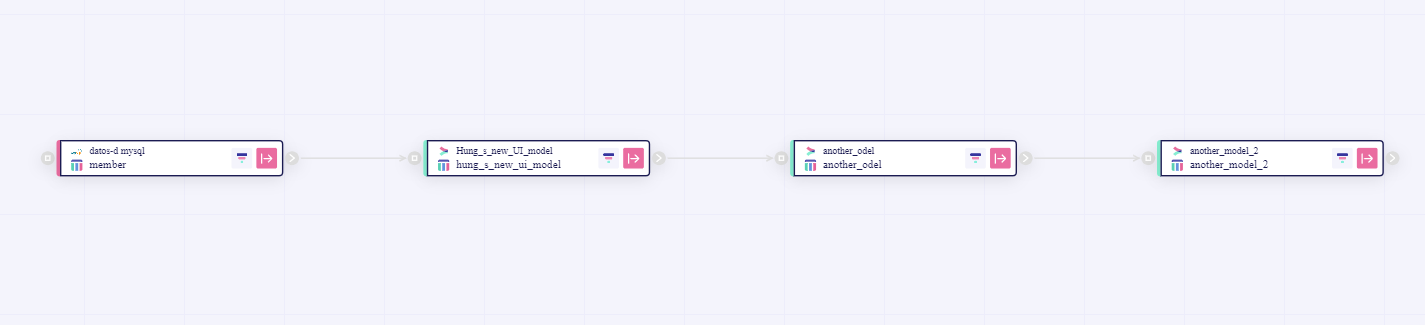
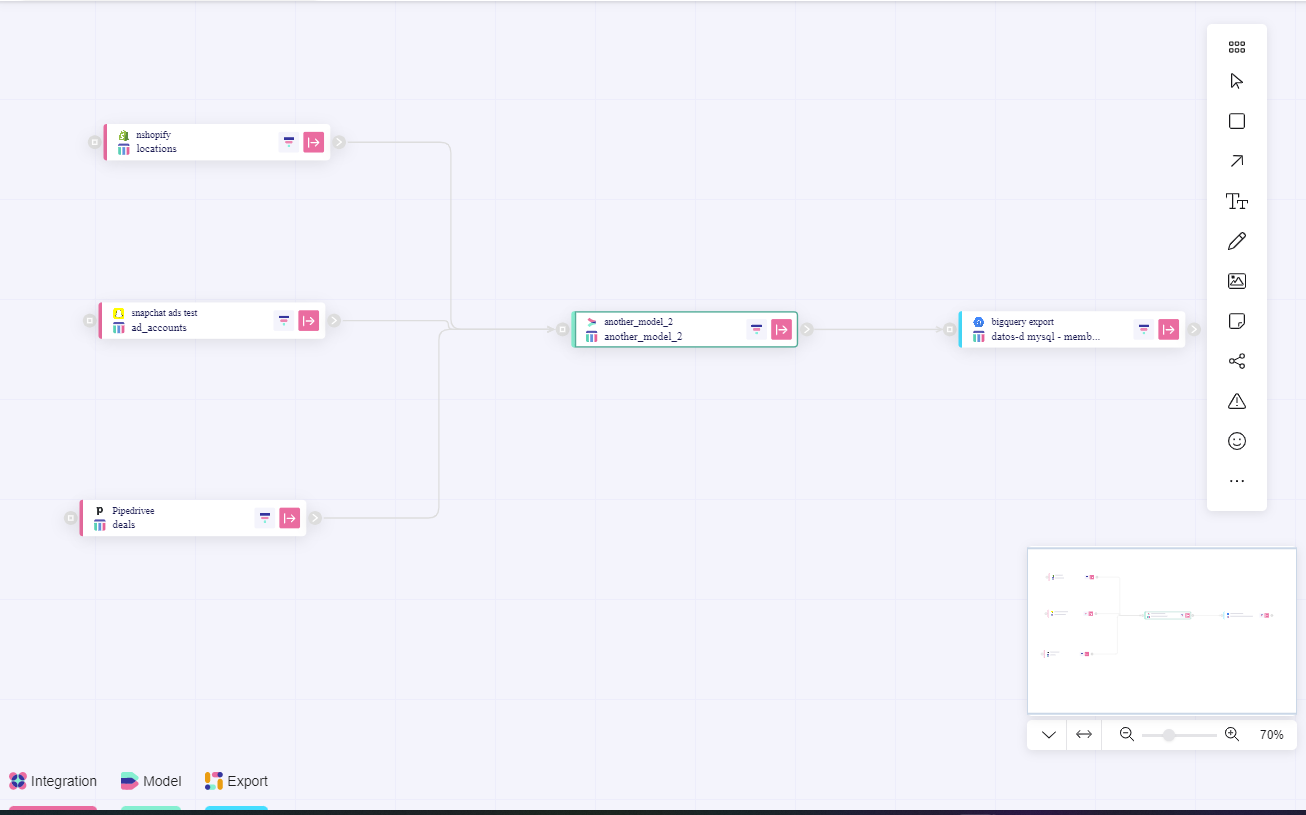
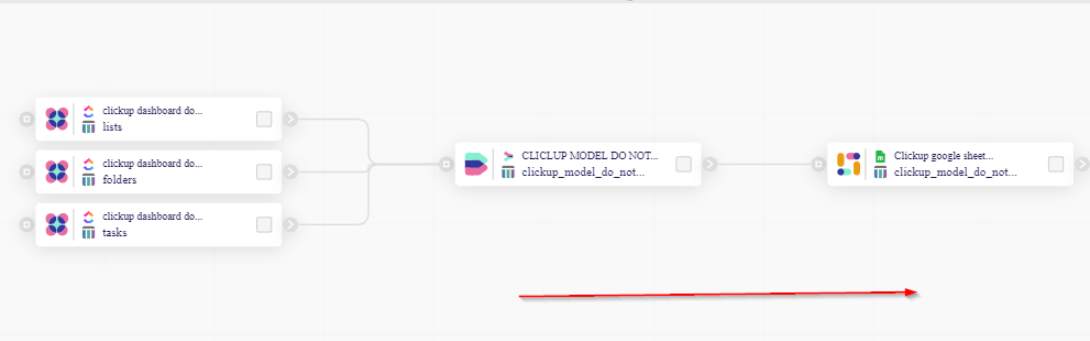
Lets suppose you have this flow (1,2,3 in the image below) :

1- Integrations. You get data from anywhere imported in your integrations.
2- Model. The data you get from the Integrations in step 1 are manipulated in your Modeling layer which creates a whole new table with all your tailored reports inside.
3- The data you created in Modeling now are exported into Google Sheets (or Google BigQuery etc)
If you do not use the Orchestration you would have to go to each integration table in step 1 and trigger them manually in order to import the new data, next you would have to go to model, trigger it manually to generate the new table and next to the export and trigger it manually also.
With Orchestration all you need to do is set up the schema like in the image above and set up the time schedule when the orchestration should run and now you have an automated flow of data that never stops and does not need you anymore.
Who should use them?
Orchestration should be used only for integrations and models whose data change during the time.
If your data changes, like for example your integration might be connected to PayPal, and you always make new sales, which means new rows will be added in your integrations, and on top of that you run your analytics using probably a model or visualization layer then you definitely need to run an orchestration in order to keep working with updated data.
If your data set does not change constantly then Orchestration will not provide an added value to your flow.
How to use them?
To start using immediately the orchestration you should do the following:
I. Visit the Orchestrate overview Menu.
Here all the orchestrations appear.

II. Add an Orchestration (or open an existing one if you want to do changes).
Click the Add… button.
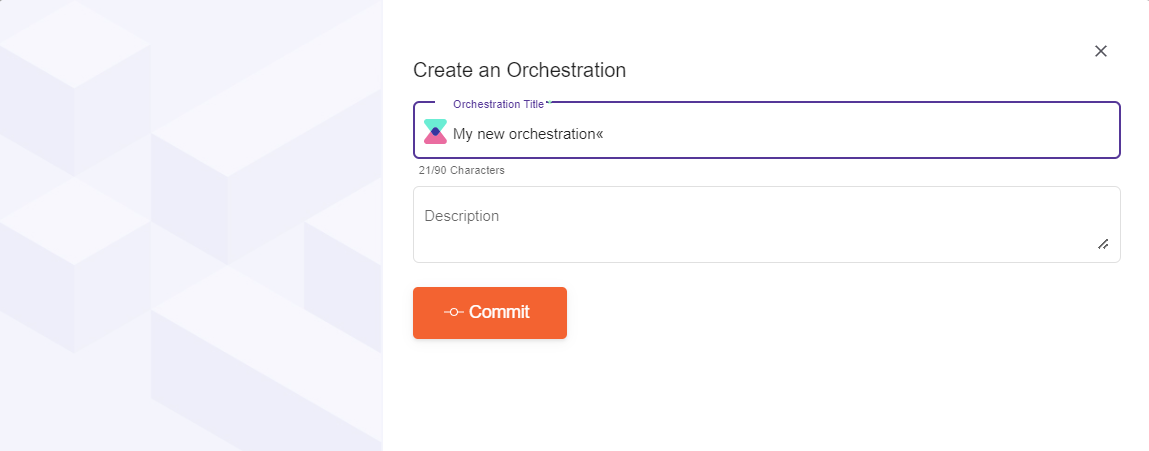
III. Enter the name of the new orchestration and submit.
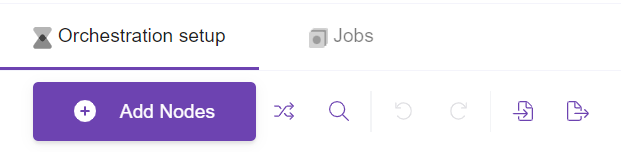
IV. Click Add Nodes to your Orchestration.
Now you are inside your newly created orchestration, by default you enter into the Setup menu of the Orchestration. If you want to know more about the Setup menu component then visit this article.
V. Select the data to add in the Canvas.
It is time to pick the data and the logic to always have the updated dataset whenever you need it.
Follow these steps as per the image counter:
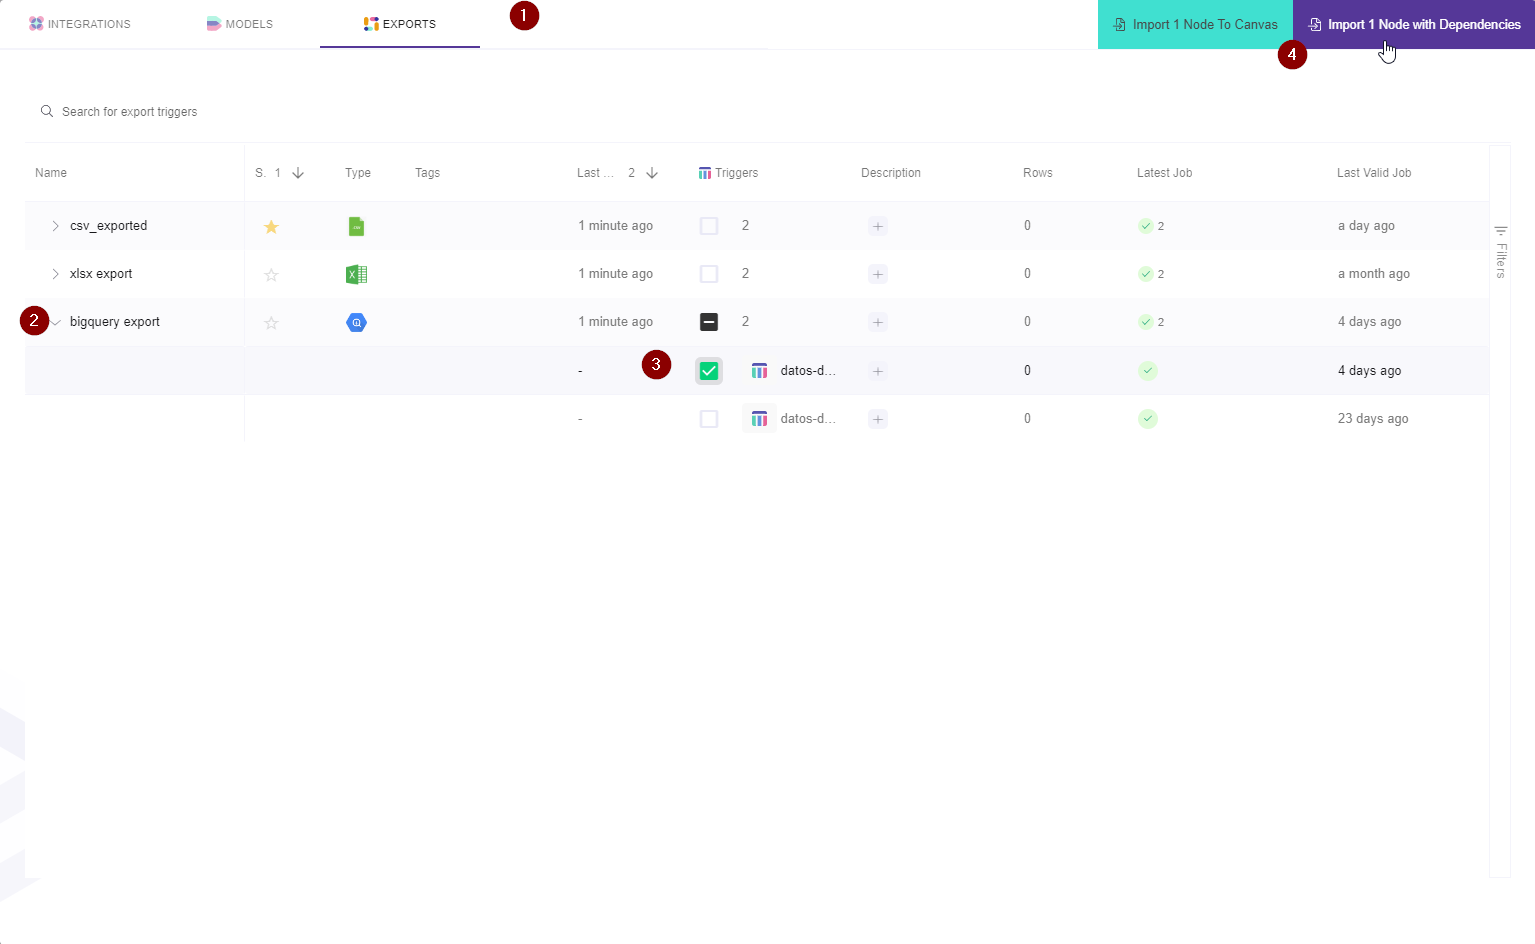
1- Select the data Nodes by filtering based on the following logic:

By clicking the buttons you filter by:
- Integrations - lists all Integrations
- Models - lists all models
- Exports - lists all exports
Note: If you want to auto-generate based on dependencies look at the step 4 below.
2- Expand the record you want to import.
3- Select the table/s to import in the Canvas.
4- Import to canvas by importing single node or node with dependencies.
a) If you want to auto-generate based on dependencies click the import node with dependencies button:
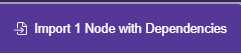
This will Auto Generate a Model or an Export into the canvas. For example: After you select an export it will also automatically select the integrations and/or models dependencies this automation is built on.
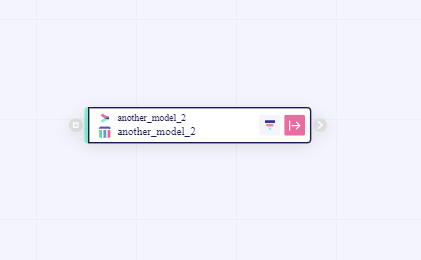
b) If you want to manually design the orchestration logic then click "Import 1 Node to Canvas"
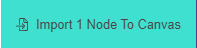
This button will only generate the selected node into the Canvas, without its relational dependencies.
VI- Work with the Canvas board
In case you wanted to do the logic yourself manually you can import to canvas any kind of tables which will appear as nodes and connect them manually with each other by drag and drop the end of one node with the beginning of the other.
You might also want to use Collaborative Tools to add notes, shapes, helper nodes etc.
Discover more on Collaborative tools in this article.
You might also filter the nodes based on their typology (Integration, Model, Export) in the bottom-left of the Canvas.
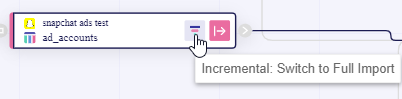
Important consideration: Incremental Vs Full Import switch.
For each node you can select if you want to do an incremental import or a full import.
In a nutshell the difference between an incremental and full import is that the incremental import is more fast and lightweight because it simply adds new rows to the table, whereas the full import imports the whole data table from the beginning.
VII- Commit the Orchestration.
Important: In order to trigger the orchestration logic that you put in the canvas you need to commit it. Otherwise the last commit will be applicable in your trigger schedule, and your changes will not have the desired impact.
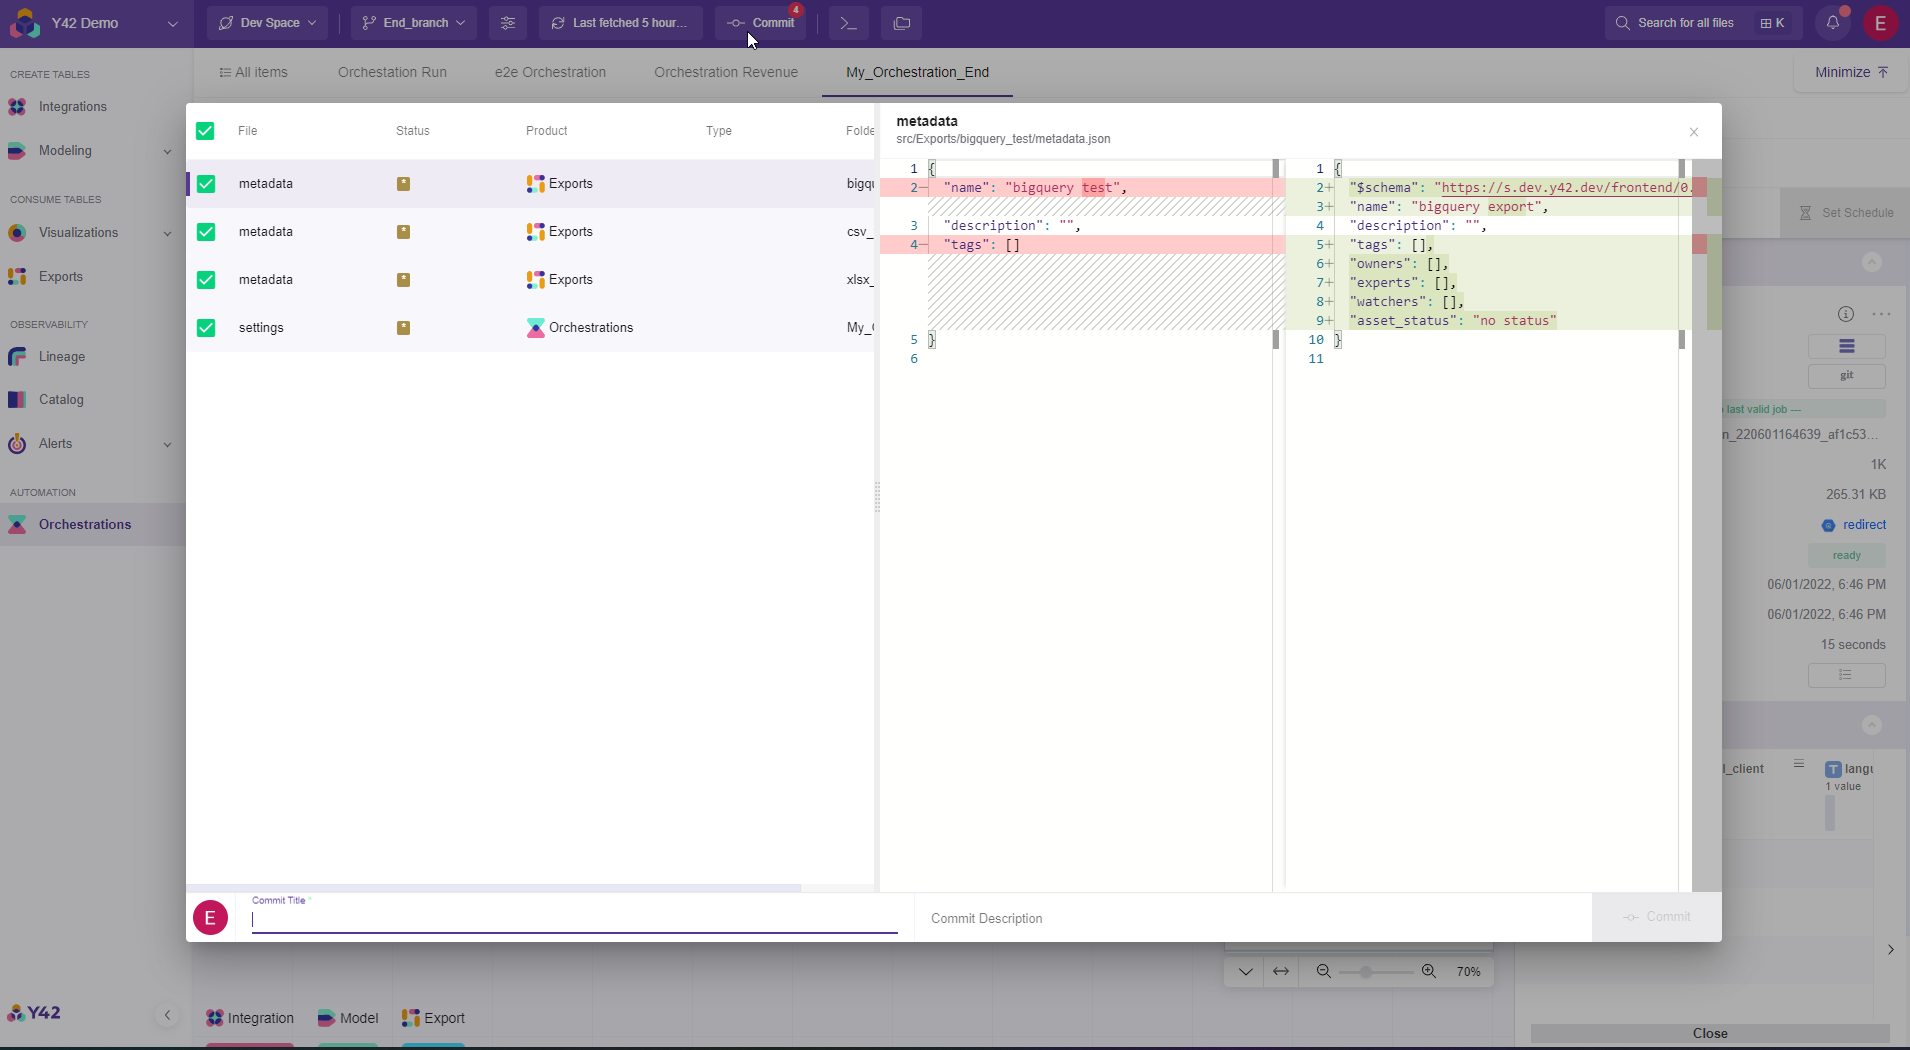
In order to commit you simply need to click the commit button and after that a window pops-out, the you need to add a commit title and optionally a description. Then again click commit.
VIII. Go to Overview section menu of the Orchestration.
In order to Trigger/ Schedule this orchestration you need to go the the Overview section.

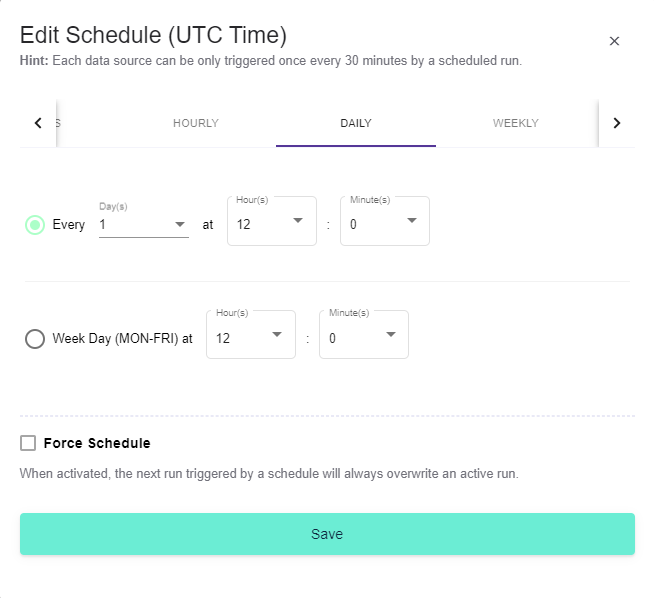
IX. Trigger now or Set the Schedule
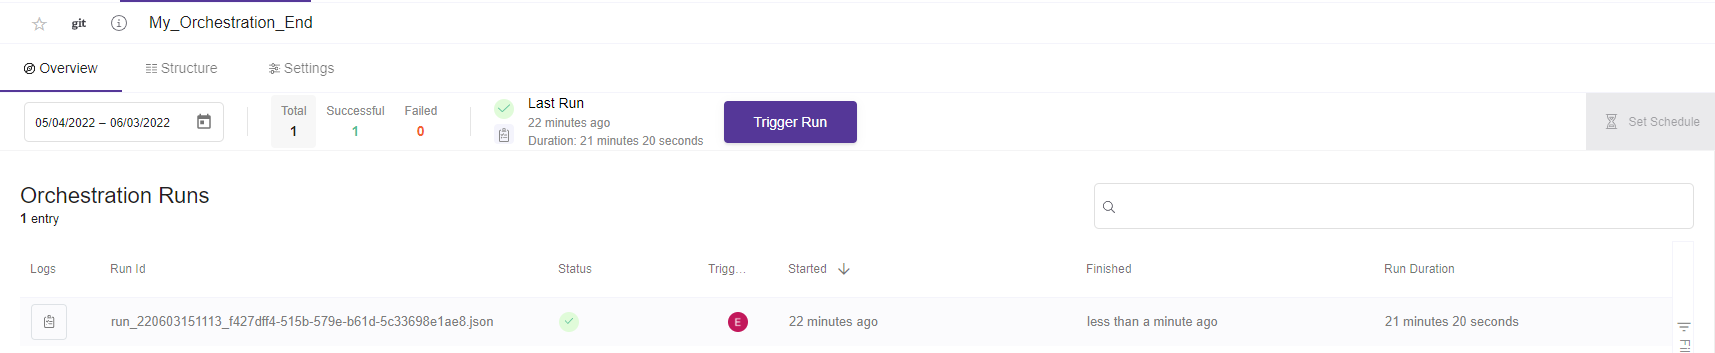
- Trigger now. When you click trigger now it will run the orchestration flow, by creating immediately a job which will have one of the 3 statuses (Success, Failure, Pending).
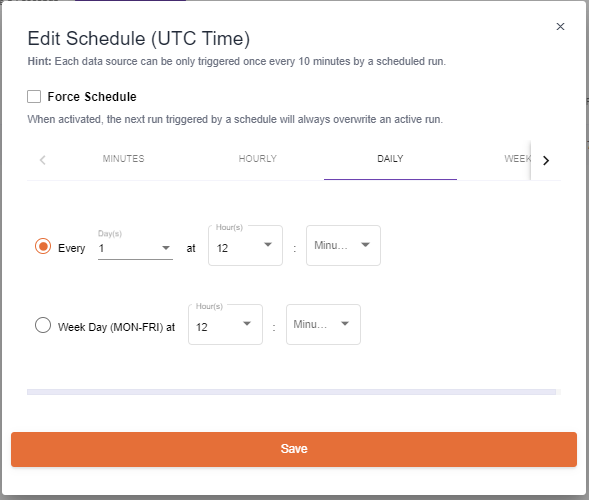
- Set Schedule. Schedule is the component that makes the flow recurrent.
- Run Config. Makes the orchestration job stop running after a period of time.
You can set the schedule to run automatically according to your needs: In Minutes, Hourly, Daily, Weekly, Monthly and Yearly bases.
A job will be created in each run, which will have one of the 3 statuses (Success, Failure, Pending).
Note: If you want to force schedule you can do so by checking the Force Schedule checkbox, but here you need to be careful because the next scheduled run it will overwrite the job in progress in case it has not finished yet. If you leave this checkbox as by default not checked the next run will wait for the actual run to finish.
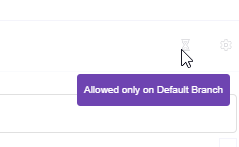
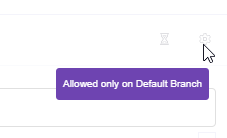
Note: In order to Set a schedule you need to be in the main branch.
Run Configuration
You can cancel the execution of an orchestration it it exceeds the given time.
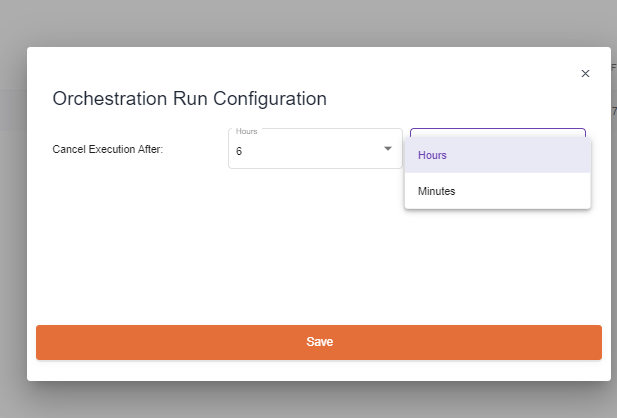
*Note: In order to activate the Run config you need to be in the main** branch.
Workflow of using orchestration
Now that you know how to set an Orchestration, you should keep in mind that when you trigger an orchestration the update process of the selected tables starts from left to right of the connections you made using nodes.
To sum up all the steps of creating a working orchestration you should: