Date Parser Nodes turn a date-time given in text form into a date-time format, returning it as a string. For example, if you have a specific date-time format text like Jan-24-1991 12:20:22, you can convert it into a default date type format, in order to apply further manipulations to it, by just specifying the input date format: MM-DD-YYYY HH:mm:ss. Here’s a guide on how to add and set up a Date Parser Node:
Note: In order to use the Model feature you already should have already imported data sources into Y42.
Adding the Date Parser Node to your Model
- Select Model on the right of your window and click Add Model. Name your new Model and choose a privacy level.
- Create at least one input table by dragging & dropping the Input field into your data model structure. Choose a data table by clicking on it, then click Save.
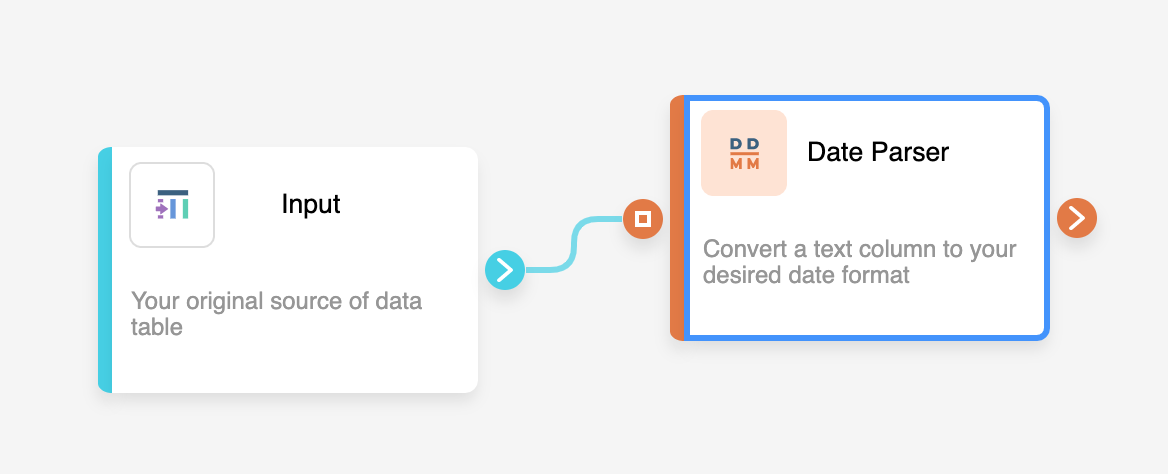
- Drag & drop a Date Parser Node close to the Input field.
Setting Up your Date Parser Node
https://www.loom.com/embed/7f57d087c3344c30ae220ebc818c6fb9
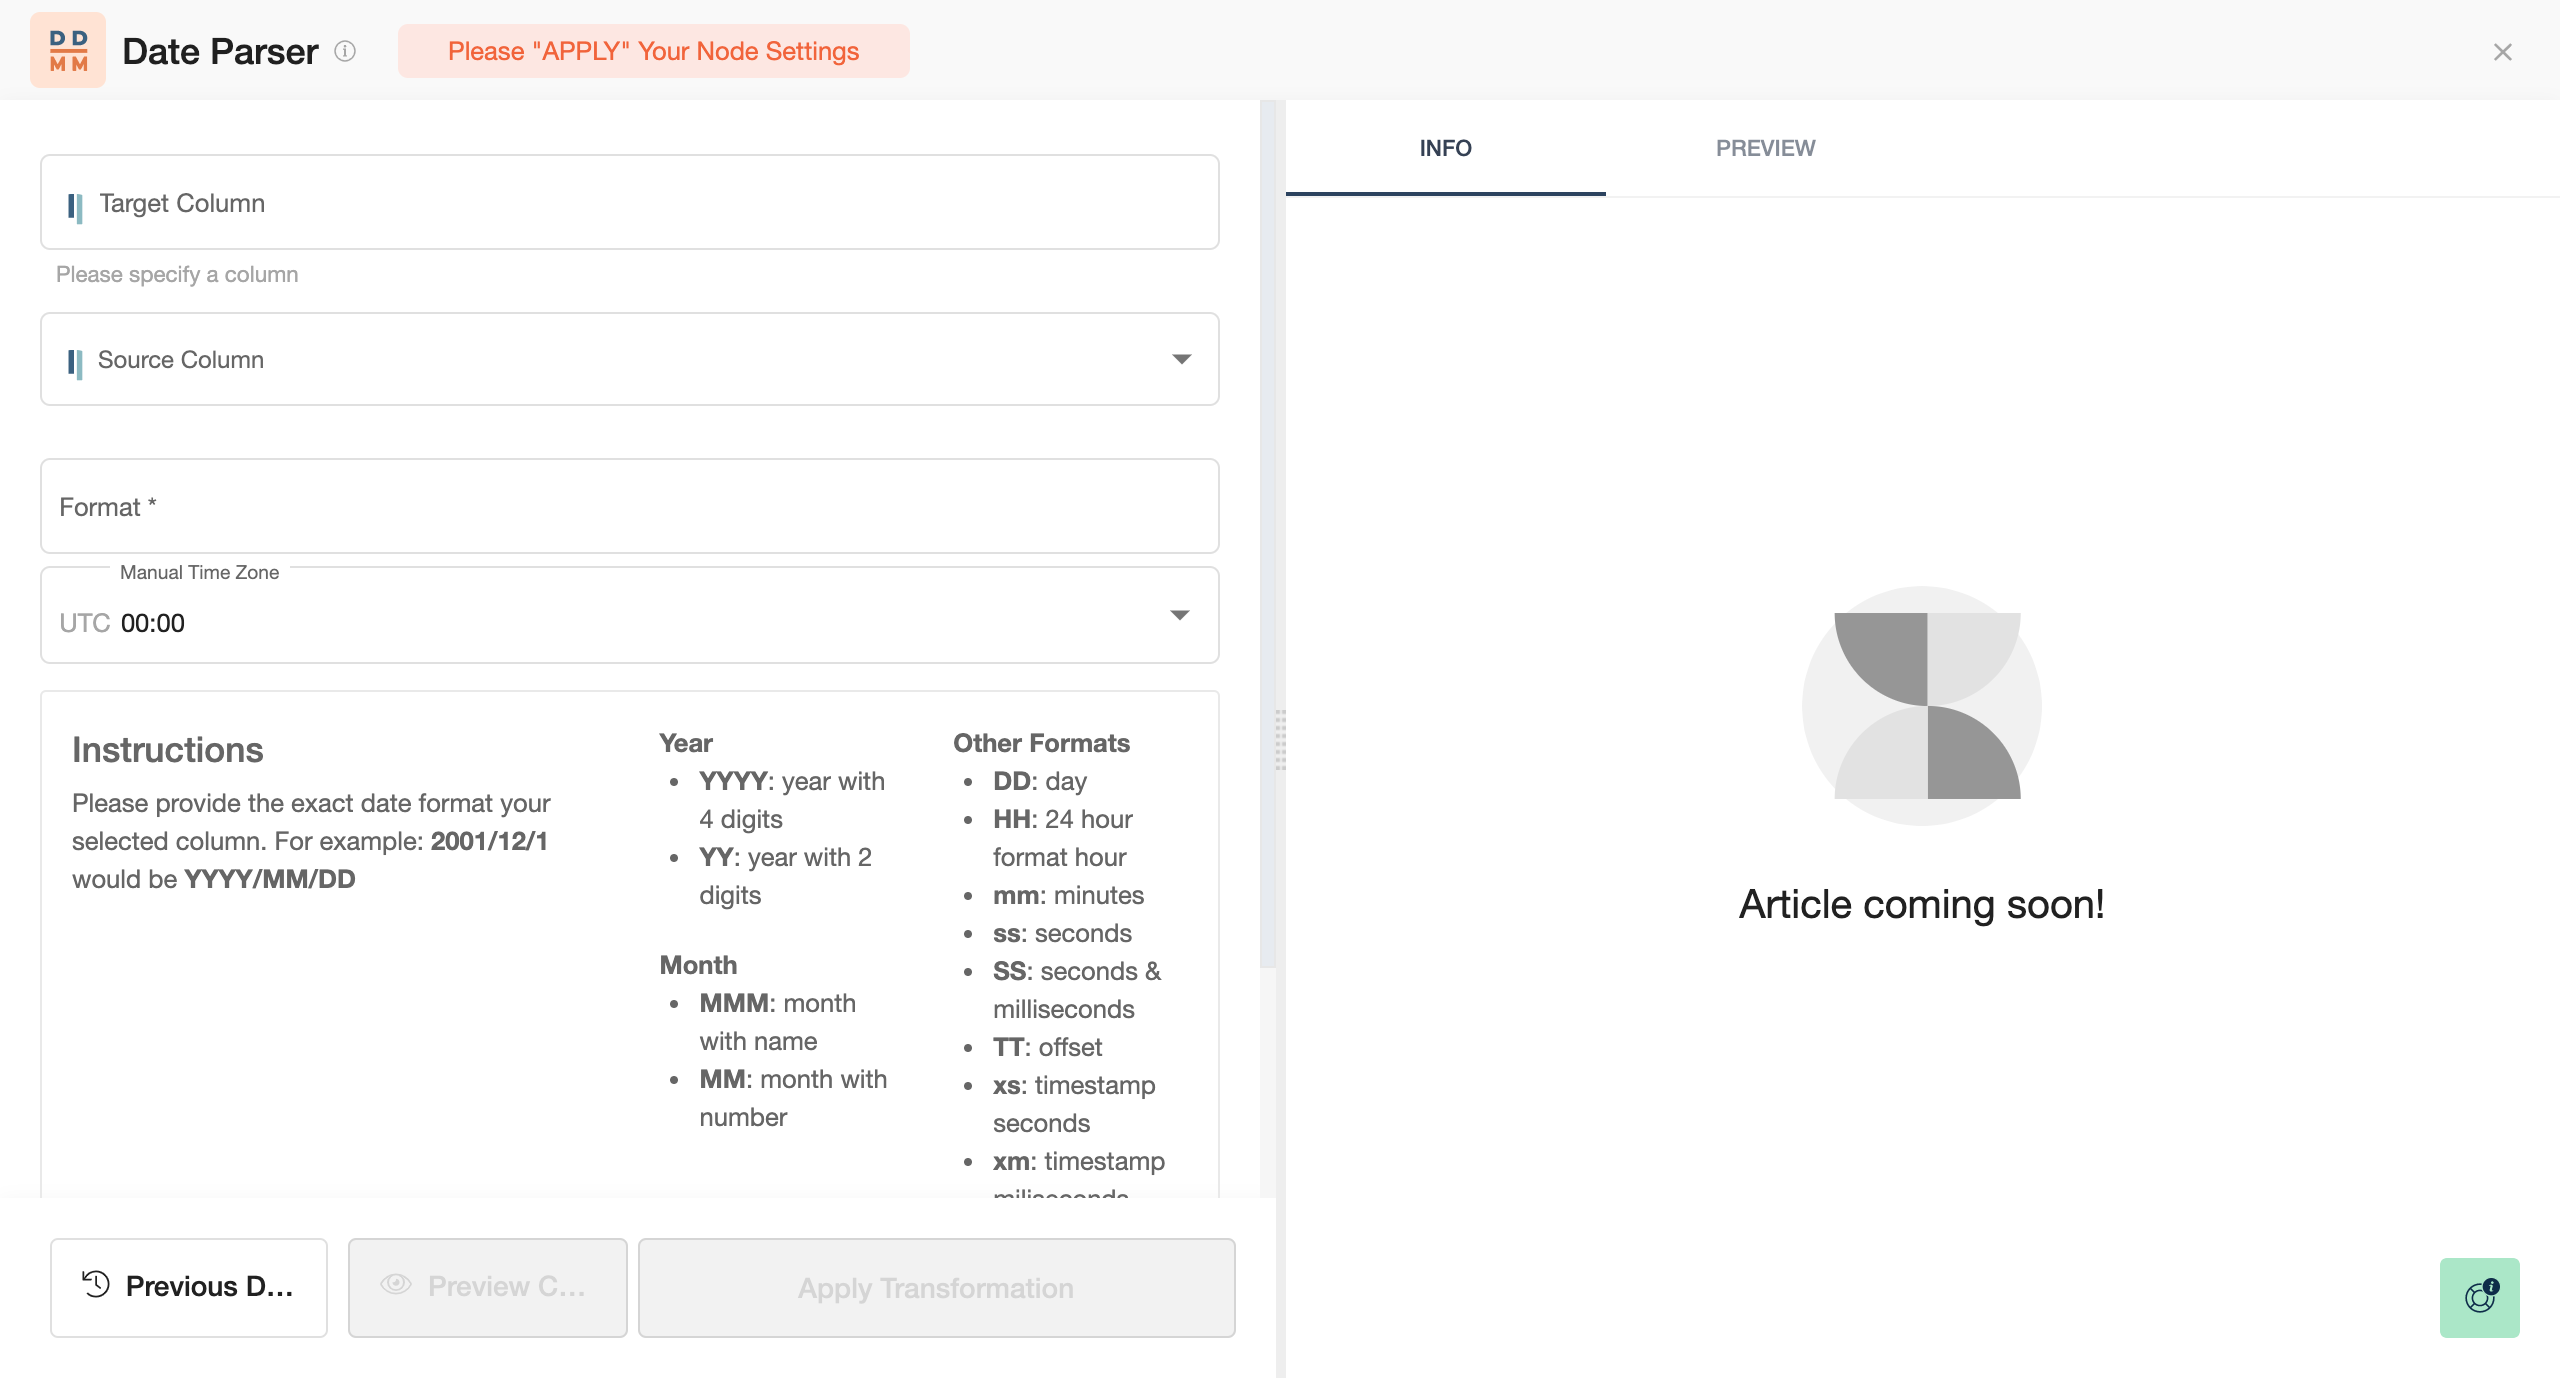
- Click on the Date Parser Node to apply the settings.
- Begin by selecting the Target Column or write the name of a new column.
- Then choose your Source Column.
- Select the Date time format.
- You can easily add additional Parsers by clicking on Add Parser, the big + button below.
- When you are done, press Save.
Once you're done changing the format of your date times, you can either perform further transformations or, if you want to export the new data table, click Commit Model.