Replacing text in a whole column is a powerful tool. For instance, when combining tables that two people in your organization worked on, the column's values may have been named differently. One person might have put "New York", the other "NY". They mean the same thing, but analysis fails in these cases. Another example is when you internally decide to rename a value, such as deciding that "male" should be replaced with "identifies as male". There are many other use cases in which you may want to rename the values of your columns. Here is how you do it:
Note: In order to use the Model feature you already should have already imported data sources into the Y42.
Adding the Replace Node to Your Model
- In the Model tab, click Add... Name your new data transformation and choose a privacy level.
- Create at least one input table by dragging and dropping the Input field into your data model structure. Choose a data table by clicking on it, then click Apply.
- Drag and drop a Replace node close to the Input field.
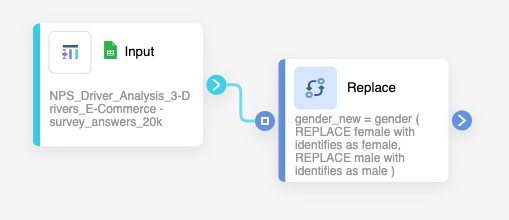
Setting Up Your Replace Node
- Click on the Replace Node to apply the node settings.
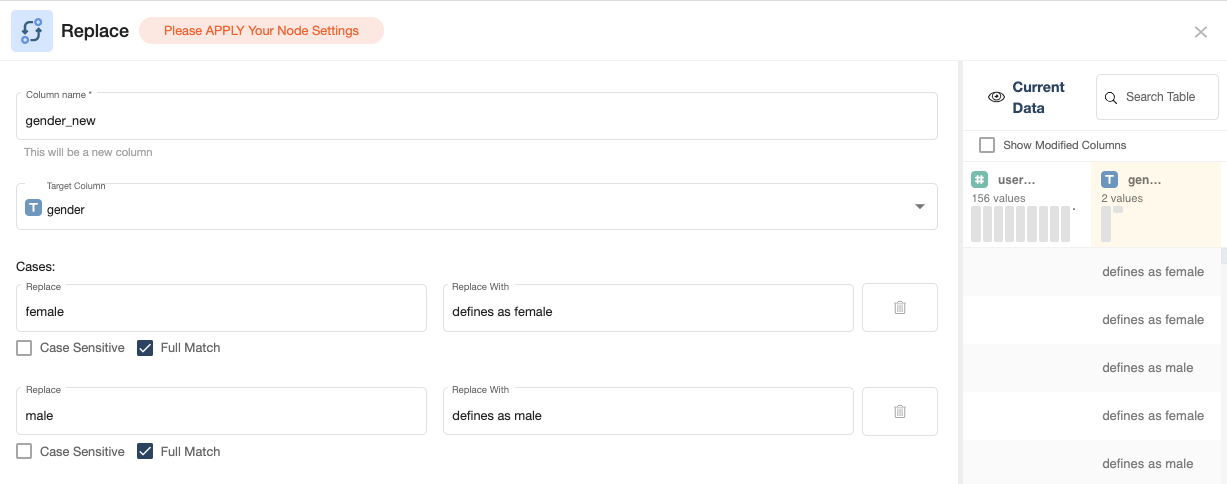
- You can choose to create a new column by typing it into the Column name box or overwrite an existing column by selecting it from the menu.
- Then, select the Target Column. This is the column you want to apply the text replacement on.
- Select the text you want to select by typing it into the Replace box. You can choose whether you want to be Case Sensitive or not: Do you only want to replace "male" or also "Male"? You can also choose if you require a Full Match in the cell or if the selected text just has to be part of the cell.
- Finally, type in the text you want to Replace With.
- You can add other replace cases in the same column by clicking Add Replace Case. If you want to apply the replace function on other columns, click the green +.
- When you're done, click Save.
Once you're done replacing text in your columns, you can either perform further transformations or, if you want to export the new data table, click Commit Model.