Filtering rows is a useful function in a lot of cases. For example, you might want to create a table of your customer data that only includes those that rated their satisfaction 6 or lower as a basis to specifically target them. Filtering your tables is easily done in Y42:
Note: In order to use the Model feature you already should have already imported data sources into Y42.
Adding the Filter Node to Your Data Model
- In the Model tab, click Add... Name your new data model and choose a privacy level.
- Create at least one input table by dragging and dropping the Input field into your data model structure. Choose a data table by clicking on it, then click Save.
- Drag and drop a Filter node close to the Input field.
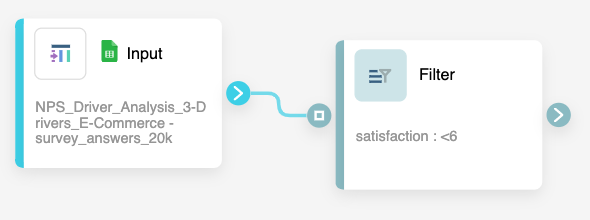
- They will automatically connect. Alternatively, you can drag a line between them.
Setting Up Your Filter Node
- Click on the Filter node to apply the node settings.
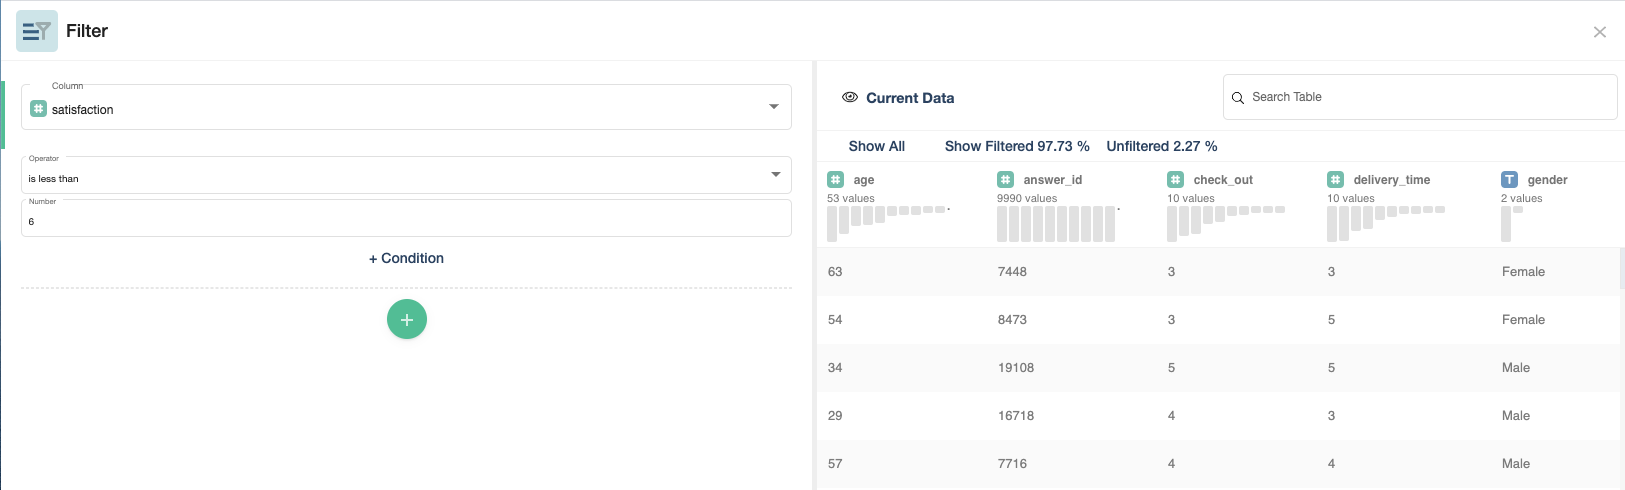
- Select a column you want to filter in the Column box.
- Insert your condition by choosing an Operator. You can filter all column types (Number, Text, Boolean, Date) and will have access to different operators depending on your column type.
- Then, choose a value by which you want to filter.
- You can add additional filter conditions to the same column by clicking the + Condition button or filters on other columns by clicking the +.
- When you're done, you can check the transformation by clicking Output. If you're satisfied, click Save.
Once you're done filtering, you can either perform further transformations or, if you want to export the new data table, click Commit Model.