The Aggregations function allows you to group selected columns and return the minimum or maximum value, the count of values, or unique values, the sum, or even the average of these groups. These values can either be displayed in a new column or overwriting an existing column.
Note: In order to perform Aggregations you should already have imported a data source into your Y42 Platform.
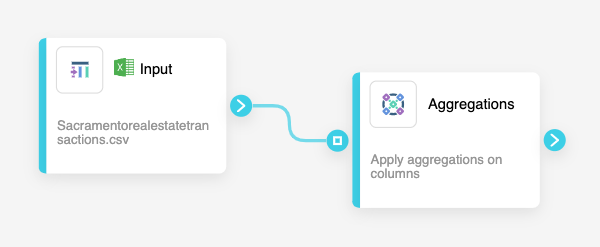
Adding the Aggregations Node to your Model
- In the Model tab, click Add... Name your new data model and choose a privacy level.
- Create at least one input table by dragging and dropping the Input field into your data model structure.
- Choose a data table by clicking on the new Aggregations node, then click Apply.
- Drag and drop an Aggregations node close to the Input field.
Setting up Your Aggregations Node
- Click on the Aggregation node to apply the node settings.
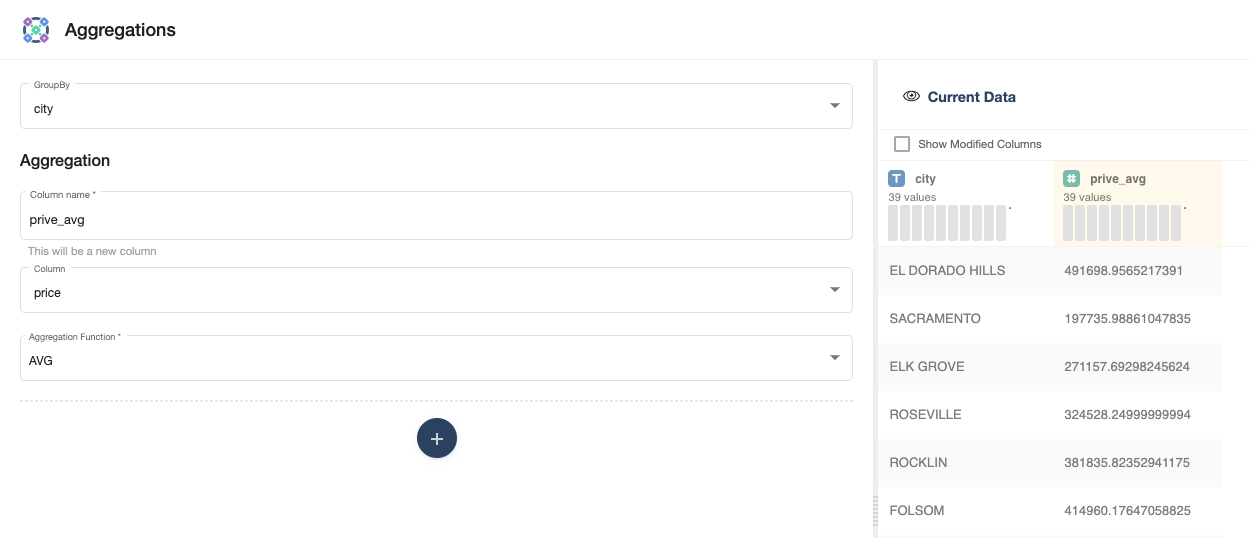
- First, select the columns you want to Group by.
- In the Target Column box, put a new column name if you want these values to appear in a new column or choose an existing column to overwrite it.
- Then, choose the column you want to aggregate (according to the selected Group By above) in the Source Column menu.
- Finally, choose the function you want to apply to the selected column. You can choose the minimum (MIN), maximum (MAX), the number of values (COUNT), sum (SUM), average (AVG) of your grouped column, Count Distinct or STDDEV.
- You can add additional aggregations by clicking the blue + Apply more conditions.
- When you're done, click Save.
Once you're done aggregating columns within your model, you can either perform further transformations or, if you want to export the new data table, click Commit Model.