A Date Comparison Node helps getting the difference between two dates or date time, by comparing a selected column with another, or comparing it with a constant; returning a result either as seconds, minutes, hours, days, months or years. Here’s a guide on how to add and set up a Date Comparison Node:
Note: In order to use the Model feature you already should have already imported data sources into Y42.
Adding the Date Comparison Node to your Model
- Select Model on the right of your window and click Add Model. Name your new Model and choose a privacy level.
- Create at least one input table by dragging & dropping the Input field into your data model structure. Choose a data table by clicking on it, then click Save.
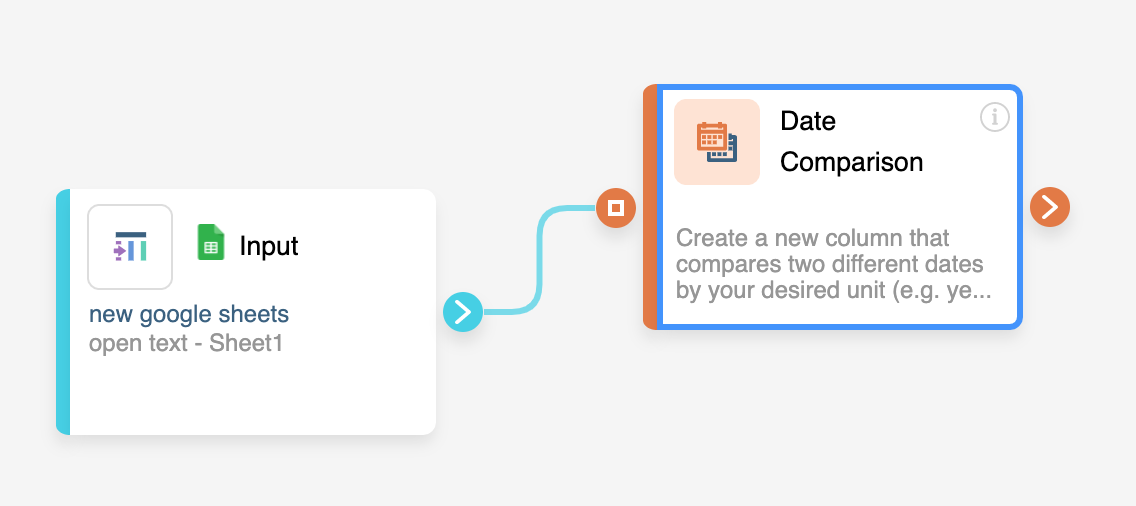
- Drag & drop a Date Comparison Node close to the Input field.
Setting Up your Date Comparison Node
- Click on the Date Comparison Node to apply the settings.
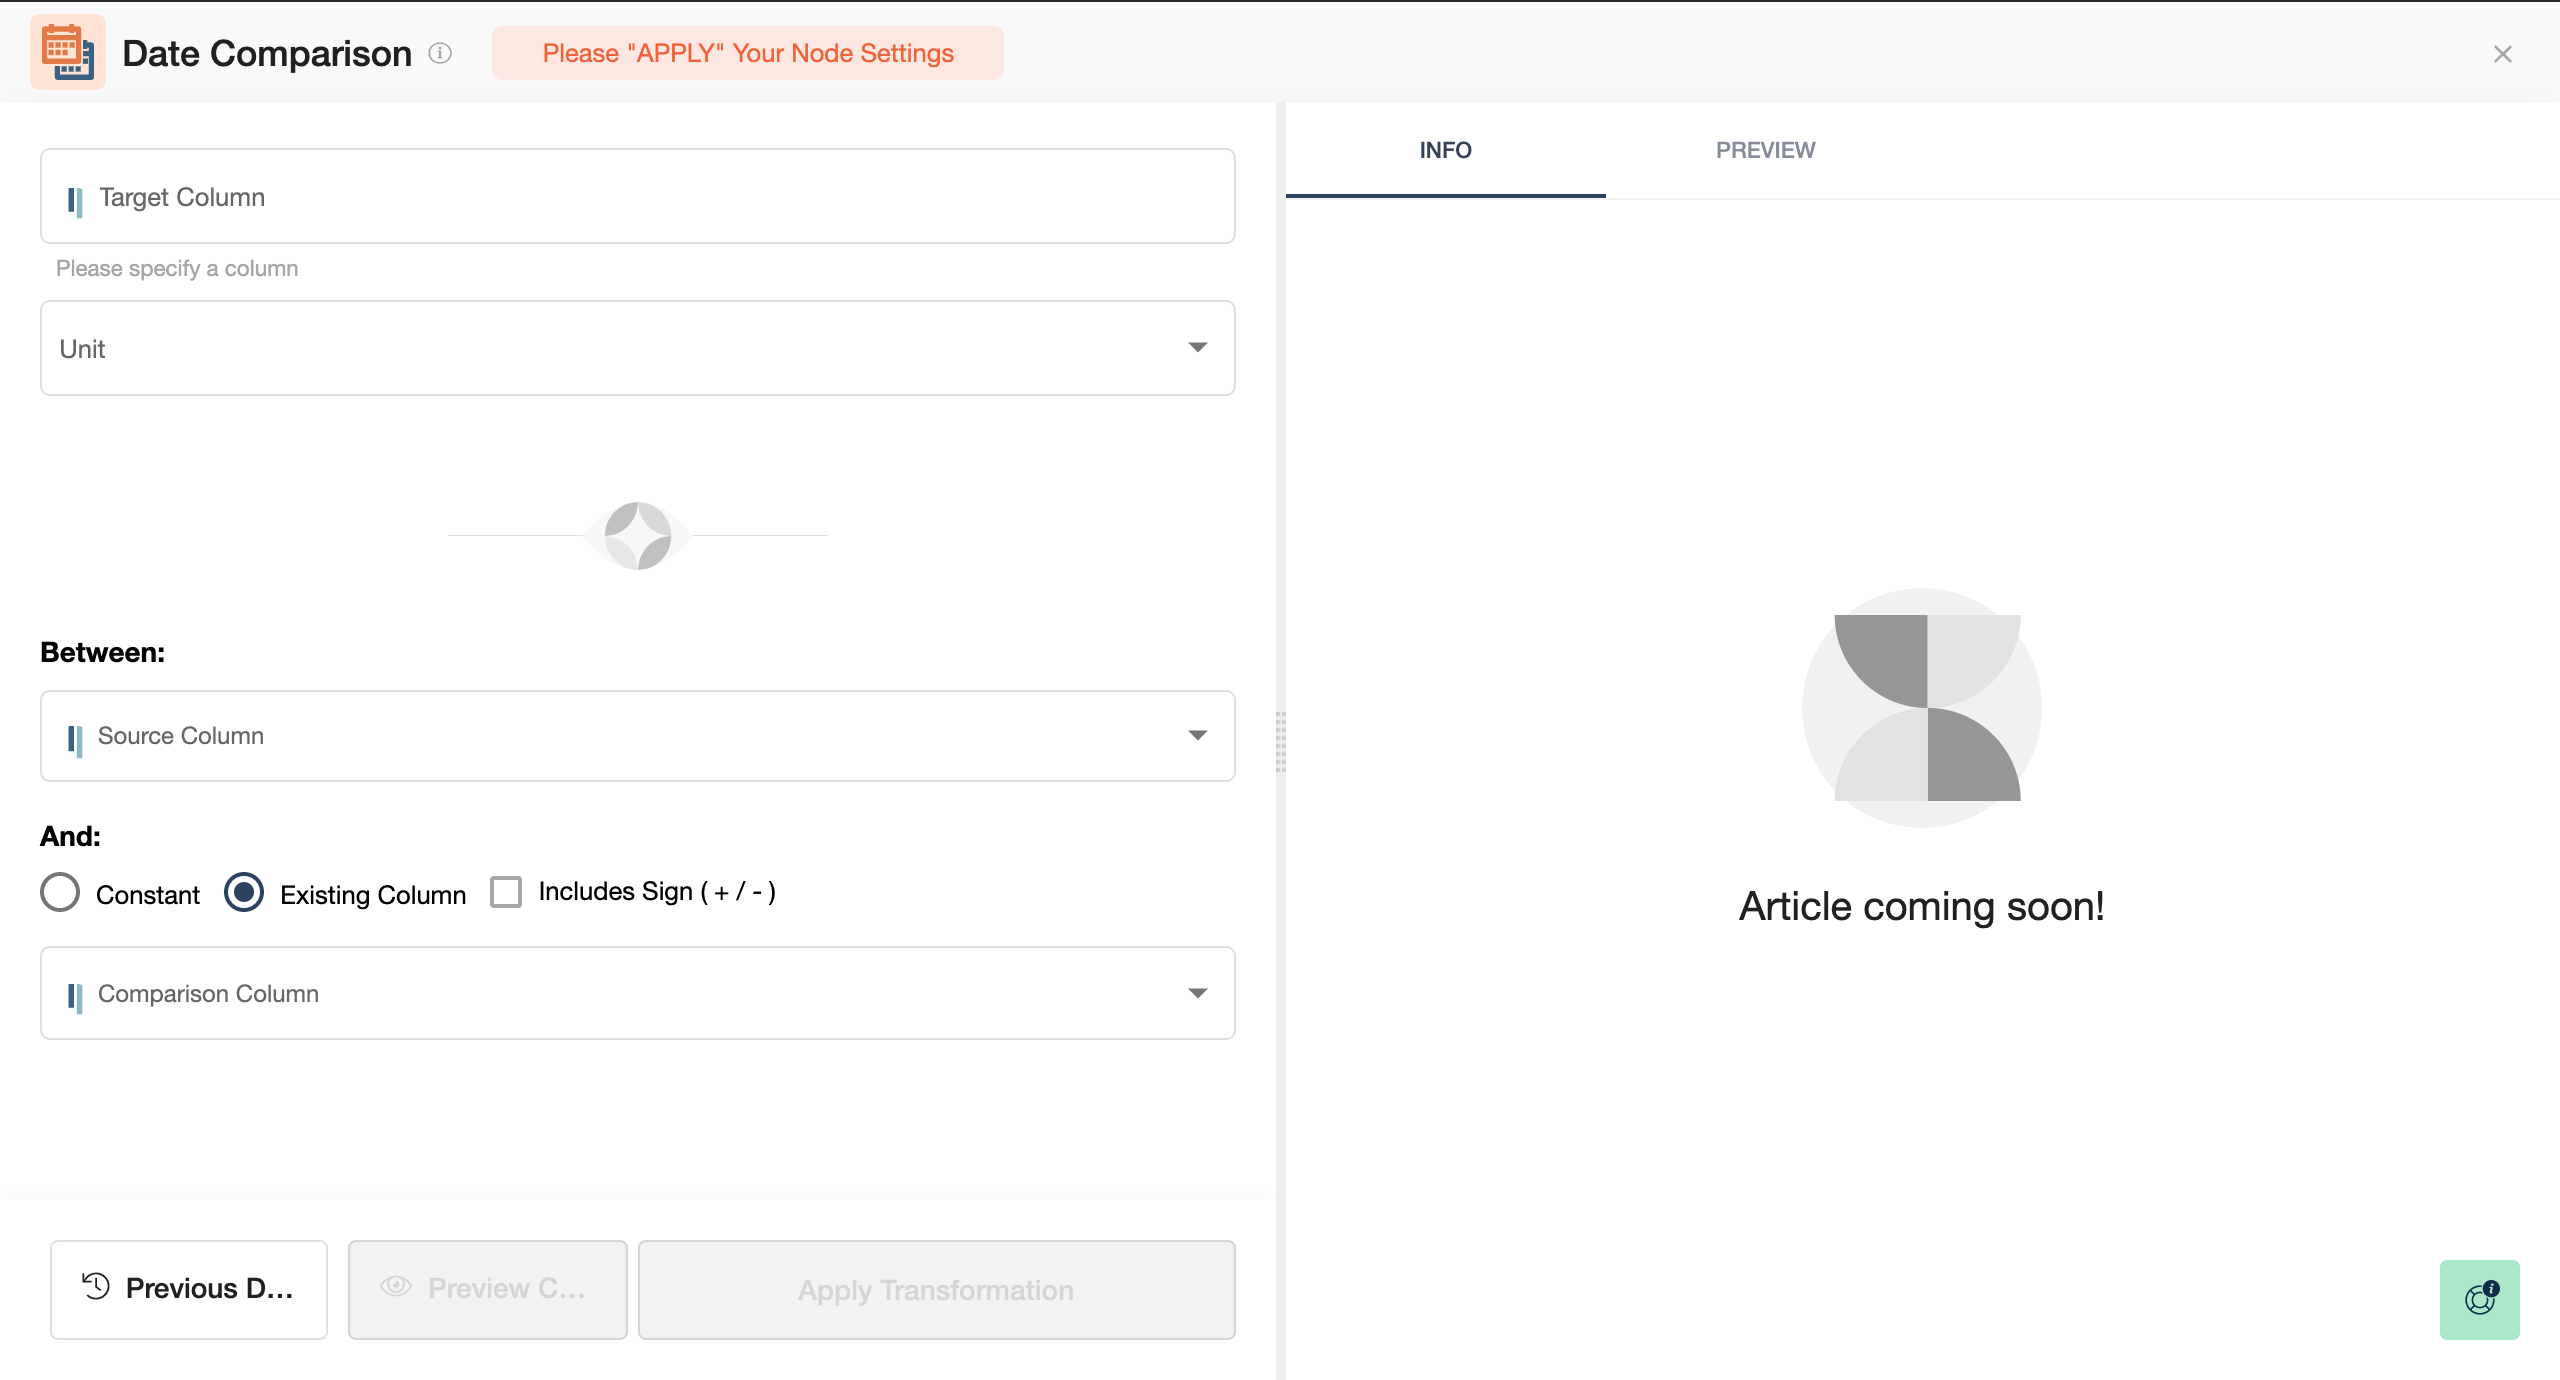
- Begin by selecting the Target Column or write the name of a new column.
- Then choosing the unit the new columns with be in, e.g. seconds, hours...
- Select a Source Column,
- Add its comparison, be it a Constant or Existing Column + Select includes +/- if you want the difference to not be in absolute values.
- Select the Comparison Column.
- When you are done, press Save.
Once you're done comparing the date and date time of columns, you can either perform further transformations or, if you want to export the new data table, click Commit Model.
Setting up your Geolocation Node
- Click on the Geolocation Node to apply the settings.
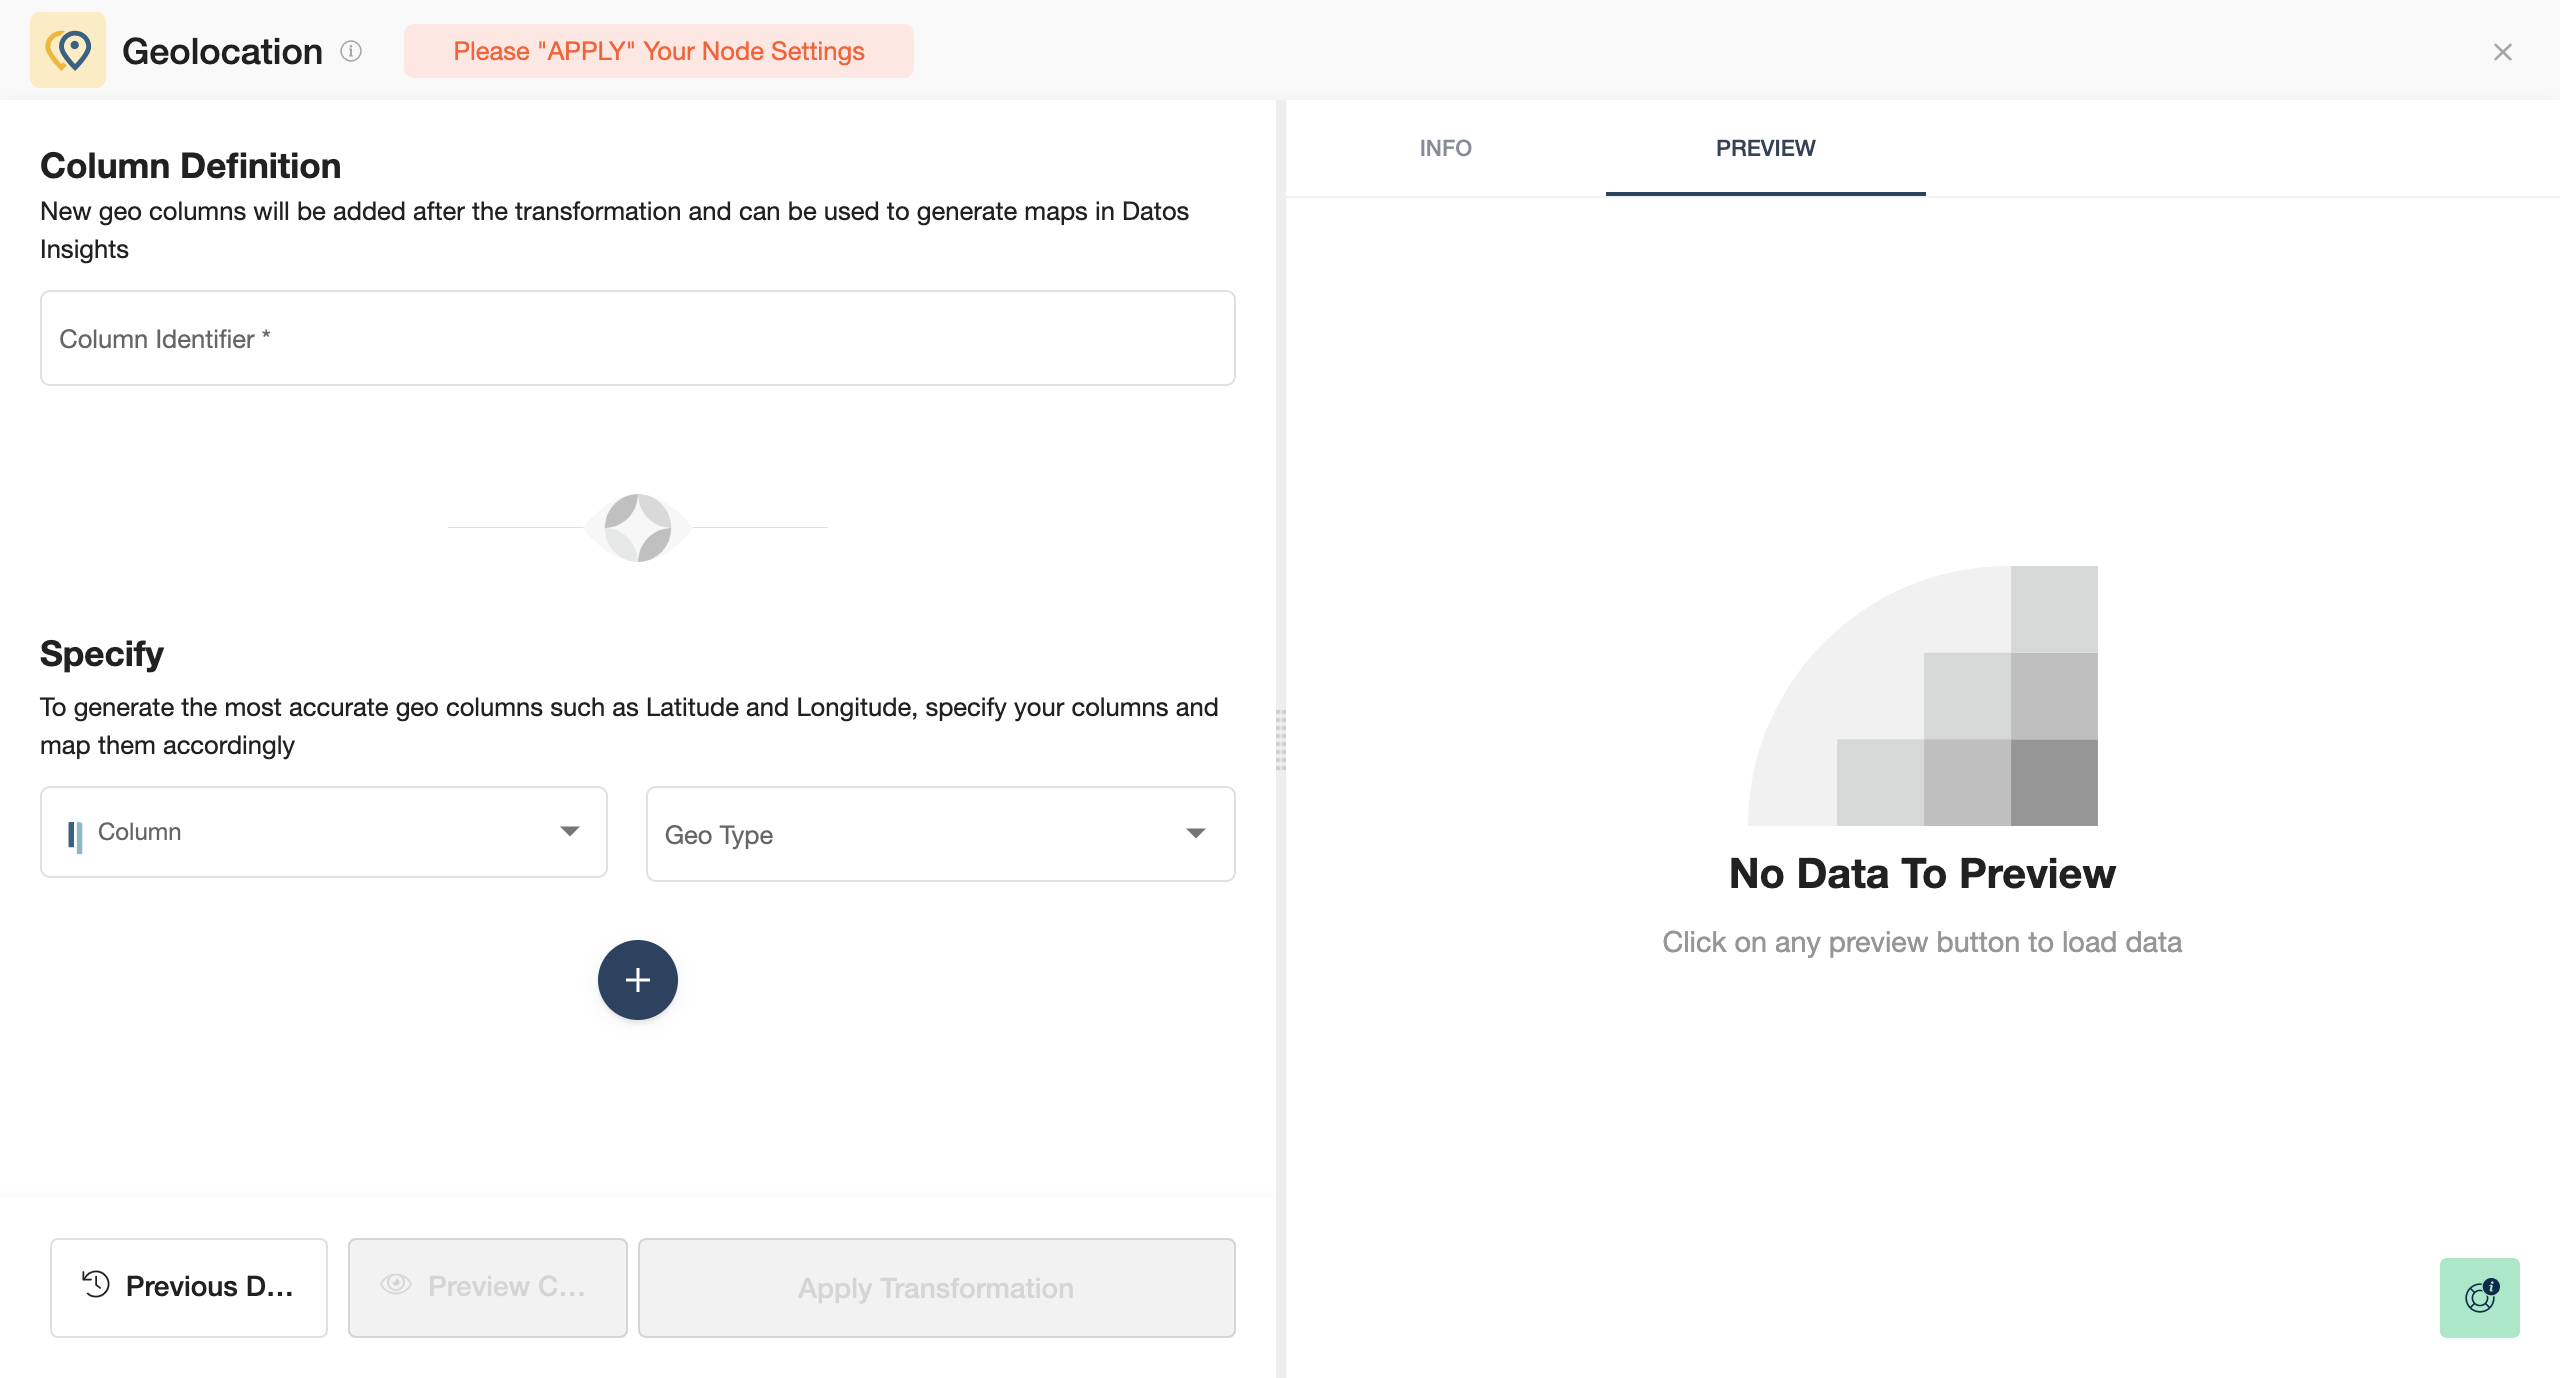
- Create the Column Identifier.
- Specify your columns and Geo Type.
- Add additional conditions by clicking on Add condition for higher precision, the big + button below.
- When you are done, press Save.
Once you're done determining the latitude and longitude of countries, cities, and ISO 2 & ISO 3 country codes, you can either perform further transformations or, if you want to export the new data table, click Commit Model.