How to set up Data Exports
To start using immediately the Data Exports you should do the following:
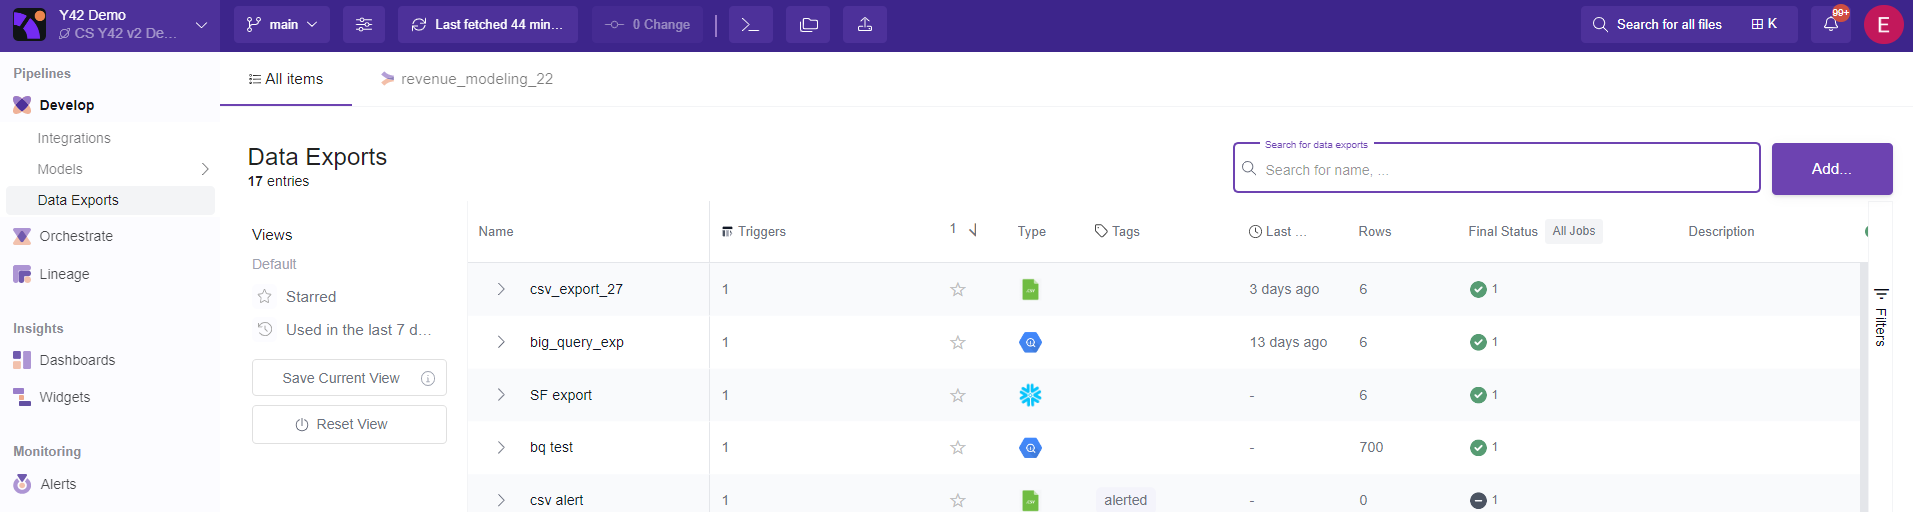
I. Visit the Data Exports overview Menu.
Here all the Data Exports appear. Look at this article to better discover all the Export Overview Menu functionalities.
II. Add an Export (or open an existing one if you want to do changes).
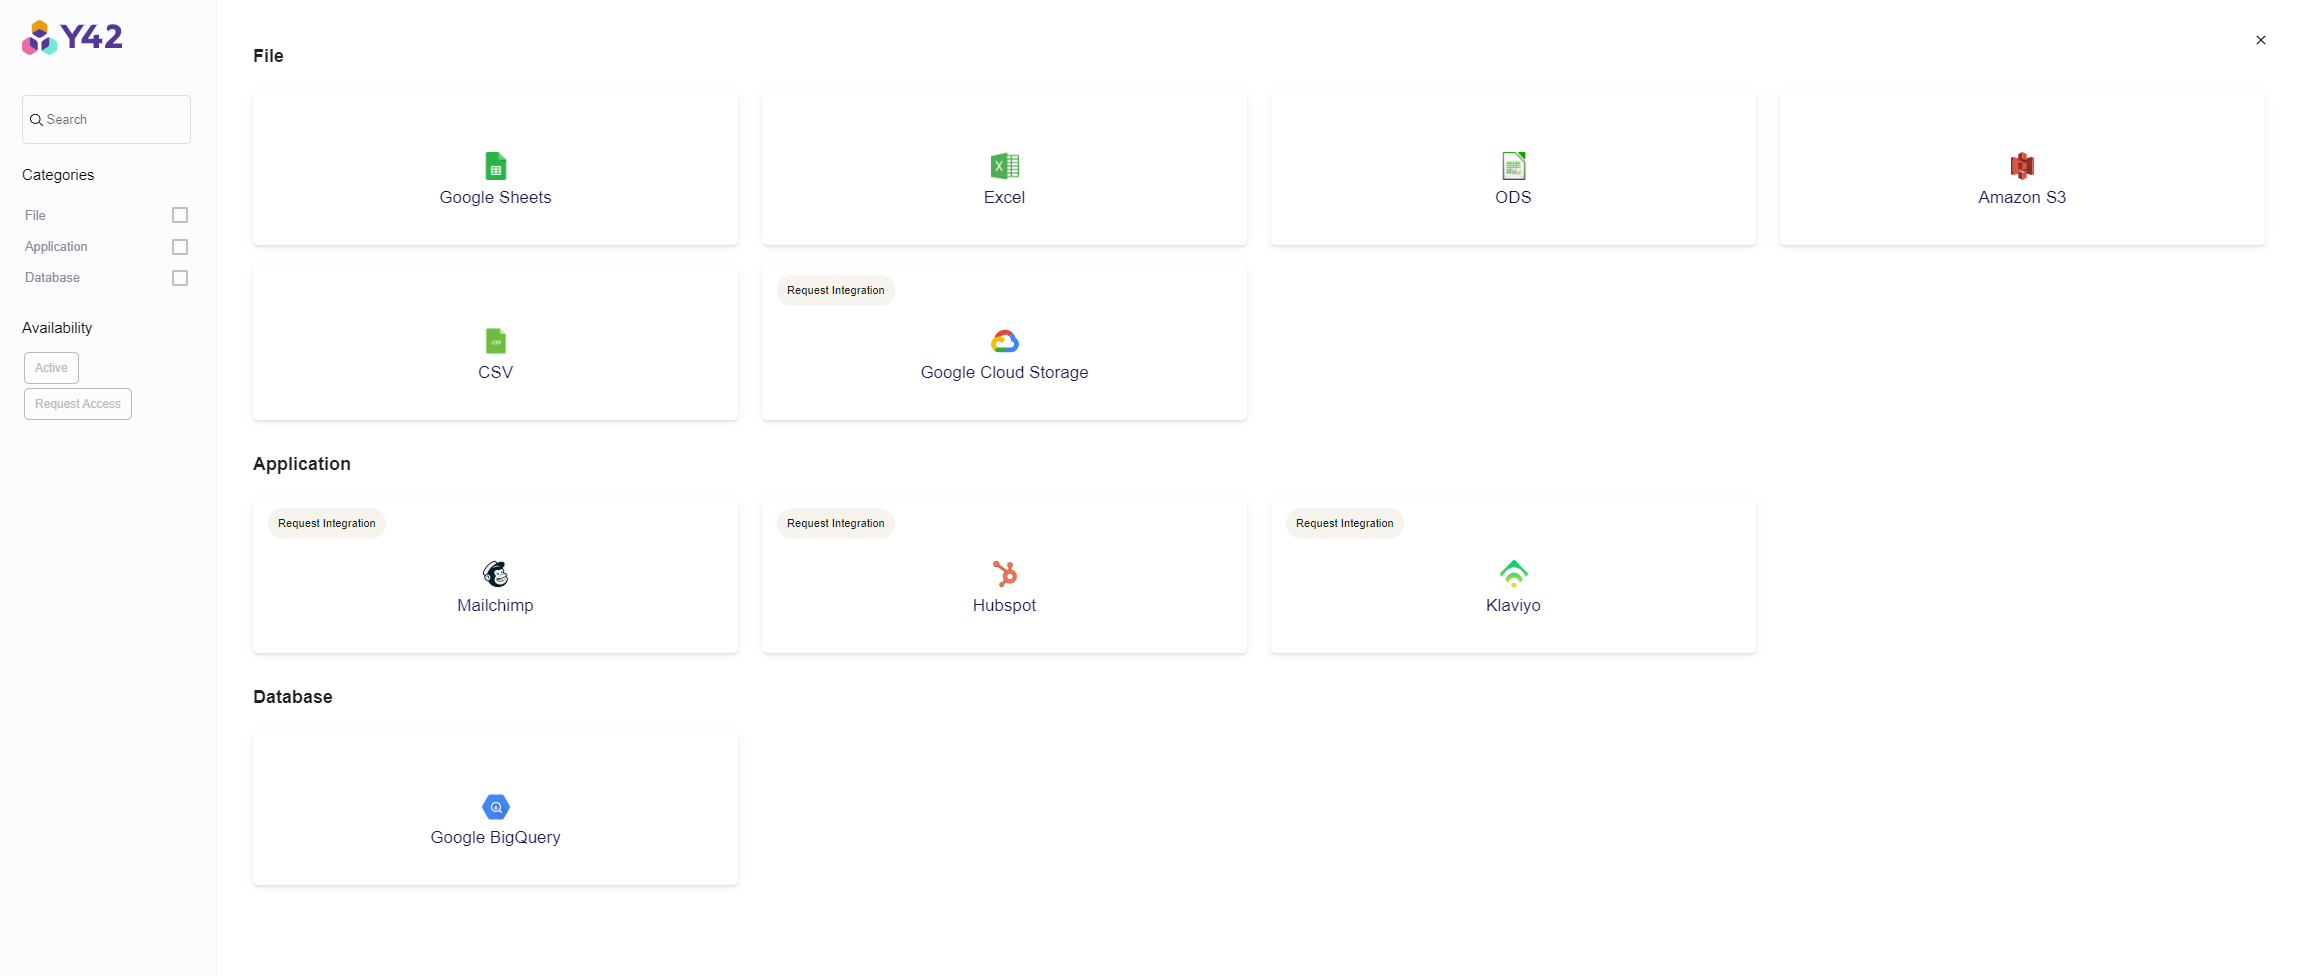
Click the Add… button.
III. Select the Data Export storage type.
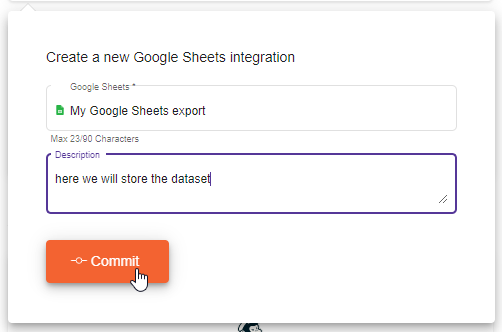
IV. Enter the name of the new export and submit.
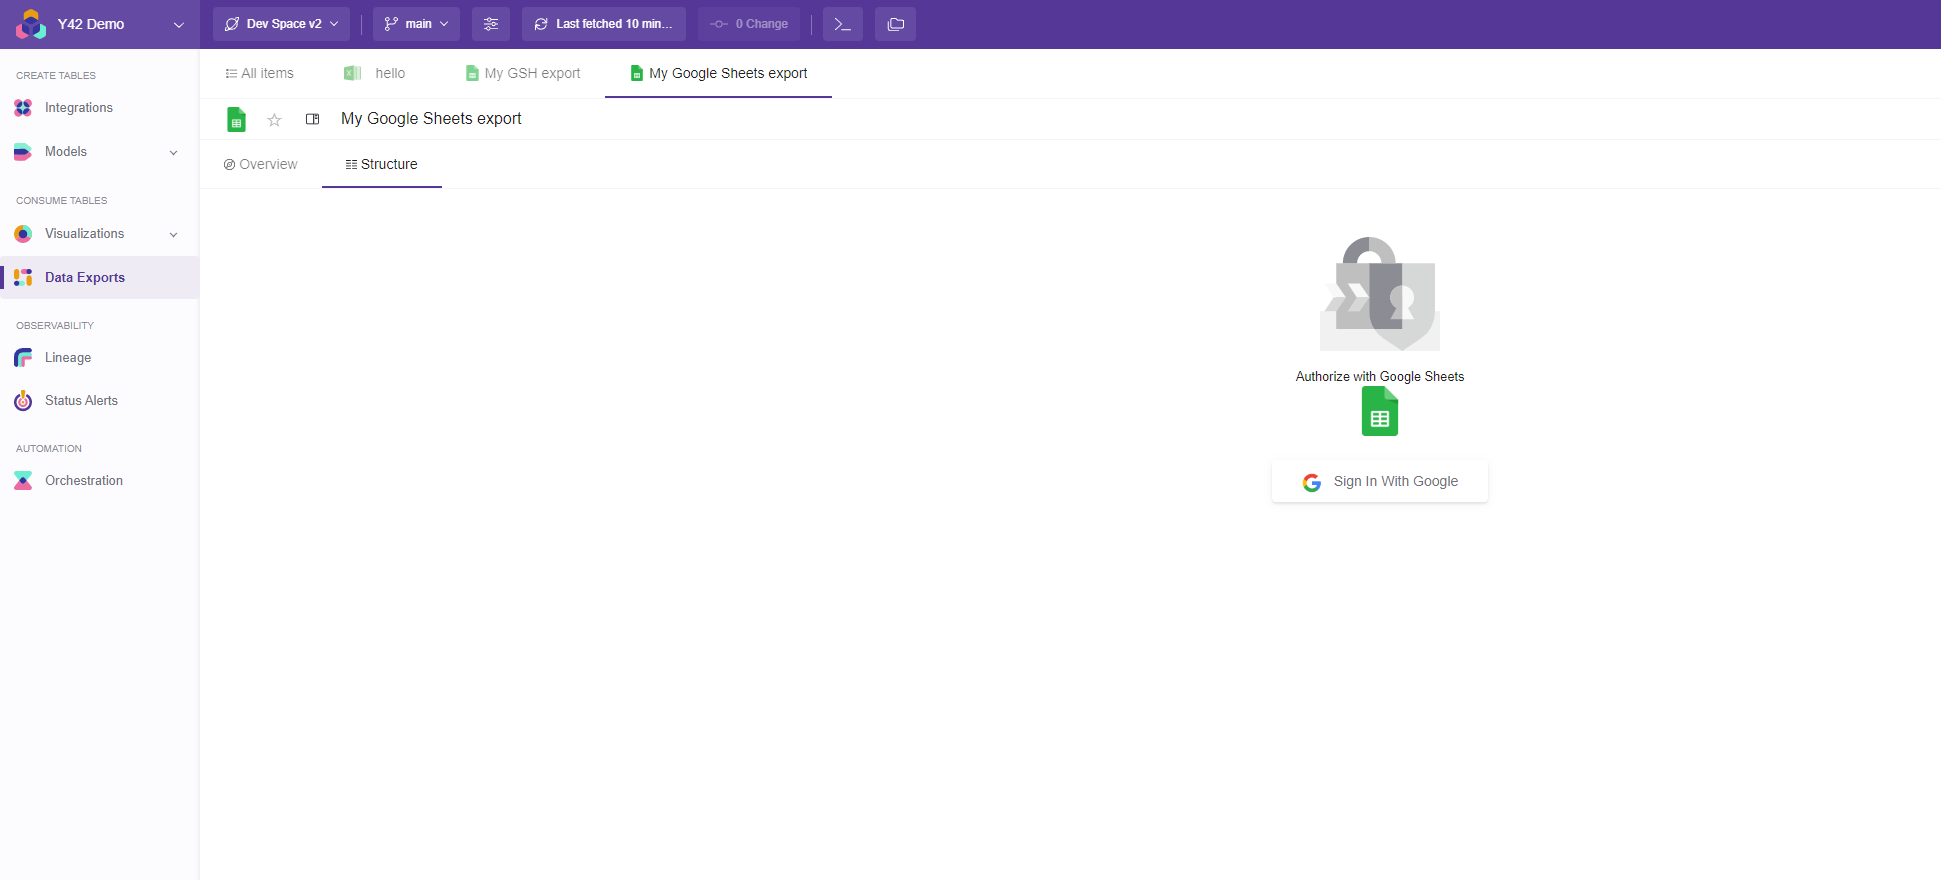
V. Authenticate if needed (Depends on the type of Data Storage selected).
Now you are inside your newly created data export, by default you enter into the Structure menu of the Export.
Depending on the type of data storage it might ask to authenticate. For data storage like "Excel" or "CSV" there is no need to authenticate.
For authentication visit these articles for:
VI. Create a trigger.
In order to Create a trigger you need to first select the data table you want to export (Integration, UI-Model or SQL-Model) and next to select the export destination table.
Follow these steps as per the image counter:
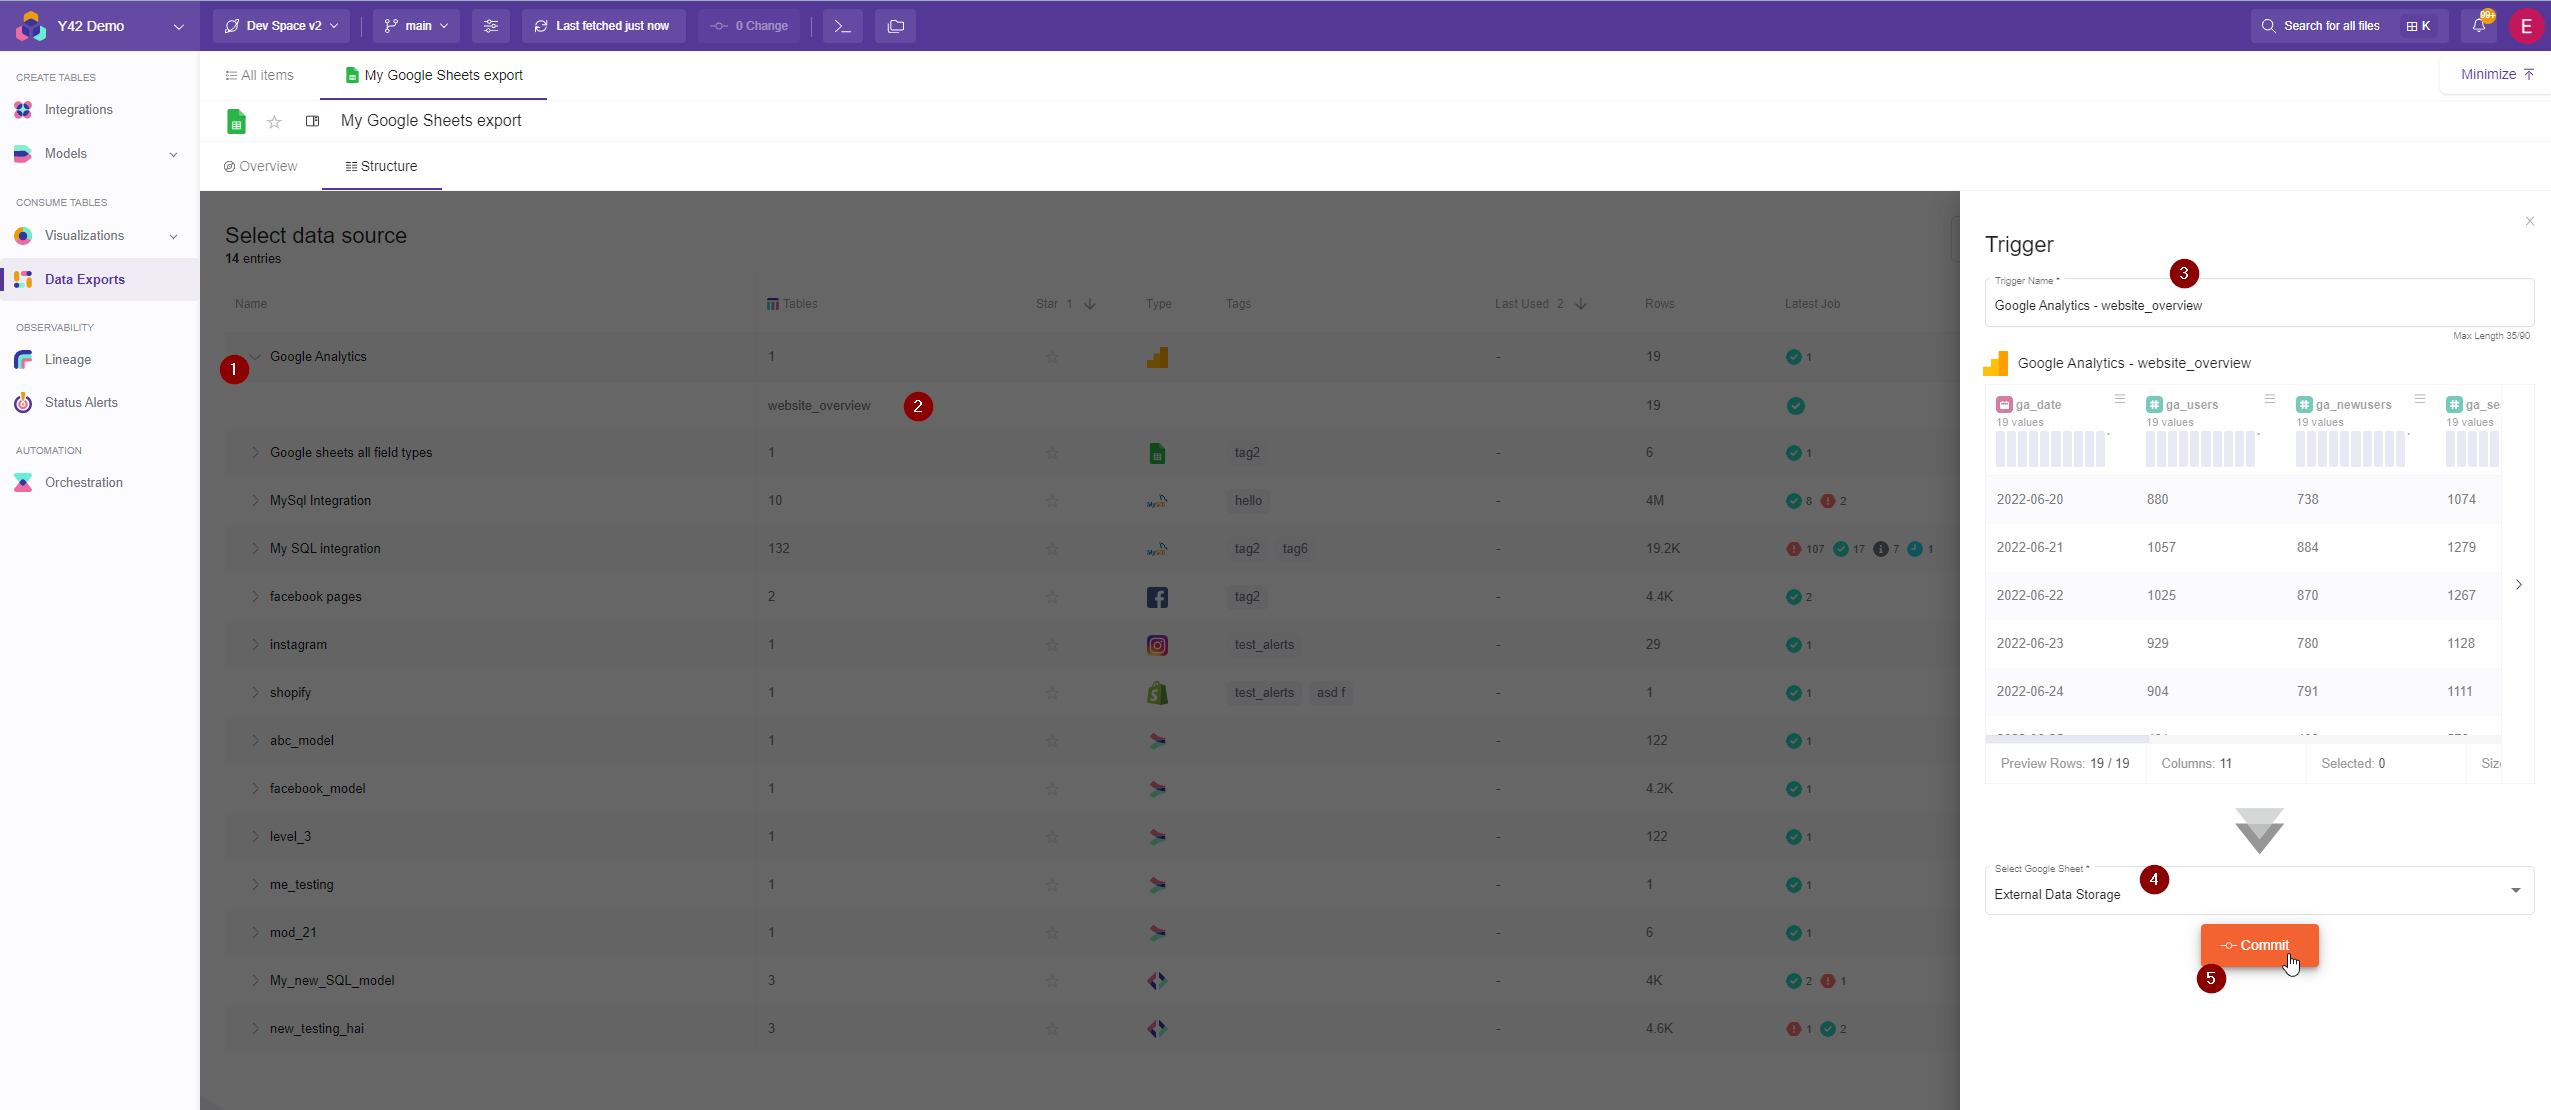
1- Expand the Integration, Sql Model or UI-Model that you want to export.
2- Select the table/s to export in the Canvas.
3- Change the trigger name (If needed). It will be auto-populated by default
4- Select the destination table (Here the data will be exported).
5- Commit
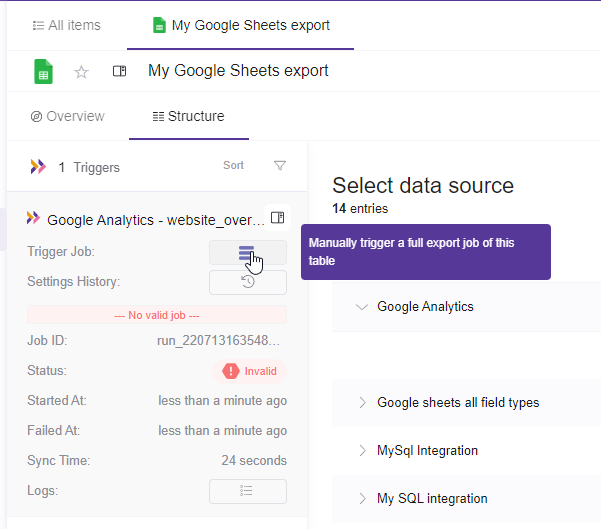
VII- Manually trigger a full export
Now that the trigger is ready you can manually trigger it.
VIII- View the exported data into the destination file/table.
Once the status is ready you can view the data exported in the destination file/table.
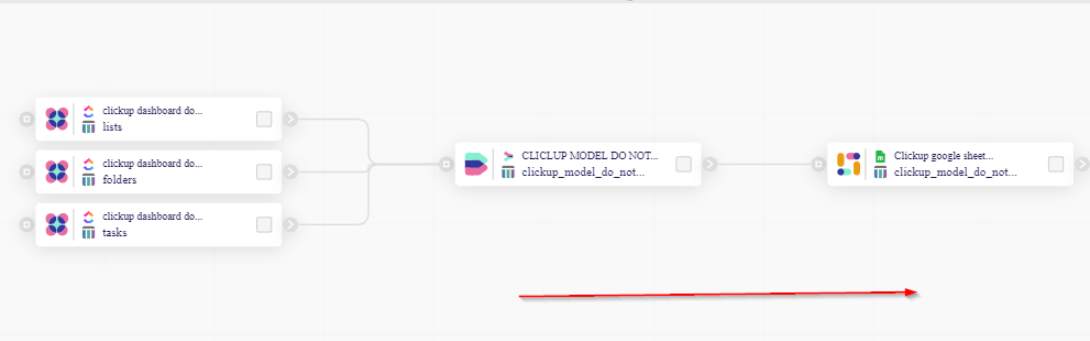
IX- Use an Orchestration (Optional).
You can do this process automatic by using this Export and the Integrations or Model tables it consumes in an orchestration, making the whole process automatic.
You can learn more in this by viewing the article on how to set up an Orchestration.
Updated over 3 years ago