How to create an Alert
To start using immediately the Status Alerts you should do the following:
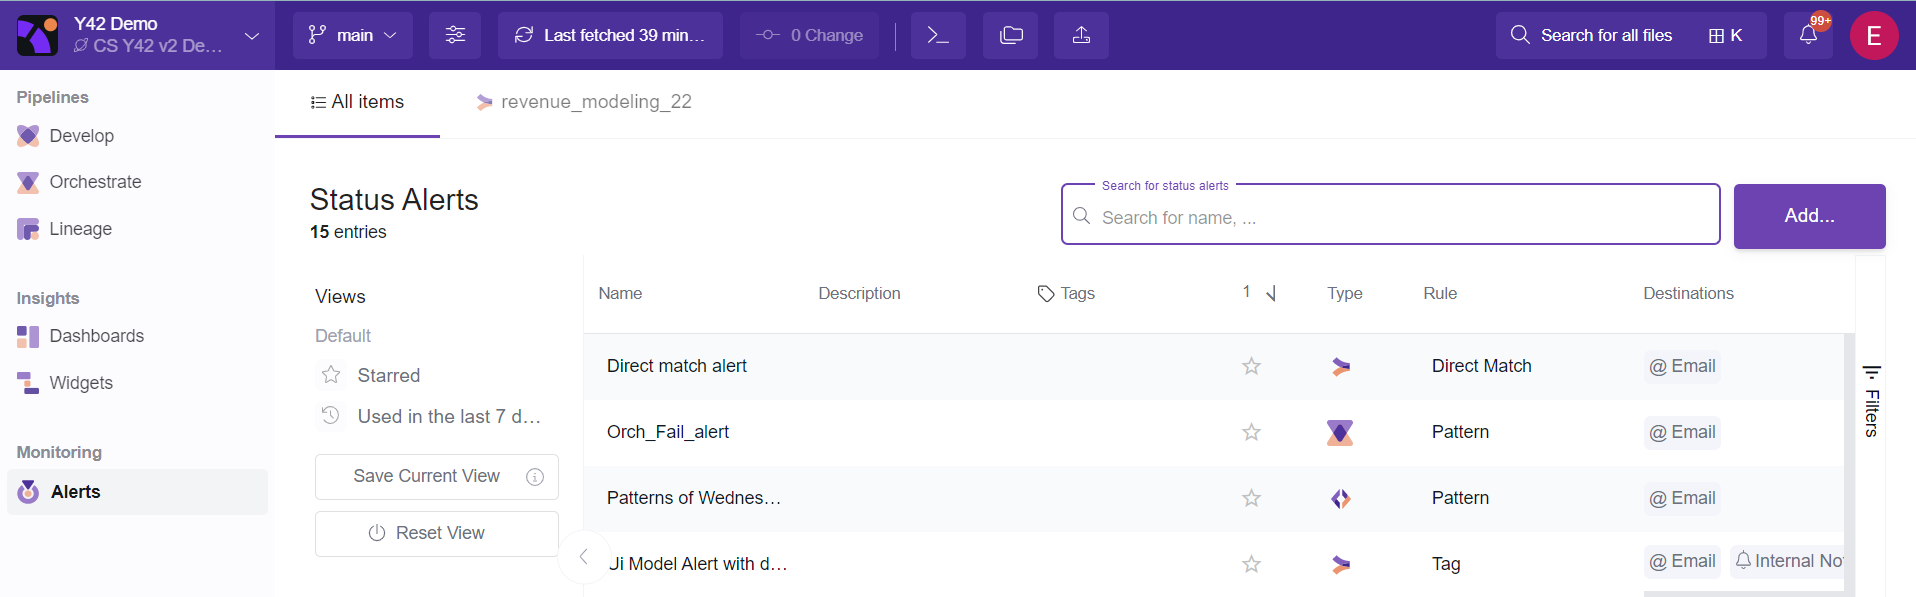
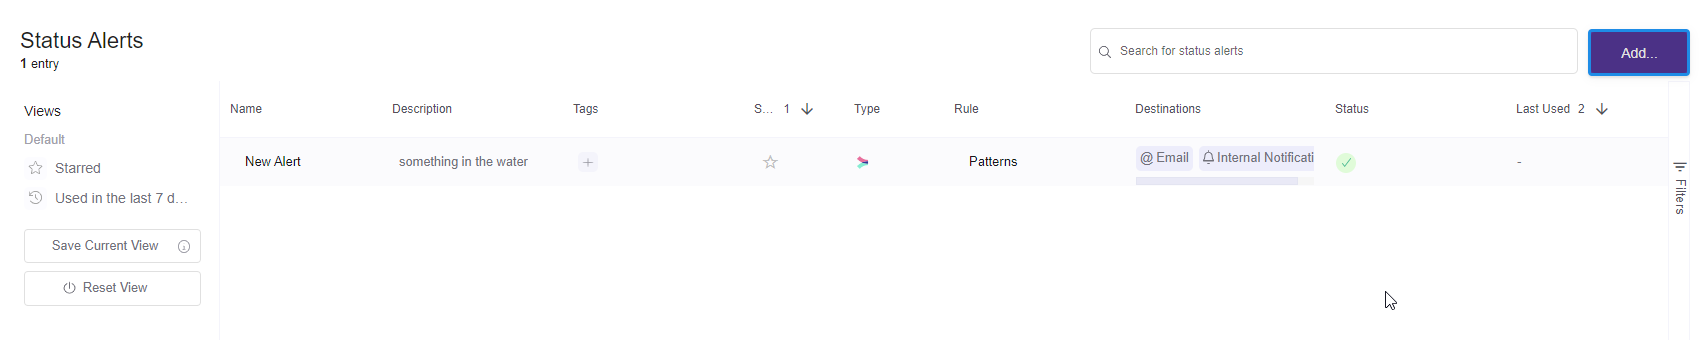
I. Visit the Status Alerts Overview Menu.
Here all the Status Alerts appear. Look at this article to better discover all the Status Alerts Overview Menu functionalities.
II. Add a Status Alert (or open an existing one if you want to do changes).
Click the Add… button.
III. Enter the name of the new Status Alert.
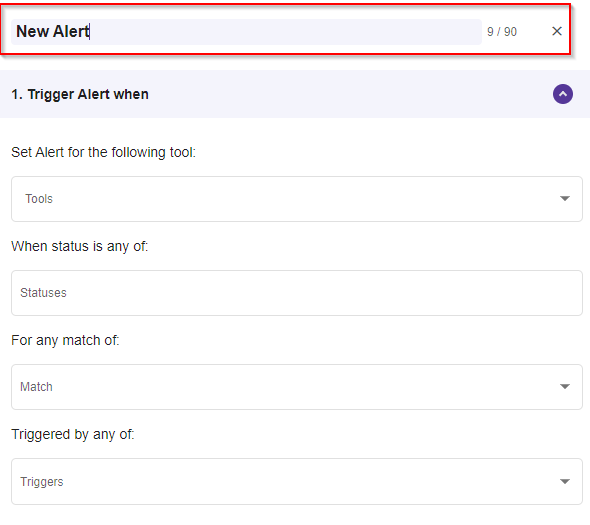
IV. Set the trigger.
Now that you have added a name for the Alert you can set it up, fist thing you need it to establish the rules when the Alert is Triggered and for which source/s:
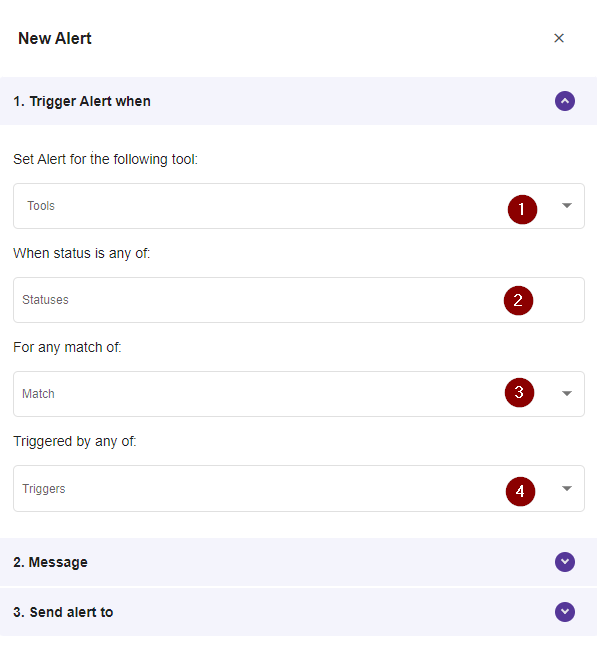
1- Select the source type to watch:
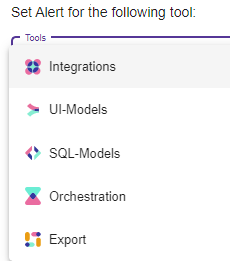
You can watch any of the source type's statuses:
- Integrations,
- Ui-Models,
- SQL-Models
- Orchestration
- Export
2- Select the status event to watch.
You can select any of the status as an event condition (Success, Failure, Partial Success).

3- Select the match condition.
You can select any of the matching conditions strategies in order to better pick the sources we actually are interested in having notifications we are not spammed by every event.
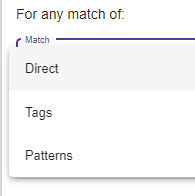
There are 3 matching strategies:
a) Direct. Here you select specifically the actual sources this Alert will watch for the statuses.
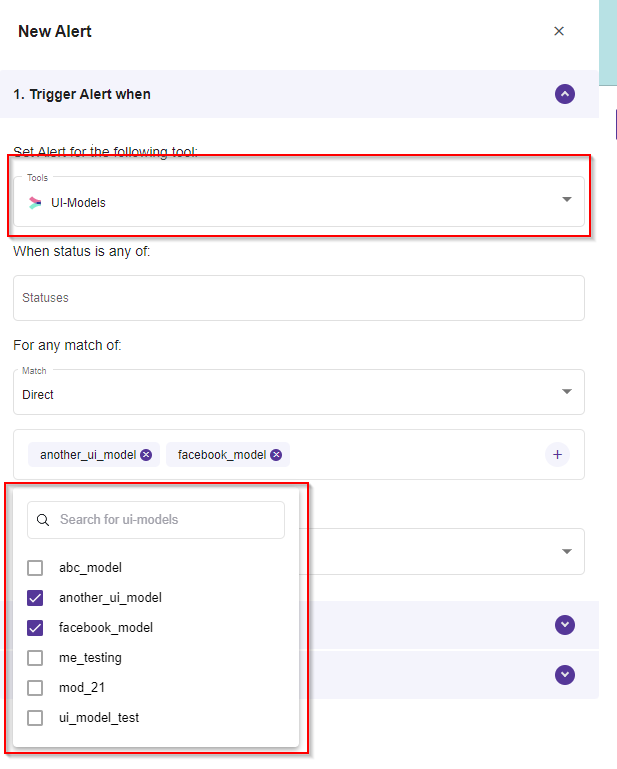
Important note: Based on the source type you picked in step 1, it will appear every record belonging to that source type. For example if you picked UI-Model as a source type in step 1, it will appear every model to choose from in step 3.
b) Tags. Here you select the records based on tags .
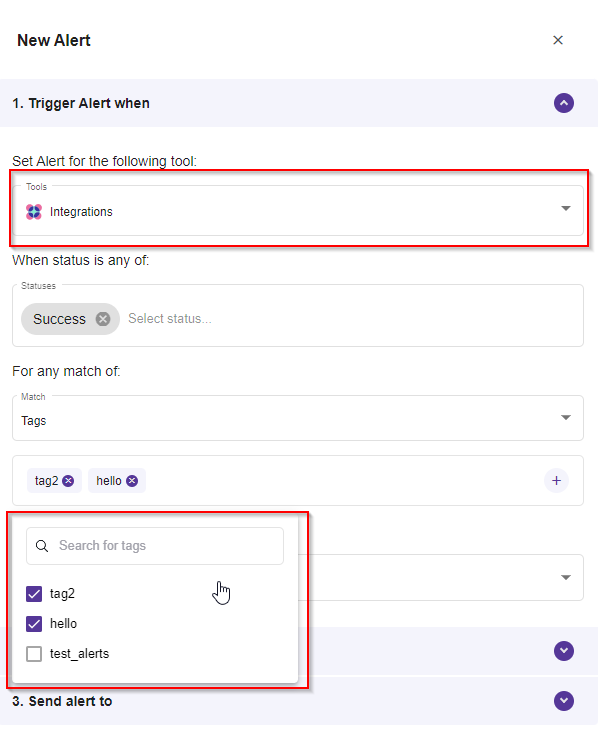
Important note: Based on the source type you picked in step 1, it will appear every tag belonging to that source type. For example if you picked Integrations as a source type in step 1, it will appear every tag used for integrations, to choose from in step 3.
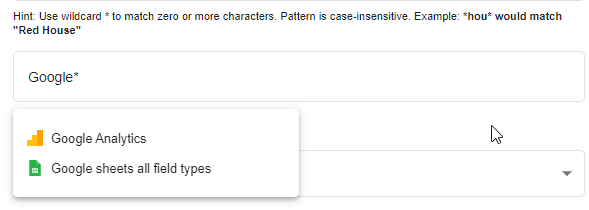
c) Patterns. Here you select the records based on a matching phrase in the title.
Hint: Use wildcard * to match zero or more characters. Pattern is case-insensitive. Example: hou would match "Red House".
we use glob patterns to search for matches within the Product that the user has chosen (e.g. UI-Model, Integration).
E.g., the pattern table_* for an alert configured on Integrations will be expanded to /src/Integrations/table_* in the backend.
At the moment, users can use the * wildcard to match 0 or more characters.
Examples:
*test* : matches anything that includes the word test within the name
test* : matches anything that starts with test
*test : matches anything that ends with test
test*test : matches anything that starts and ends with test
If you click on the search field a popup will appear showing all of the records that belong to the source type you picked in step 1.

Use the * sign whenever the phrase continues:
V. Set up the Message.
Now that you have set up the conditions for sending the Status Alert you need to write the message in a tailored manner as you need it to be.
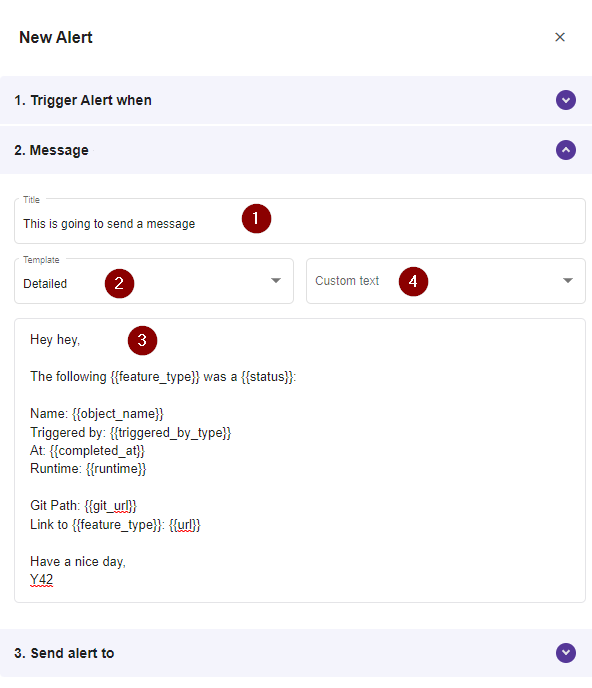
1- Write a Title. This is going to be the subject title of the email.
2- Select the Template (Optional). This is an optional step where you can select a template for a quick creation of the body of the email.
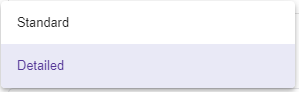
Once you select the template it will automatically fill the body of the email, where you can leave it as it is or modify it further.

3- Write/modify the email body. You can use a template like in step 2 and modify it or write it from the beginning. As you can notice you can use code snippets to between the double curly braces {{ }} to use them as variables.
4- Add Variables. In order to make things easier you can add variables by clinking the Custom text field.
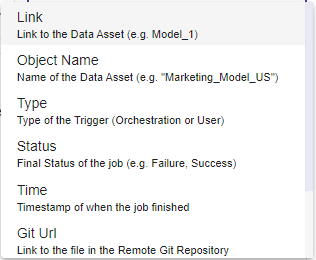
A window popup will appear with all the spinets. By clicking in each of them you add them as variables into your message body, and then you can use them whenever you want in the message.
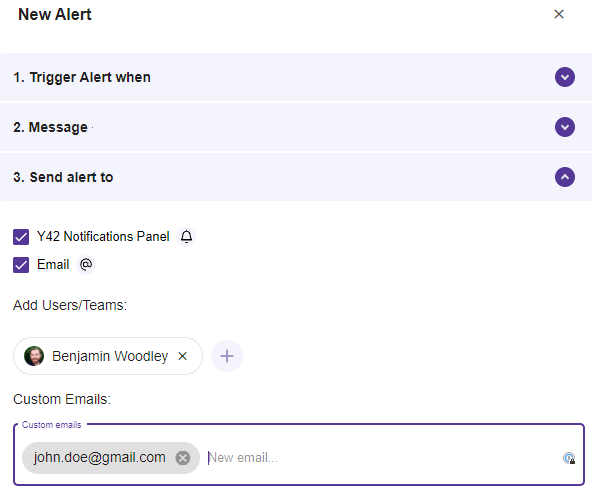
VI.Send alert to the receiver or Y42 notifications Panel.
Now that you have defined the conditions and the message, you need to define who receives the Status Alert.

You can either send it as a:
- Y42 Notification Panel: This message will appear in the notification panel of the Y42 platform
- Email to Users or teams inside your organization. **** Here you can multi-select all the users or teams who you need to send these alerts to.
- Custom email. Here you can add users outside your organization by typing their email and click enter.
VII. Click Save.
Now that everything is set we save the Alert and it will appear as a new record inside Alerts. It will be automatically active.
Updated over 3 years ago